As a self-taught cook, there are several food items that scare me – steak being one of them. I’m not sure if any of y’all feel that way, but it’s always something that I avoid cooking. That is, until now.
I was walking through Whole Foods (as I typically do) and stopped by the butcher. I was between two things – seafood, which I had already passed, or beef. I thought to myself “screw it” and bought a beautiful cut of grass-fed beef, New York Strip to be exact. I picked up some veggies, as well as some gluten-free chicken nuggets (it’s okay to treat yourself!) and went home to cook.
Since I’ve never made a steak, I watched a few videos to get the hang of it. Being from East Texas, all the steaks I’d ever seen be cooked were done on a grill. In fact for a long time, I thought that was the only way to cook a steak. However, I don’t have a grill and I actually really hate food cooked on a grill. I don’t know, something about the smokey taste really turns me off. Anyway, I found this video of the great Gordon Ramsey showing how to cook a steak and followed that method exclusively.
As always, feel free to customize this to your liking! I will say, I apologize for the lack of care I took into make the Bearnaise sauce, which is why there’s a runny yellow substance under the steak, but why there’s nice fresh herbs on top (which was lovely).
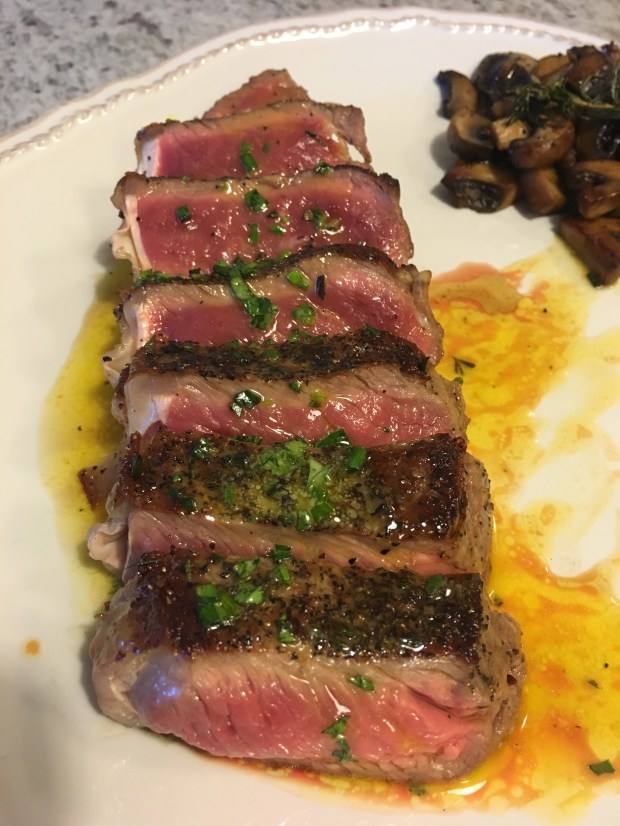
Steak with Mushrooms and Broccoli
Ingredients
– Steak, warmed to room temperature
– Mushrooms, chopped
– Broccoli, cut into florets
– Avocado oil
– Rosemary, fresh and chopped + whole sprigs
– Chives, fresh and chopped
– Tarragon, fresh and chopped
– Butter
– Lea and Perrins Worcestershire Sauce (for mushrooms, optional)
– Salt and pepper
– Garlic, I used garlic powder but fresh is always best

Method
– Prep everything: chop all vegetables and herbes, make sure that the steak has been set out to reach room temperature
– Cook the broccoli: heat a pan and add a fat of your choice, I used butter. Let get hot and add the chopped broccoli and season with salt, pepper, and garlic. Cook to desired tenderness and set aside on a plate.
– Cook the mushrooms: in the same heated pan, add butter and rosemary sprigs. Let the butter melt and the rosemary cook. Add the chopped mushrooms and season with salt, pepper, and Worcestershire sauce. Cook the mushrooms. Once cooked to desired doneness, put on the same plate as the broccoli and put in a warm stove to they stay warm for serving.
– Heat a cast iron pan and add avocado oil
– Take the steak and season with salt and pepper on each side
– Once the oil is smoking, add the steak
– For a rare steak, only sear each side for 2 min – this is where Gordon Ramsay’s video really helped me – and only flip once
– Flip steak to other side and cook for 2 min for rare, more for other doneness
– Add a knob of butter to the pan and some of the chopped rosemary, let it melt and coat the steak with the butter, herbs, and juices
– Transfer the the steak from the pan to a plate and let it rest for at least 5 min; add chopped chives, tarragon, and rosemary to the top of the steak
– If desired, make a bearnaise sauce or hollandiase sauce
– Take the vegetables from the oven and add to a plate
– After the steak has rested, cut into slices and transfer to the plate with the veggies
– Top with more herbs or the bearnaise/hollandiase sauce
– Enjoy!


Let me know how you like it! I’d also love to hear any modifications you made to this. Happy cooking!
xoxo,
Paige

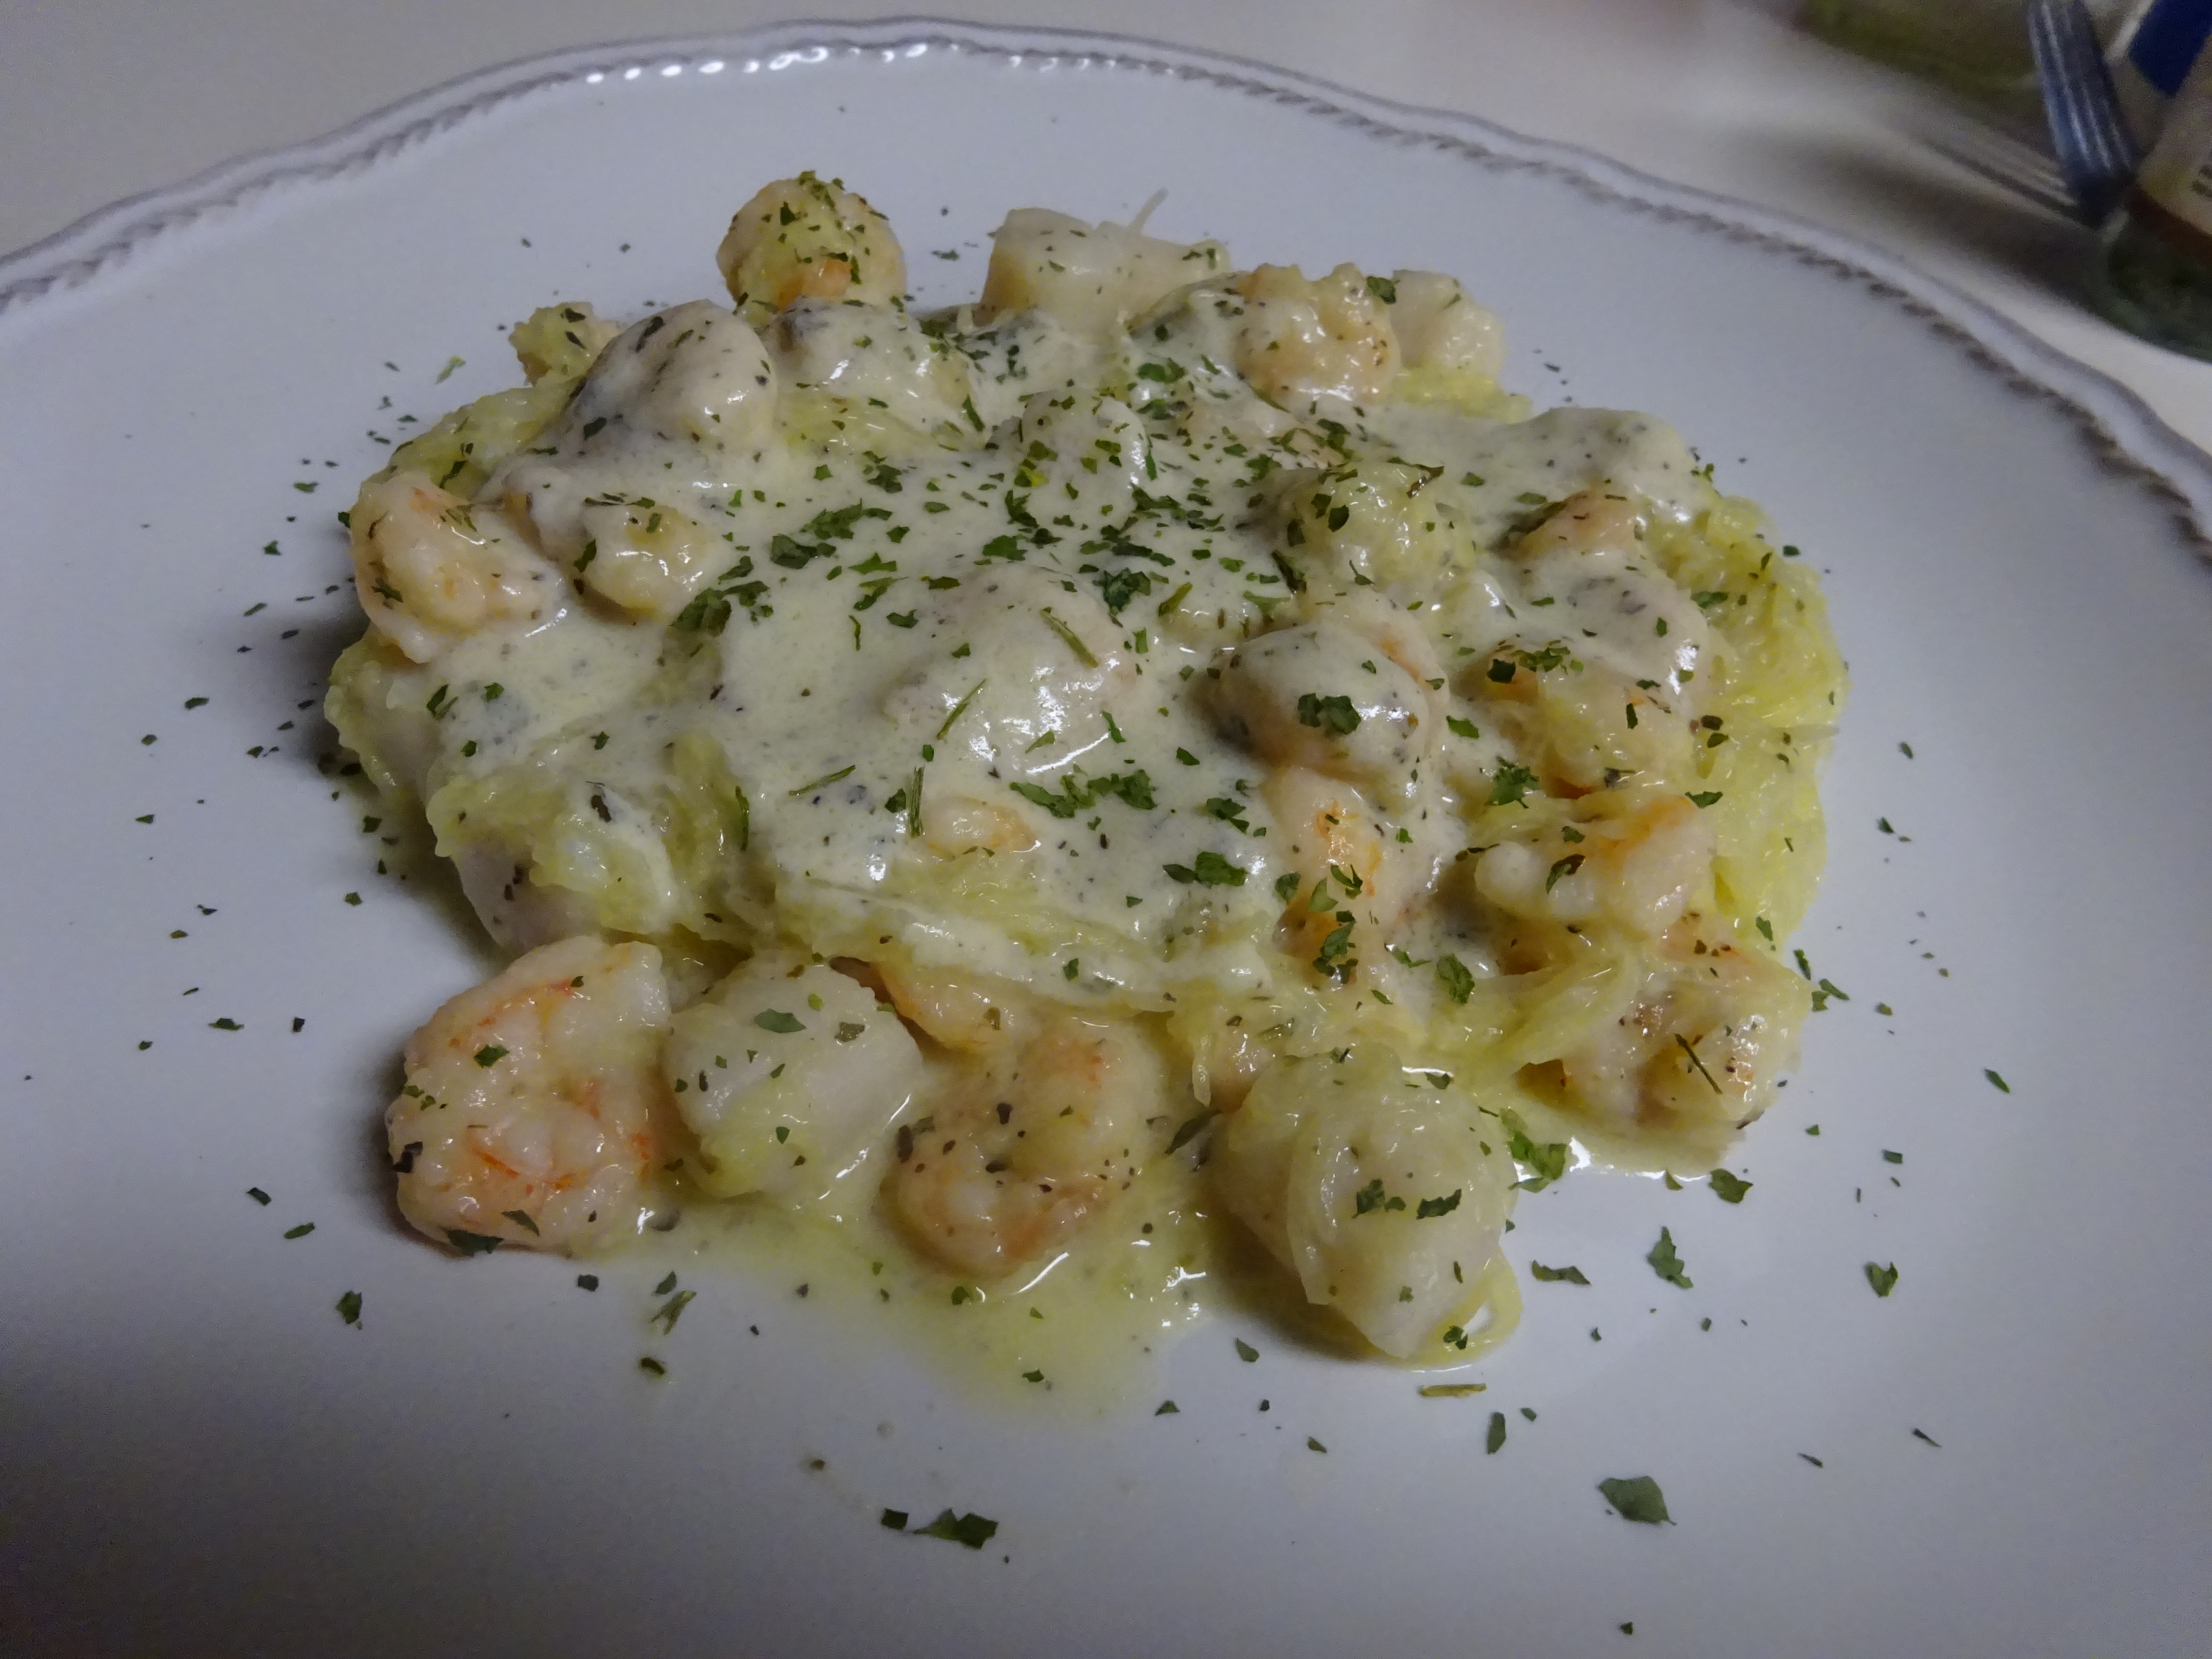
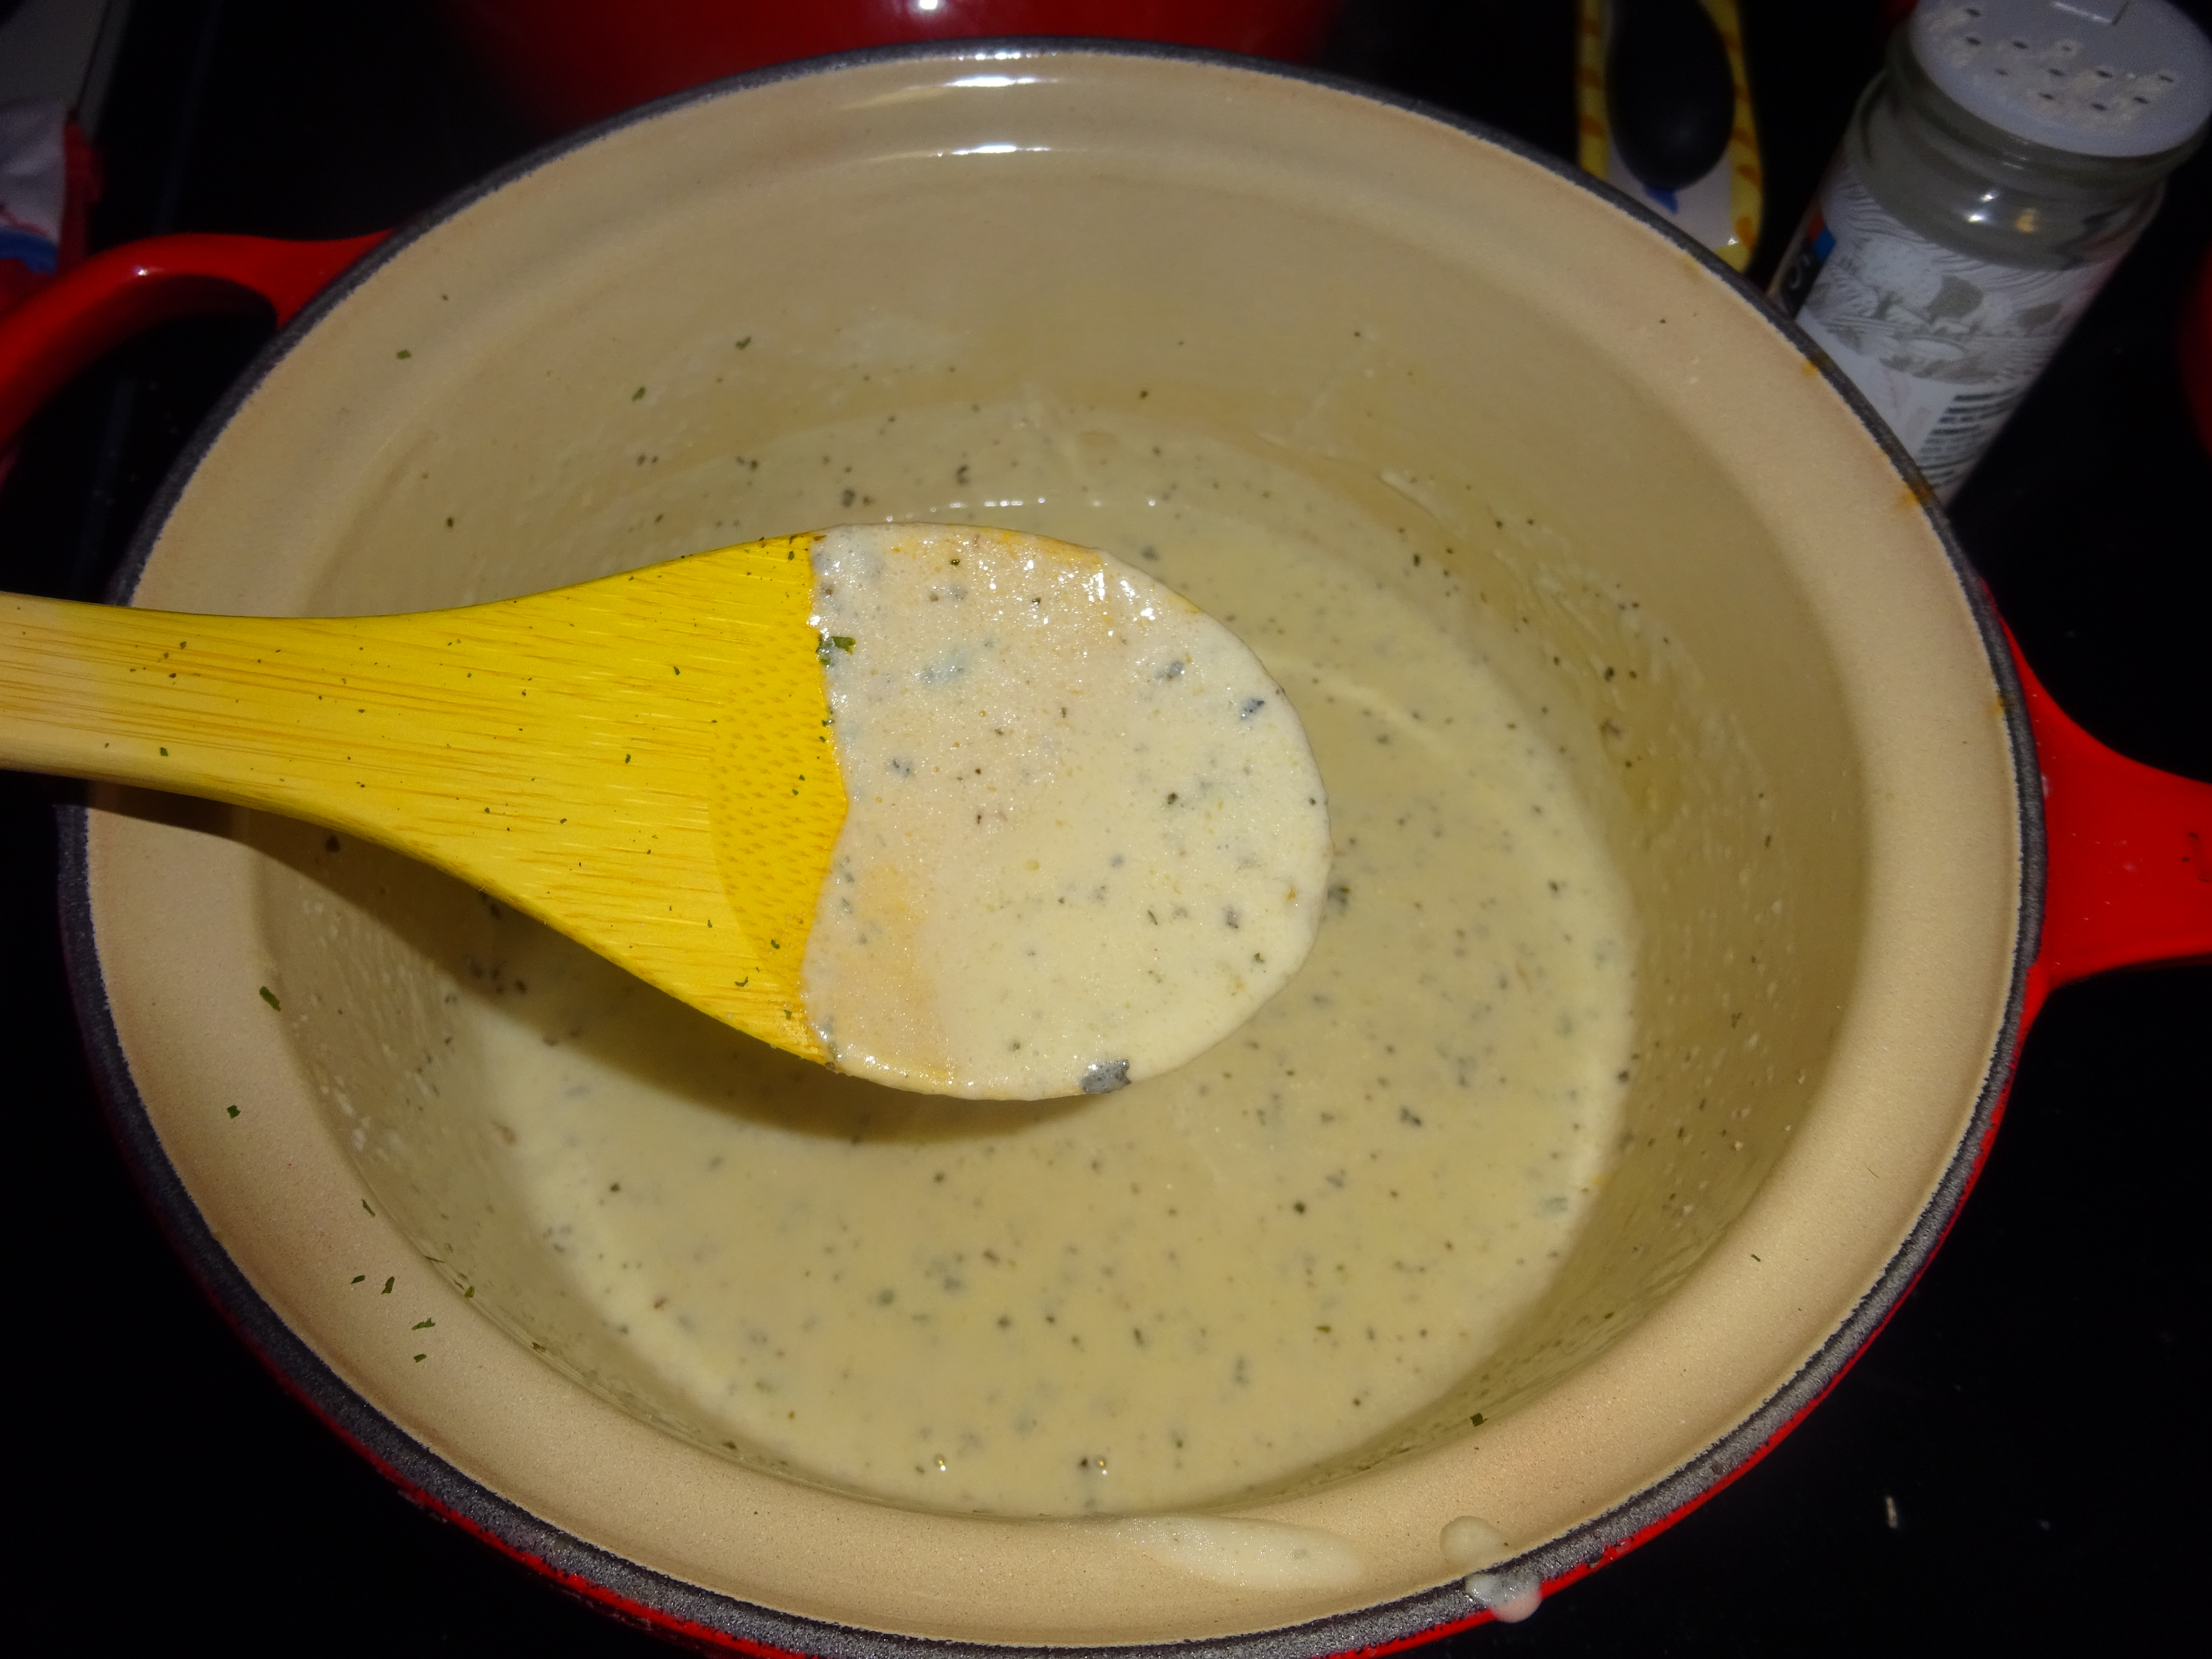
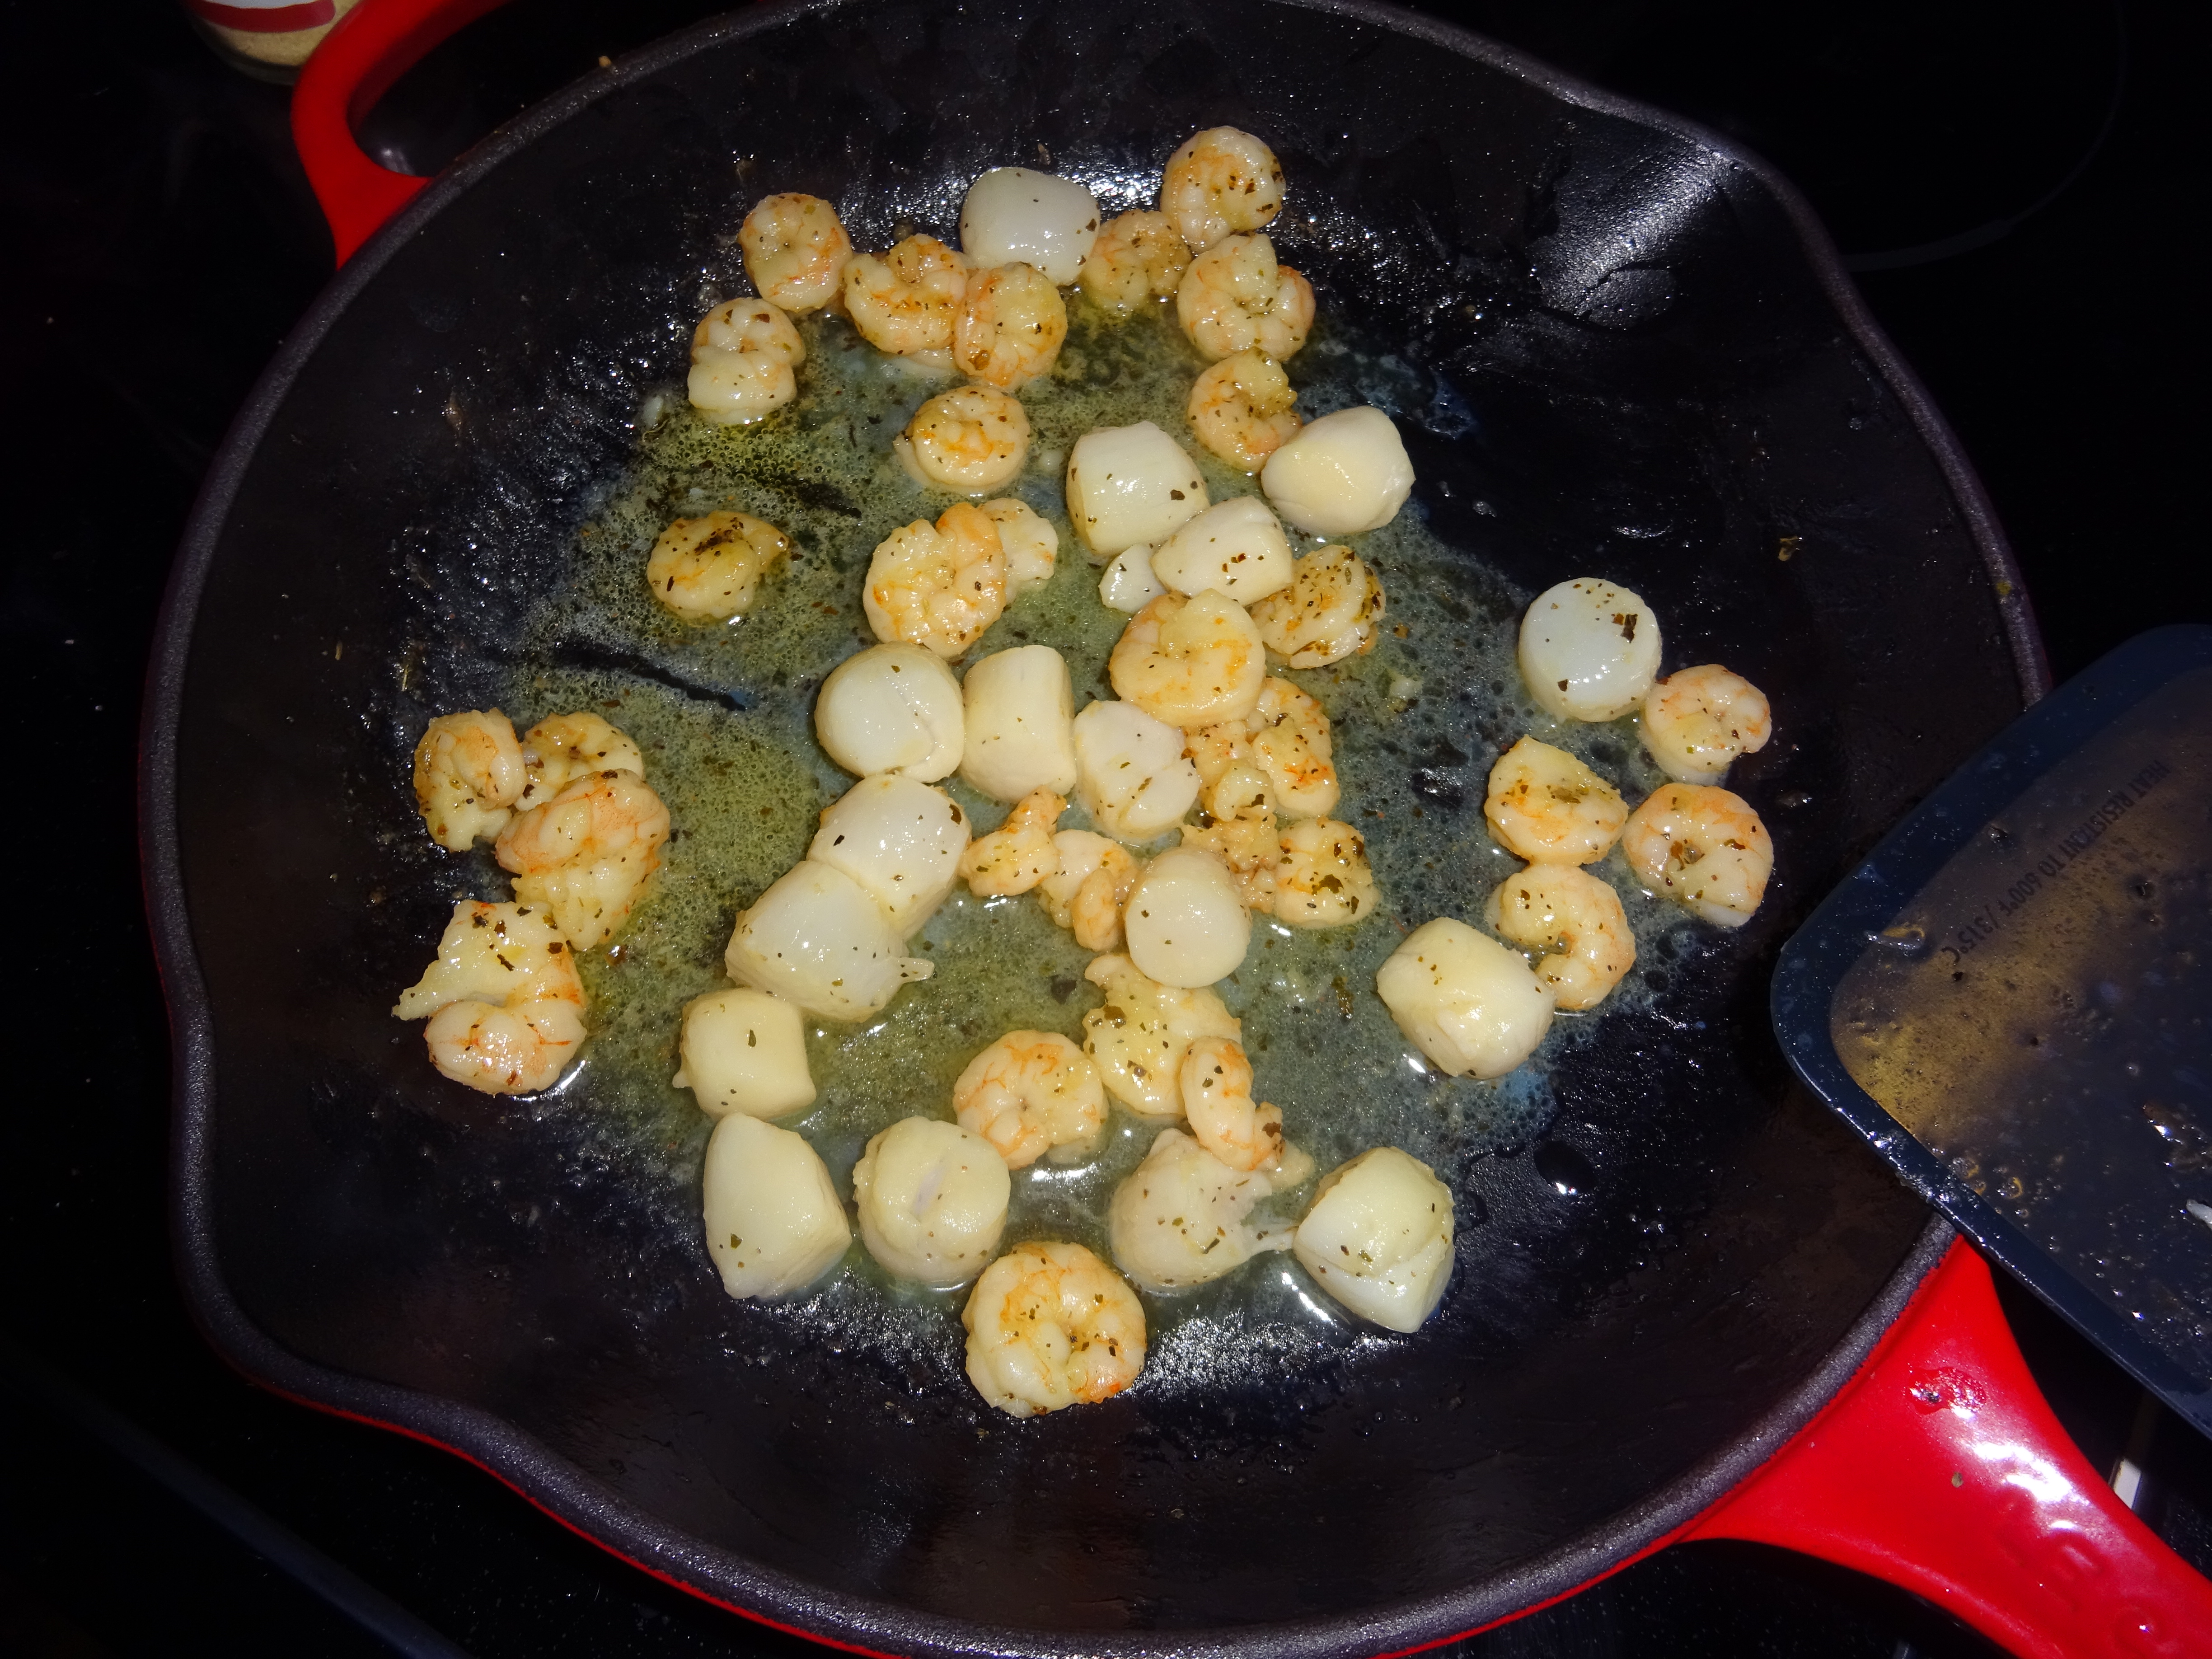
 Bacon Mushroom Cauliflower Risotto with Scallops