Smoothie Packs

I have a confession – I don’t actually like eating fruit. I think this comes from not eating much as a kid, but also that I don’t really care for things that are very sweet. Even now if I have to sweeten anything, I only like a certain kind of sweetness. I’m a very picky sweets eater.

Since most fruits are pretty sweet, I avoid them. I’m more of a vegetable girl – I’d rather eat a plate full of broccoli than one filled with strawberries. With that being said, it is important to have some fruit in your diet so you can get the nutrients you need. This is where the almighty smoothie comes in.

I started making smoothie packs when I realized that:
A) Adding a lot of fruit to a blender produces way more than one serving of smoothie
B) I was wasting a lot of good food
C) I am not good at making decisions on what flavor of smoothie I want, so I would add a little of everything (which wasn’t very good)

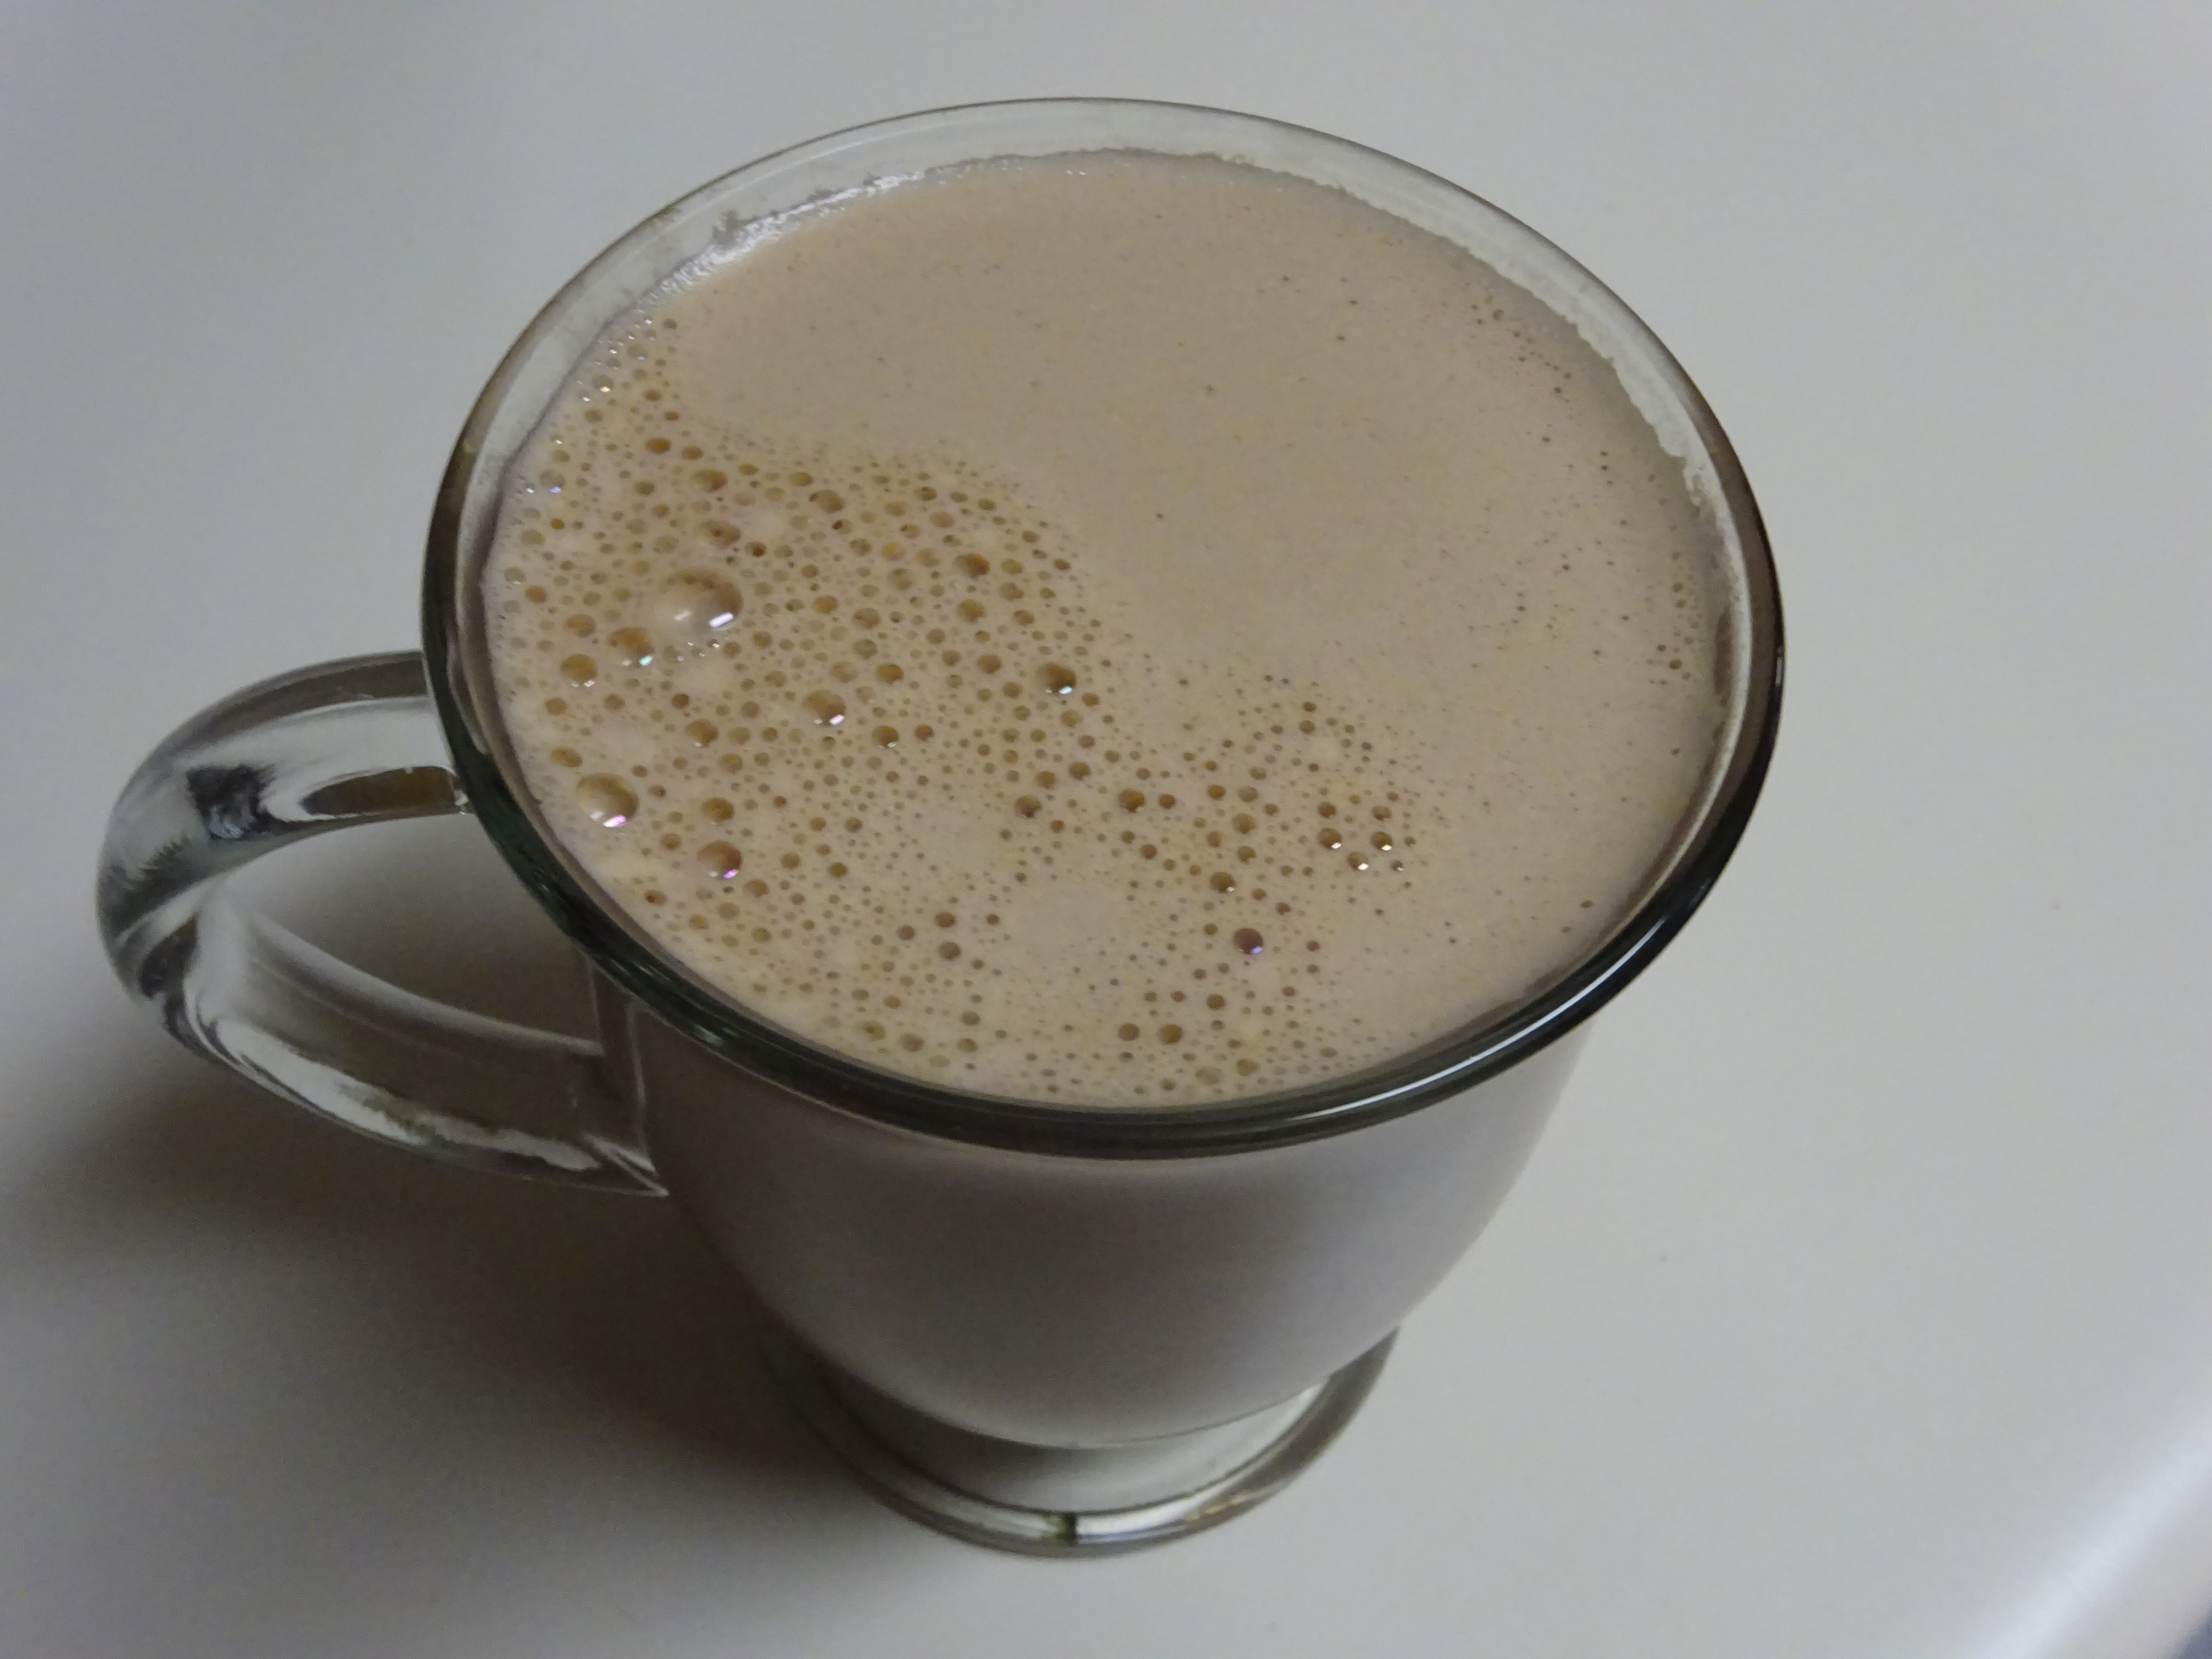
These nifty little packs just go in your freezer and are ready for you to use whenever you have a smoothie craving. Just add your liquids of choice – for me it’s plain unsweetened whole milk kefir, homemade nut milk, and green tea – and any nutrient boosters – I add chia seeds for a little boost and texture – and blend. It’s thoughtless, simple, and incredibly easy.

*Depending on how many of these you make is going to determine how much time it takes you to pack these.
*You’re going to need Ziploc bags. I used quart storage bags, but sandwich would work just as well.

Smoothie Packs
DSC00167
Ingredients
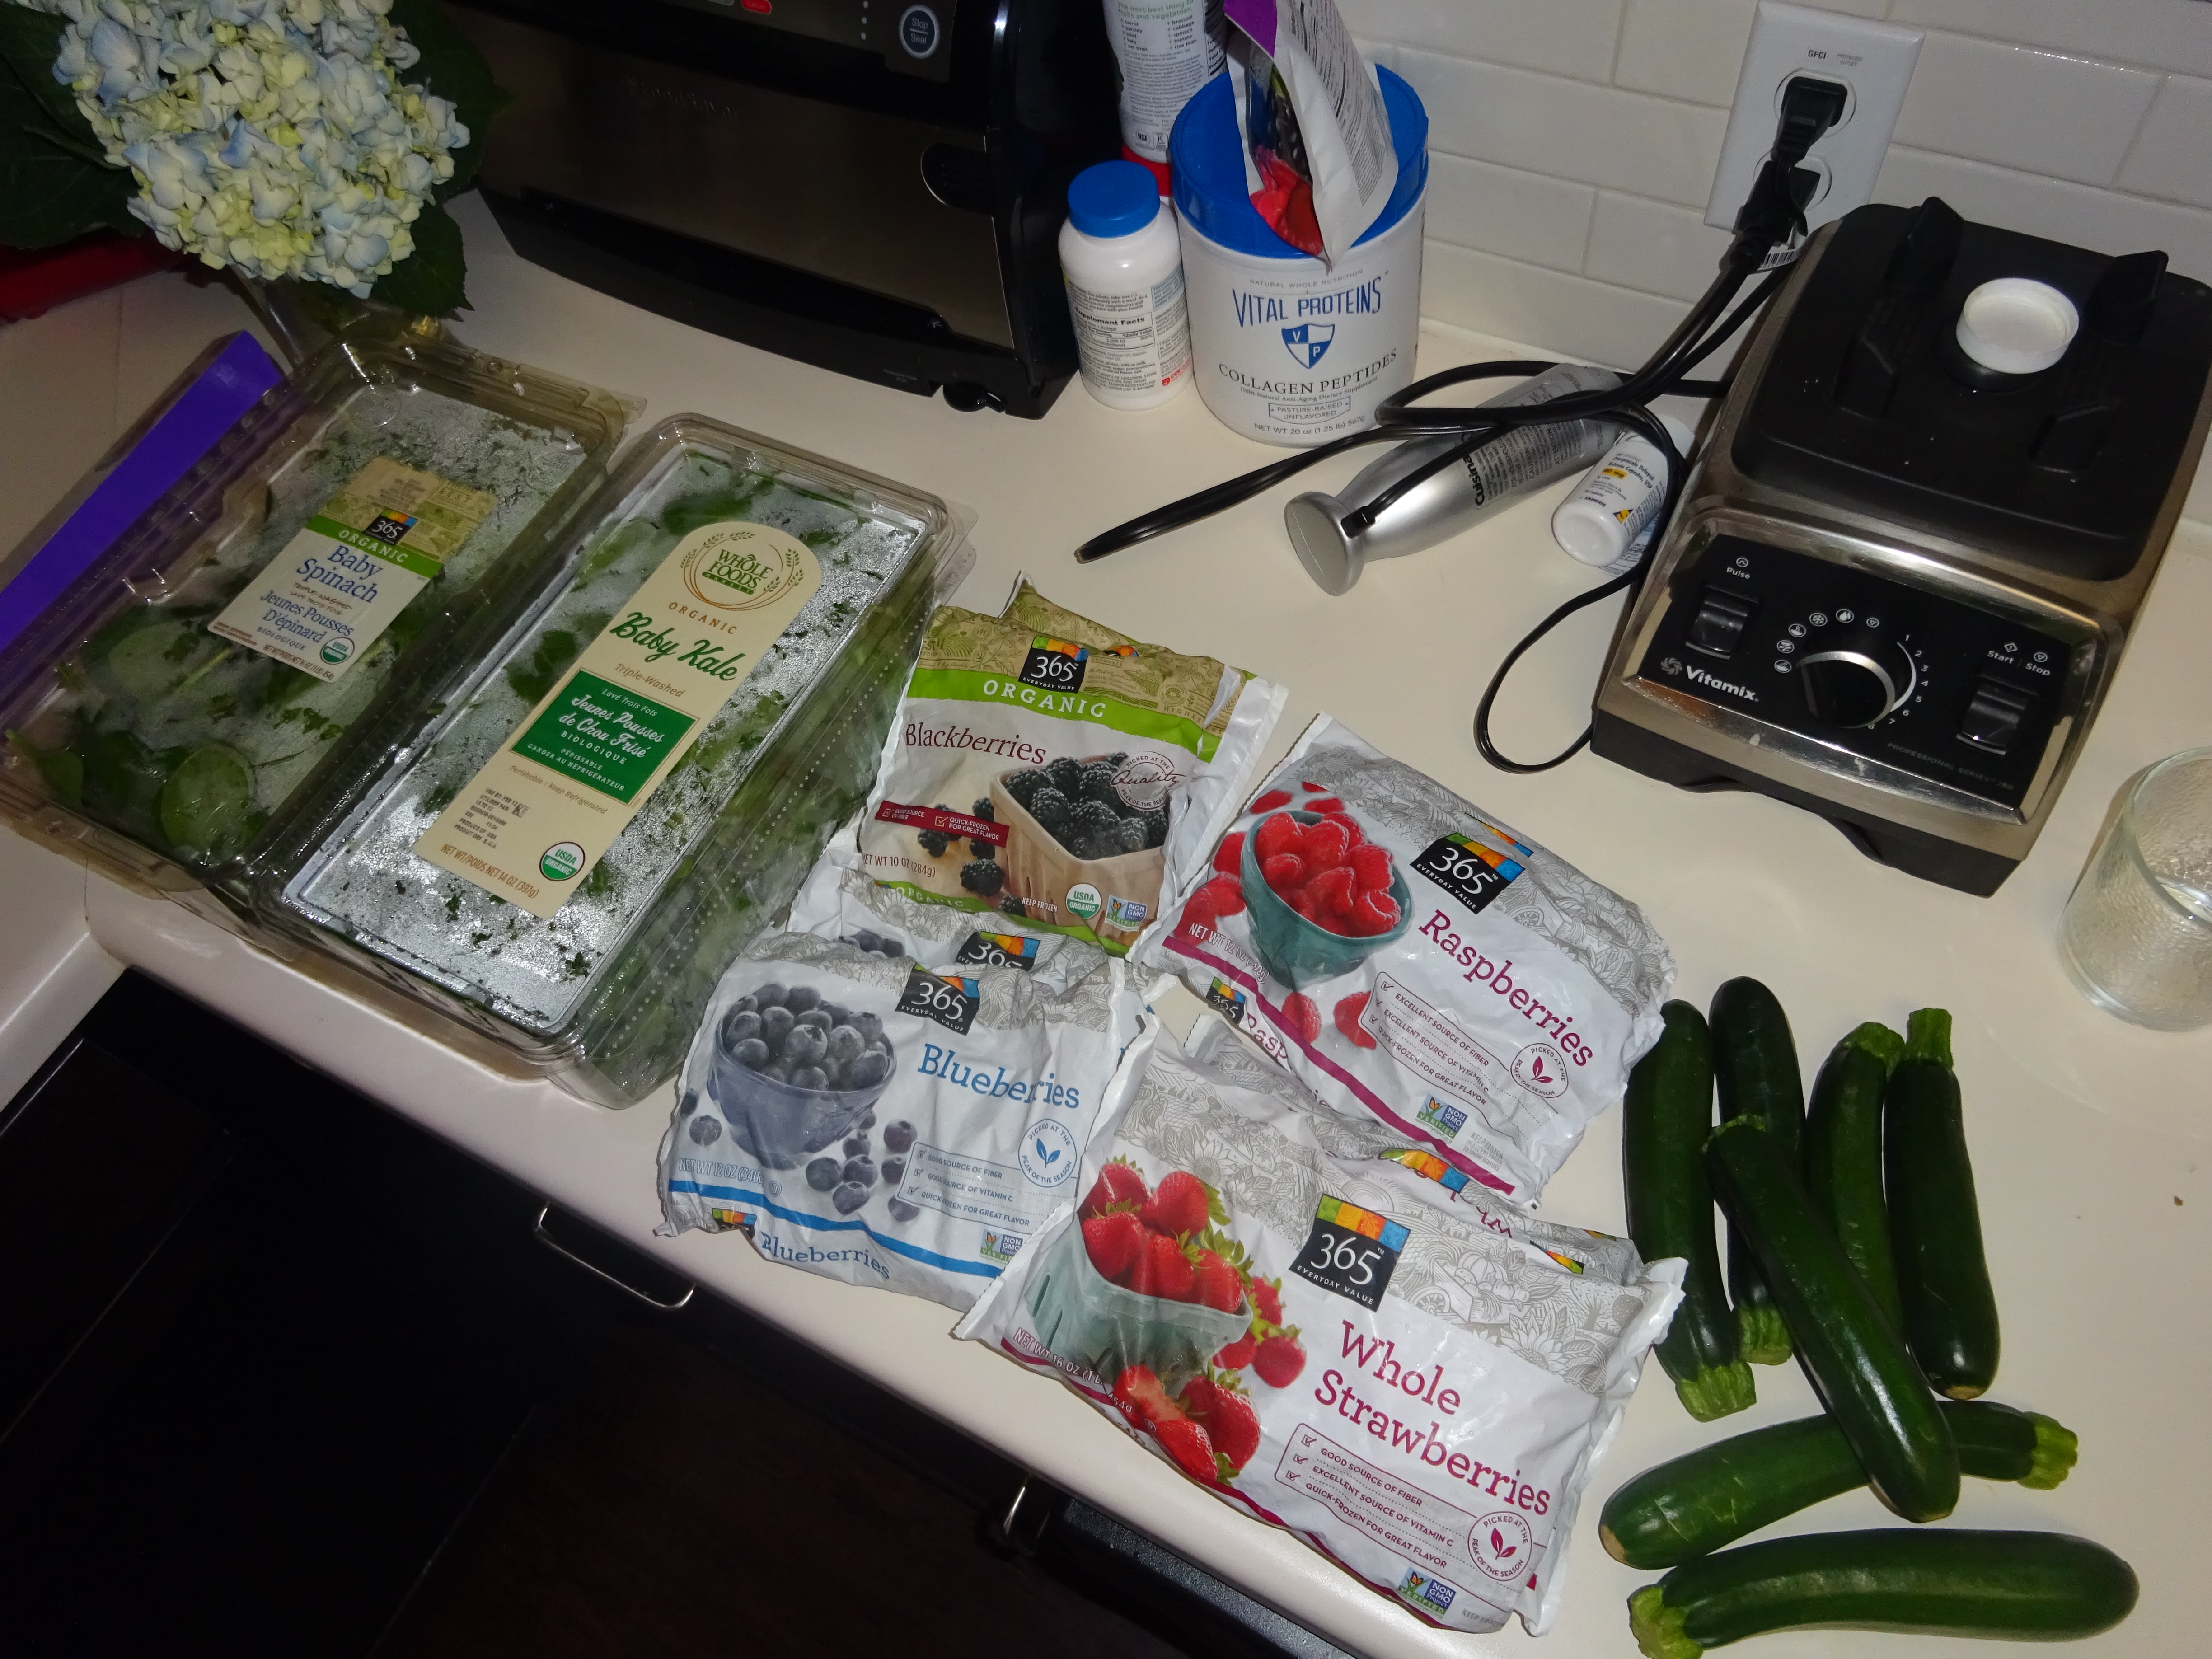
– Any frozen or fresh fruit of your choice. I typically stick to frozen berries, but it’s up to you. Get creative! Mango, melon, pineapple, banana – they would all be good choices!
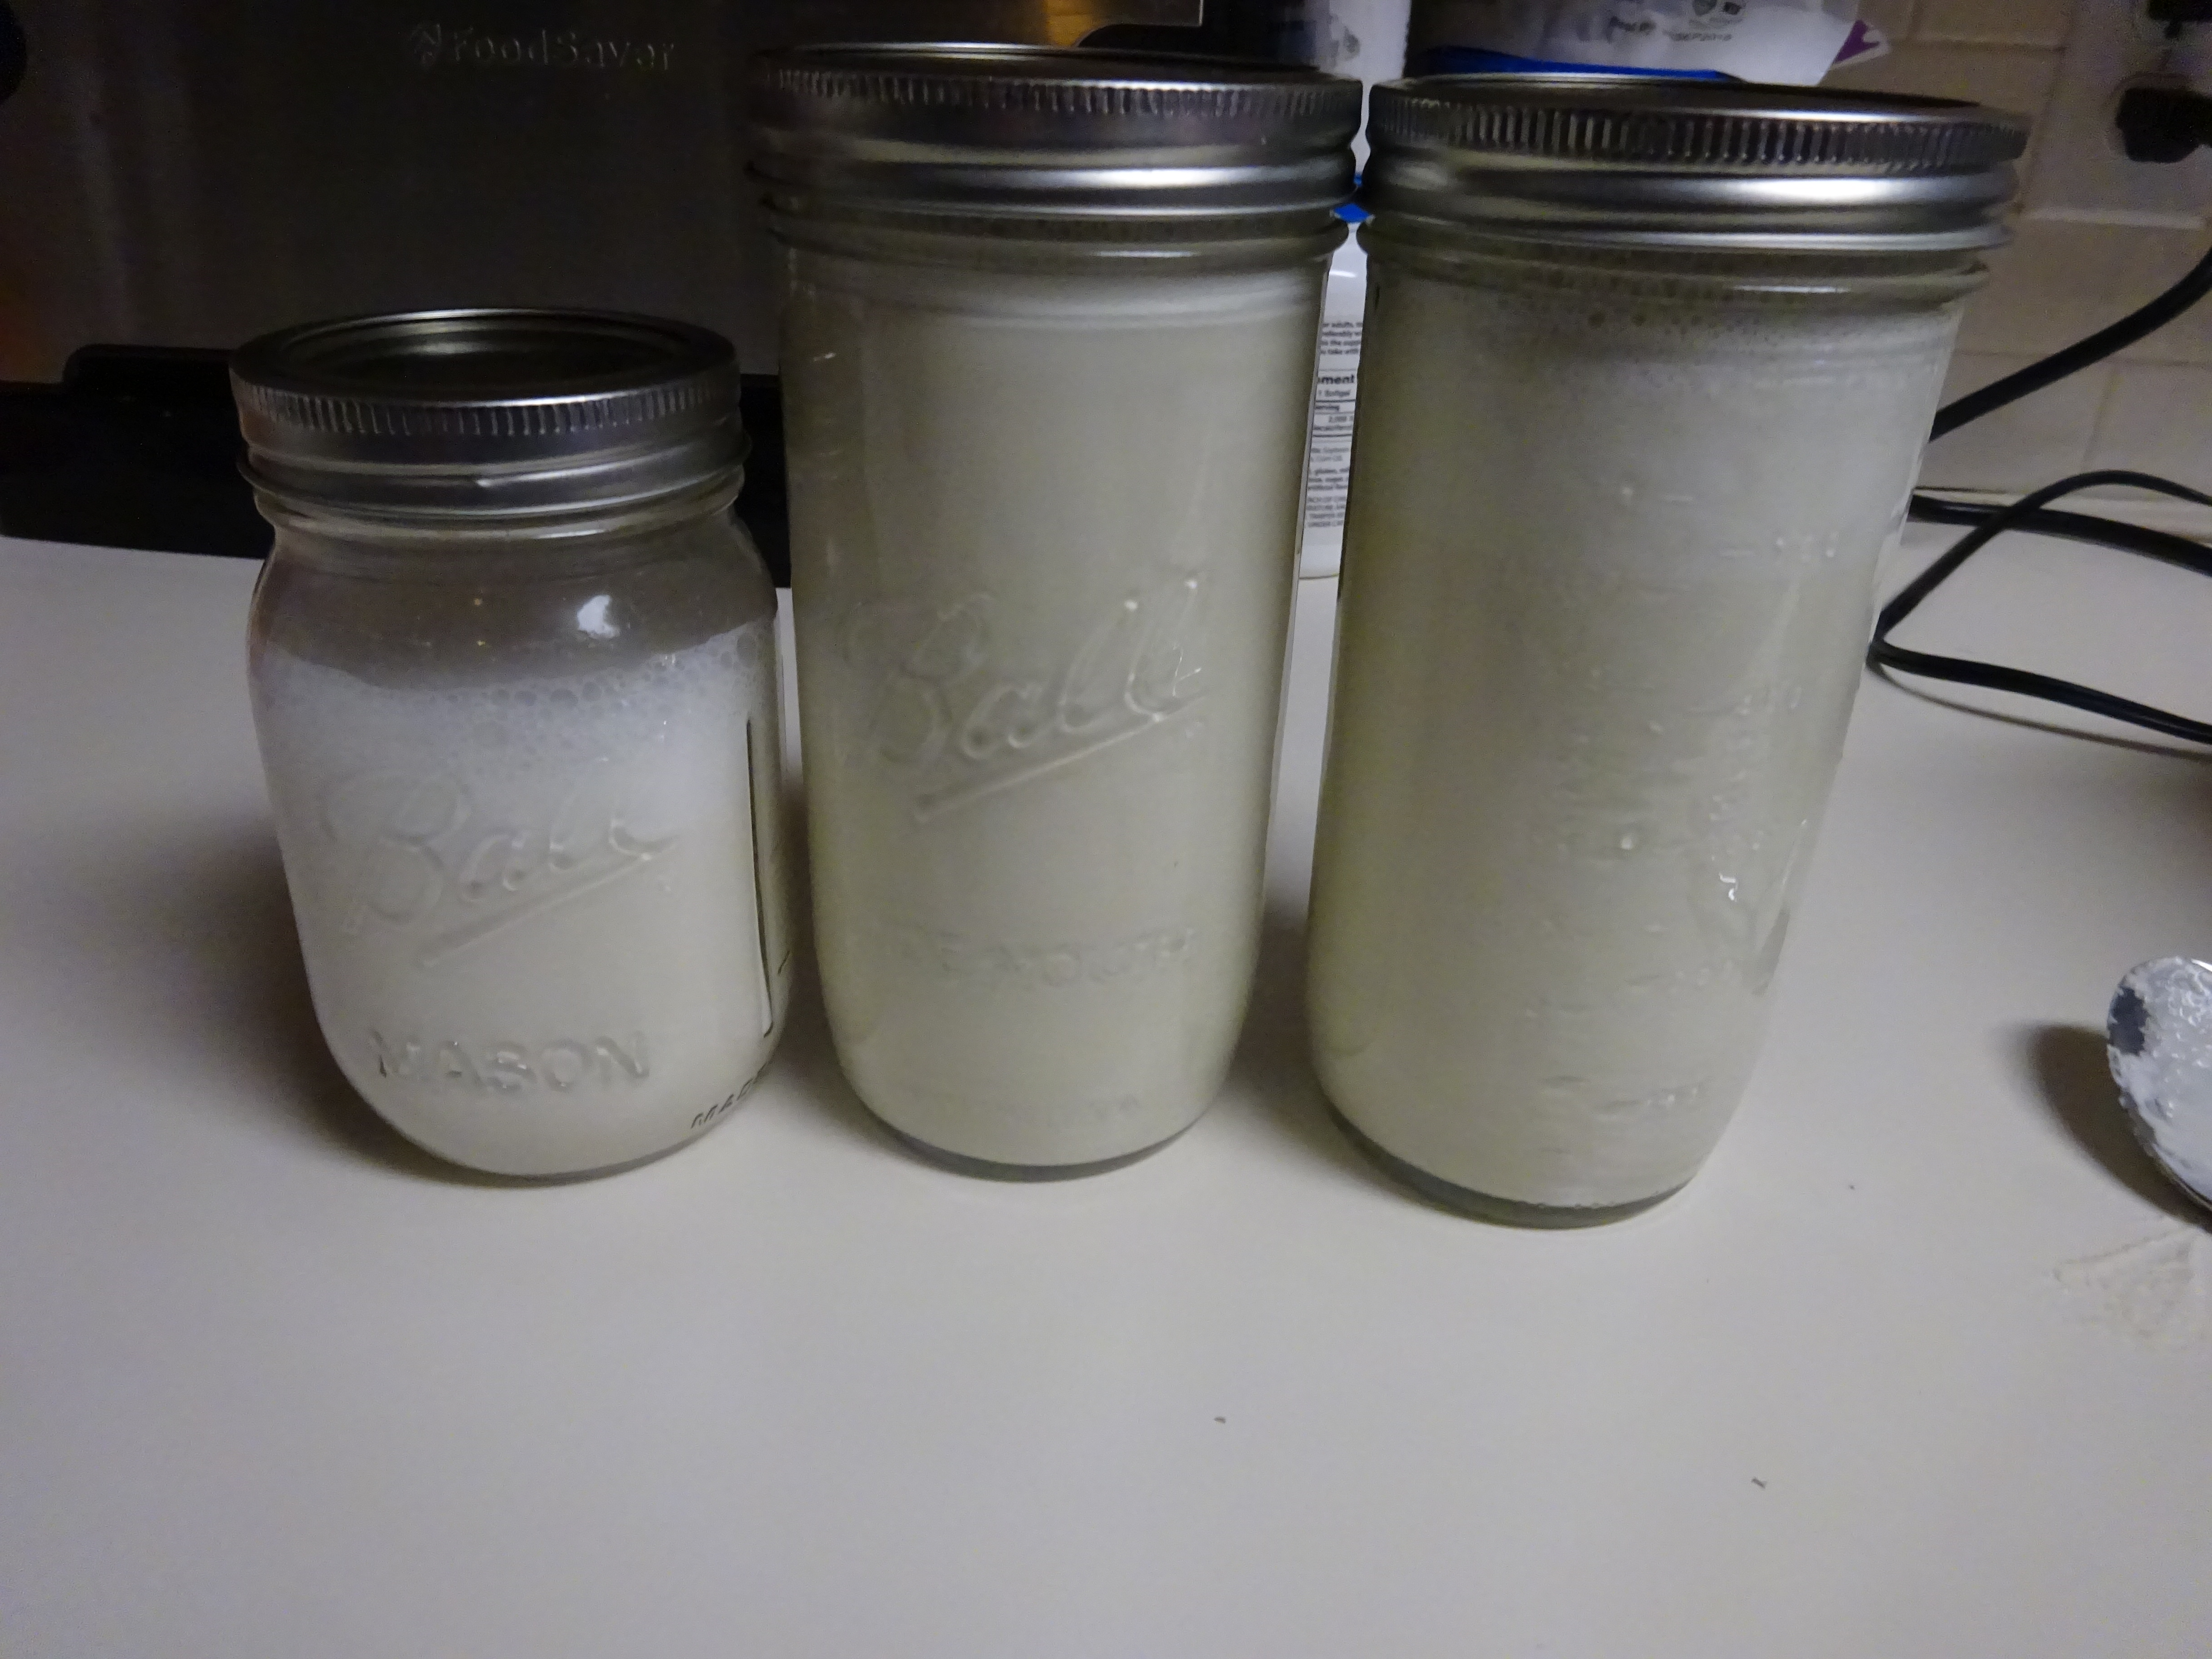
– Leafy greens, such as spinach and/or kale. You’ll see in the pictures I also use some zucchini. Actually a very good smoothie addition if you’ve never tried it.

Method
DSC00163
^^^This was my assembly line before cutting the zucchini.
– Prepare your fruits and vegetables. If you have fresh fruits and vegetables, wash and cut them accordingly. For bigger fruits and veggies, I’d try and cut them into pretty small pieces. This is what my zucchini looked like after cutting.
– Lay out all your ingredients like in the above picture.
– Assemble your bags. It’s fun to mix it up a little. One bag with strawberry and blueberry, the next with raspberry and blackberry. Just be sure to always add a leafy green or vegetable. Or both, because you love nutrition.
– Zip up the bag, label it, and place it in the freezer.
– Repeat all steps until you’re out of ingredients.

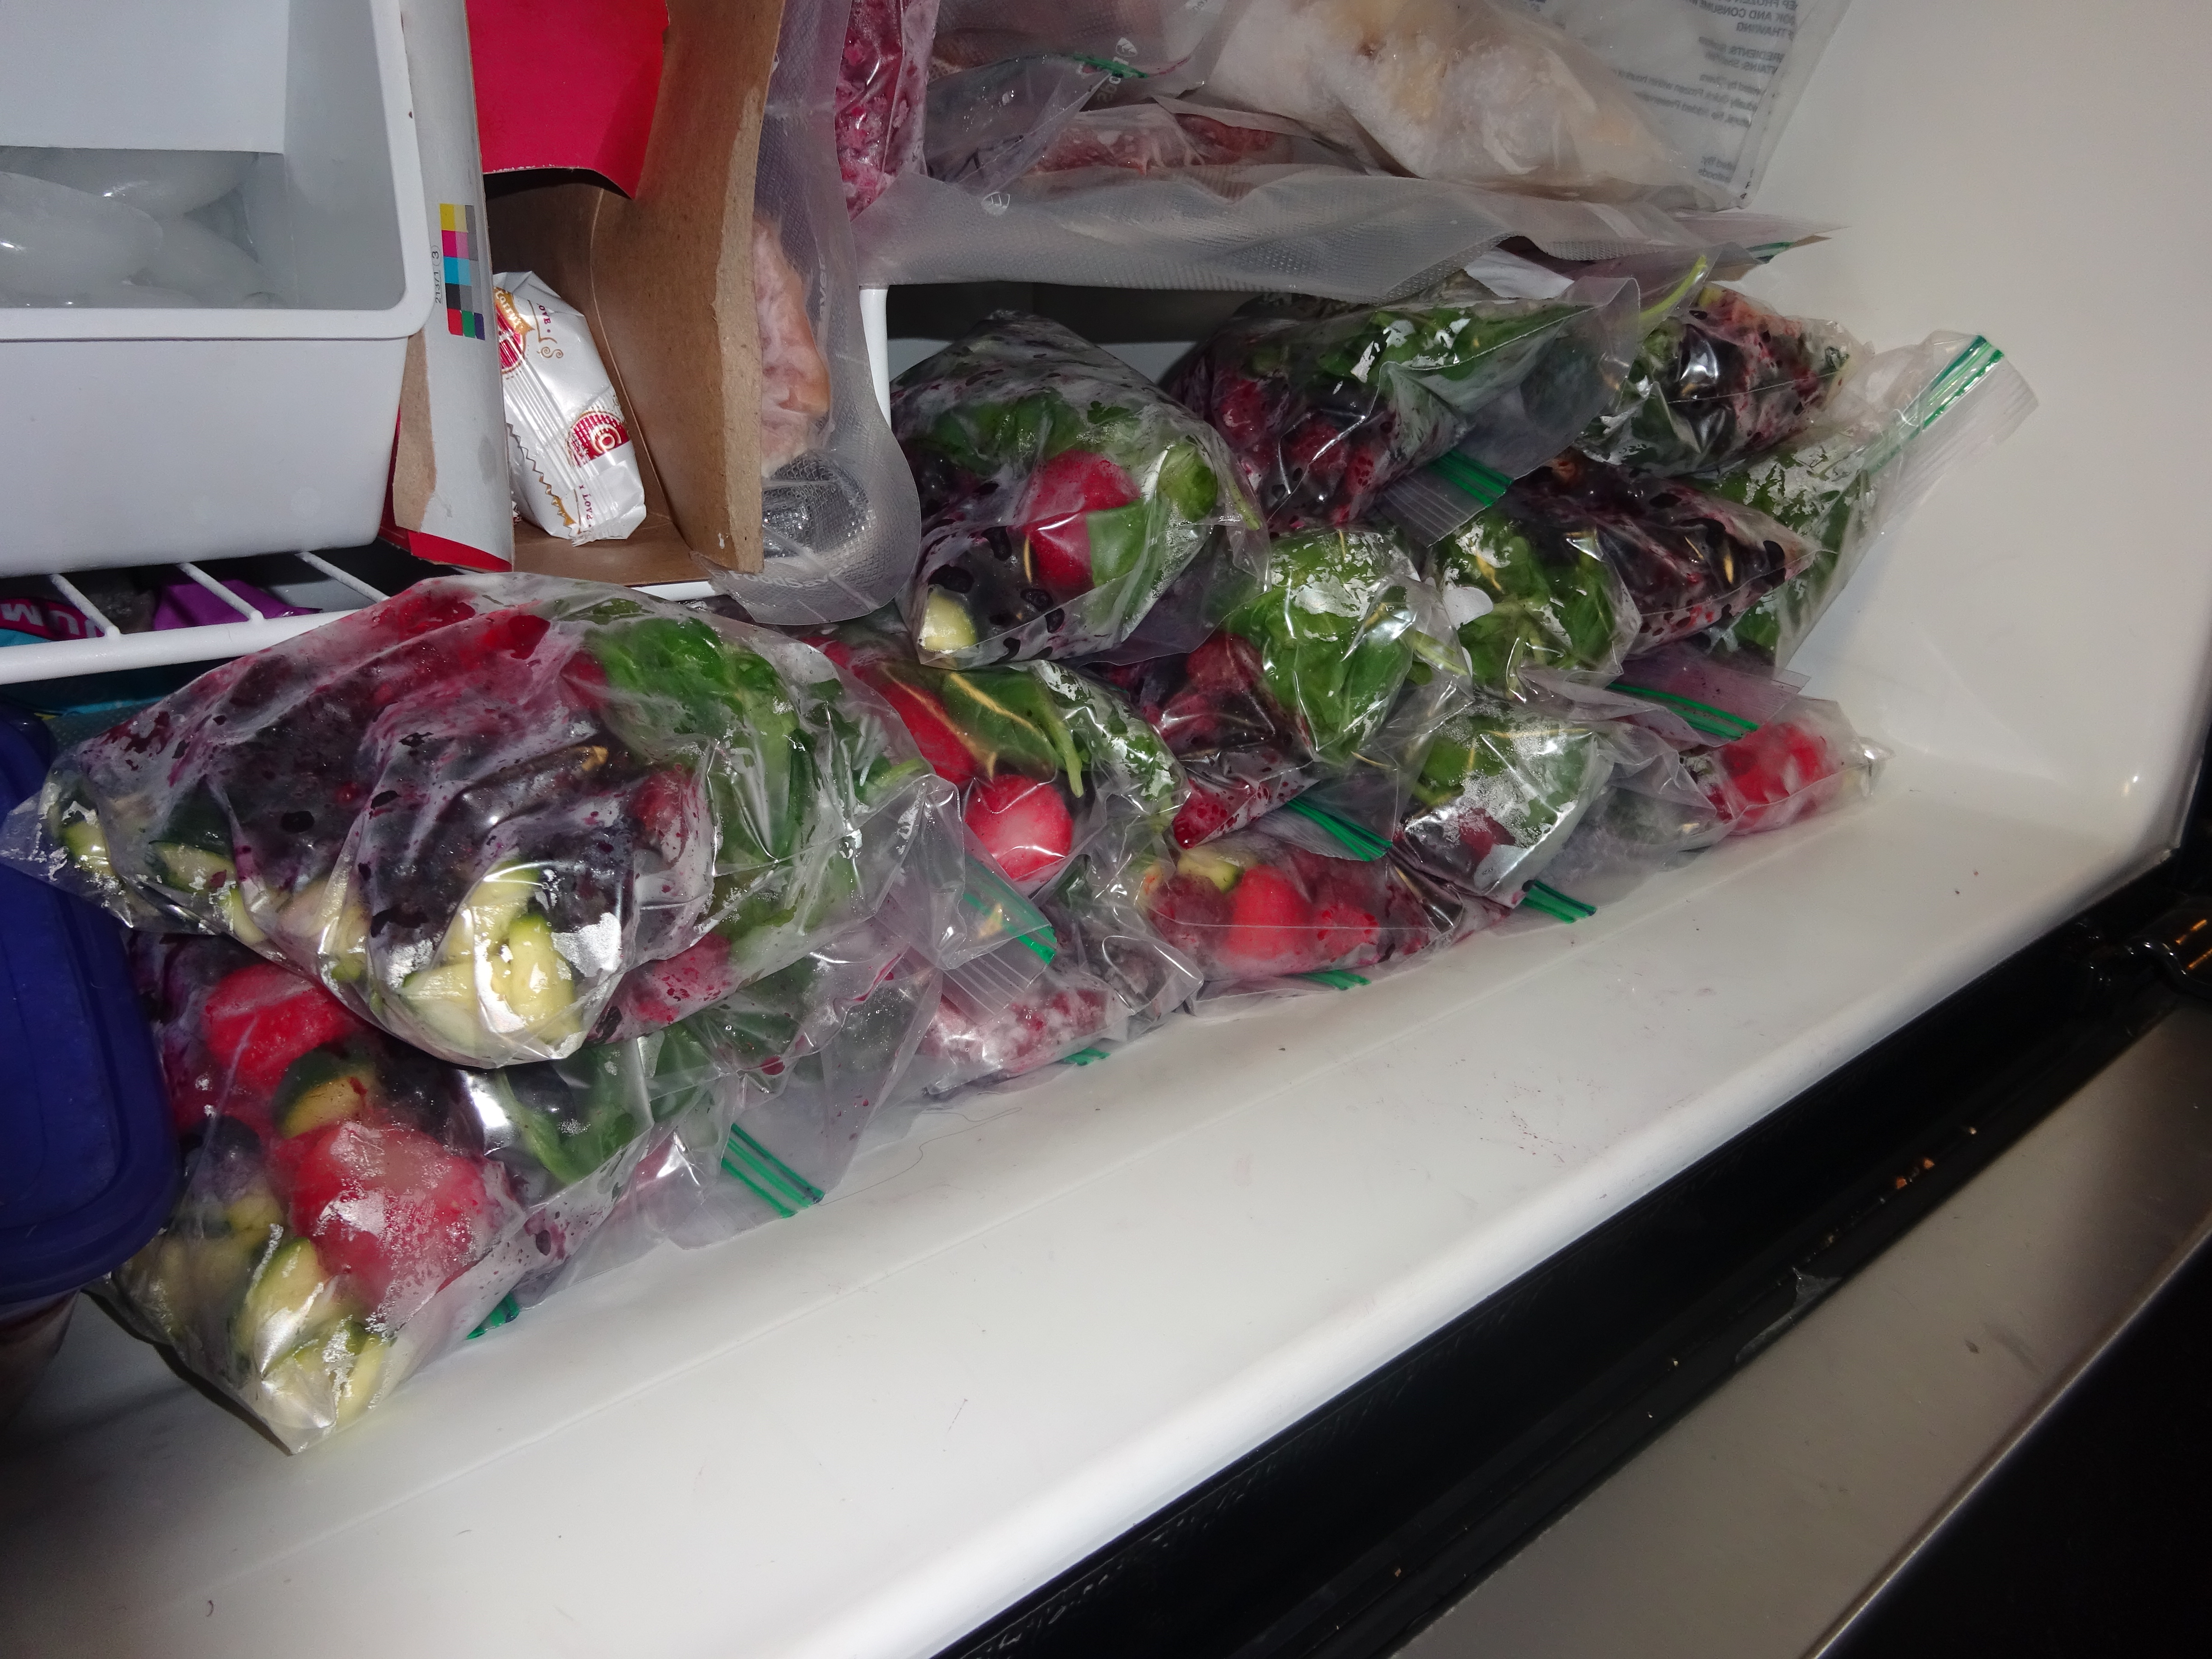
That’s it! It’s super simple! This is also a great way to meal prep. I ended up making about 24 of these smoothie packs from buying 2 bags of each frozen fruit, the large tubs of spinach and kale, and the small zucchinis. This will last me for awhile and is something I don’t have to do often – which is great. This is what my freezer looks like after placing all the packs in there.
DSC00171

Hope this helps some of y’all out! I know being a busy college student this has helped me out tremendously!

Keep it healthy!
xoxo,
Paige

Cashew Milk/Cashew Cream

Rookie mistake. In true newbie fashion I gave you guys a recipe that called for something I hadn’t given a recipe to. While you could have googled “homemade cashew milk,” I figured I’d just post a recipe here.

I like cashew milk because not only is it creamy, but it’s incredibly easy to make and you don’t have to strain it. Sounds a little too good, huh? Trust me, it’s real and it’s delicious. Also, cashews can get a bit expensive, so I also like that there isn’t anything that goes to waste. You get all the goodness and nutrition of a cashew in a convenient drink!

In this recipe, I also included the method for cashew cream which is a great replacement for traditional heavy cream if you’re making creamy soups. I love to use it as a thickener in my soups! Once you make it, you’ll see just how easy it is! When I first tried it, I was very surprised at the neutral flavor.

To make this happen, you’re going to need a high-powered blender.

Cashew Milk/Cashew Cream
Ingredients
– 1 cup of raw cashews
– water
that’s literally it

Method
– Soak 1 cup of raw cashews in water overnight. Alternatively, you can boil some water and pour it over the cashews and let it sit for 30-45 min.
DSC00127

– Once you’ve soaked your cashews, rise them off under some cool water like so
DSC00128

– Place the cashews into your blender and add about a cup of water.
DSC00129

– Blend, blend, blend! It’s going to turn into a really creamy substance. If you’re making cashew cream, stop here. If you find it to be a little too thick, add a little bit more water and blend, anywhere from 1/2 and tablespoon to 1 tablespoon.
DSC00131

– For cashew milk, add about 4-5 cups of water. I like to keep mine unflavored, but if you wanted to add a little bit of sweetener, now would be the time. If it were me, I’d add a bit of maple syrup, vanilla extract, and/or cinnamon. This would also make a great chocolate milk with some cacao powder. Once you’ve added the water and any flavorings, blend, blend, blend on high! Seriously, just blend this stuff until you think you’ve possibly over-blended. You want to make sure you incorporate the cashews as best as you can. I usually give it about a 1-2 min. I once made this and didn’t blend enough (oops), so be sure to blend (did I mention you should blend?). You can also check to make sure that it’s well incorporated by dipping a spoon in their when the blender is off and taste it. If it’s smooth, you’re finished!

– Once you’ve blended, add the cashew milk to airtight containers. It should be good for 3-5 days. If you find that your blender didn’t do the job to your liking, you can strain it with a nut milk bag. If you don’t own one, I have this oneand it’s incredible!
DSC00132

You’ll find a lot of great uses for cashew milk! Add it to your coffee, drink it straight-up, make my Cashew Hot Chocolate, or use it in sauces!

Hope you love this as much as I do!
xoxo,
Paige

Cashew Hot Chocolate

Good morning! As my first recipe, I wanted to share something I’ve discovered that I absolutely love. I call it Cashew Hot Chocolate, but really you can use any type of nut milk that you like. To keep it fresh, I usually switch between homemade cashew milk and homemade almond milk – which I am happy to post recipes for! If you’ve never tried cashew milk, you’re really missing out.

This drink was inspired by buttered coffee. Personally, I love coffee, but sometimes it can make my stomach feel a little off. I try to limit my coffee intake to just two mornings a week (but coffee is really good for you, so don’t feel like you can’t have it all the time). So on the other five mornings of the week, what am I supposed to drink?! Cashew Hot Chocolate – seriously, you’ll love it. With the energy boosting power of MCT, healthy fats from grass-fed butter and coconut oil, and trace minerals from Grade B maple syrup, this is sure to become one of your favorite morning drinks. Hope you enjoy!

DSC00122
Cashew Hot Chocolate
Ingredients
– Cashew milk or your favorite nut milk
– 1/4 teaspoon vanilla
– MCT oil (as much as you can tolerate, this is different for everyone. If you have never used MCT before, stick to 1 teaspoon)
– 1 tablespoon coconut oil
– 1/2 to 1 tablespoon of unsalted grass-fed butter (I like Kerrygold)
– 1 to 2 teaspoons of Grade B Maple Syrup (add more or less depending on how sweet you like things)
– 1 1/2 tablespoons of cacao powder
– scoop of collagen powder if you have it

Method
– In a mug, pour the cashew milk into it leaving a bit of space. If using cashew milk, add a bit of water to thin it out, unless you’re a fan of the creaminess.
– Heat in the microwave for 2 min. Alternatively, you can heat this on the stove, but it’s in the morning and I don’t have the time for that.
– Remove mug from microwave and pour the hot cashew milk into either a blender or a larger cup, I use the measuring beaker (apparently that’s the name for it) that came with my immersion blender. You just want something bigger than the mug.
– Add all of the remaining ingredients into the cashew milk.
– Blend the ingredients until well incorporated, about 30 seconds.
– Pour back into the mug and enjoy!

This process takes less than 5 min and is a perfect replacement for coffee! Let me know how you like it! Feel free to play with the flavors – this would be wonderful with a dash of cinnamon or a little bit of peppermint extract.