Bolognese Sauce

Hello! Sorry for the lack of posting – school and life have kind of gotten in the way. I’ve still been cooking, though! This is a sauce I like to keep in my fridge for a quick dinner. Sometimes I put it over Spaghetti Squash, sometimes I just eat a big bowl of it alone (because I really like sauce, okay?).

My version of this is pretty straightforward. I will say, I do not have exact measurements for the spices used. Why? Well, I don’t really measure anything when it comes to flavoring. I always taste as I go. This is what works for me and what will work for you too. And you get to eat while you cook, which is always a bonus.

*I made my own tomato puree, which I will have the instructions for. However, you can use store bought and it’ll be fine, I just thought it would be fun to make my own.

Bolognese Sauce
DSC00252
Ingredients
– 24 oz tomato puree or homemade (I used 6 tomatoes but could have used more, mine were small)
– 2 tablespoons tomato paste
– 1 pound grass-fed beef
– Olive Oil
– Garlic cloves
– Onion powder
– Garlic powder
– Salt
– Oregano
– Rosemary
– Basil
– Parsley
– Pepper
*I used all dried spices, however fresh would taste a lot better
*Feel free to add onions, olives, mushrooms, etc. I don’t like a lot of things in my sauce outside of spices, but do what works best for your taste-buds.

Method
For the Tomato Puree
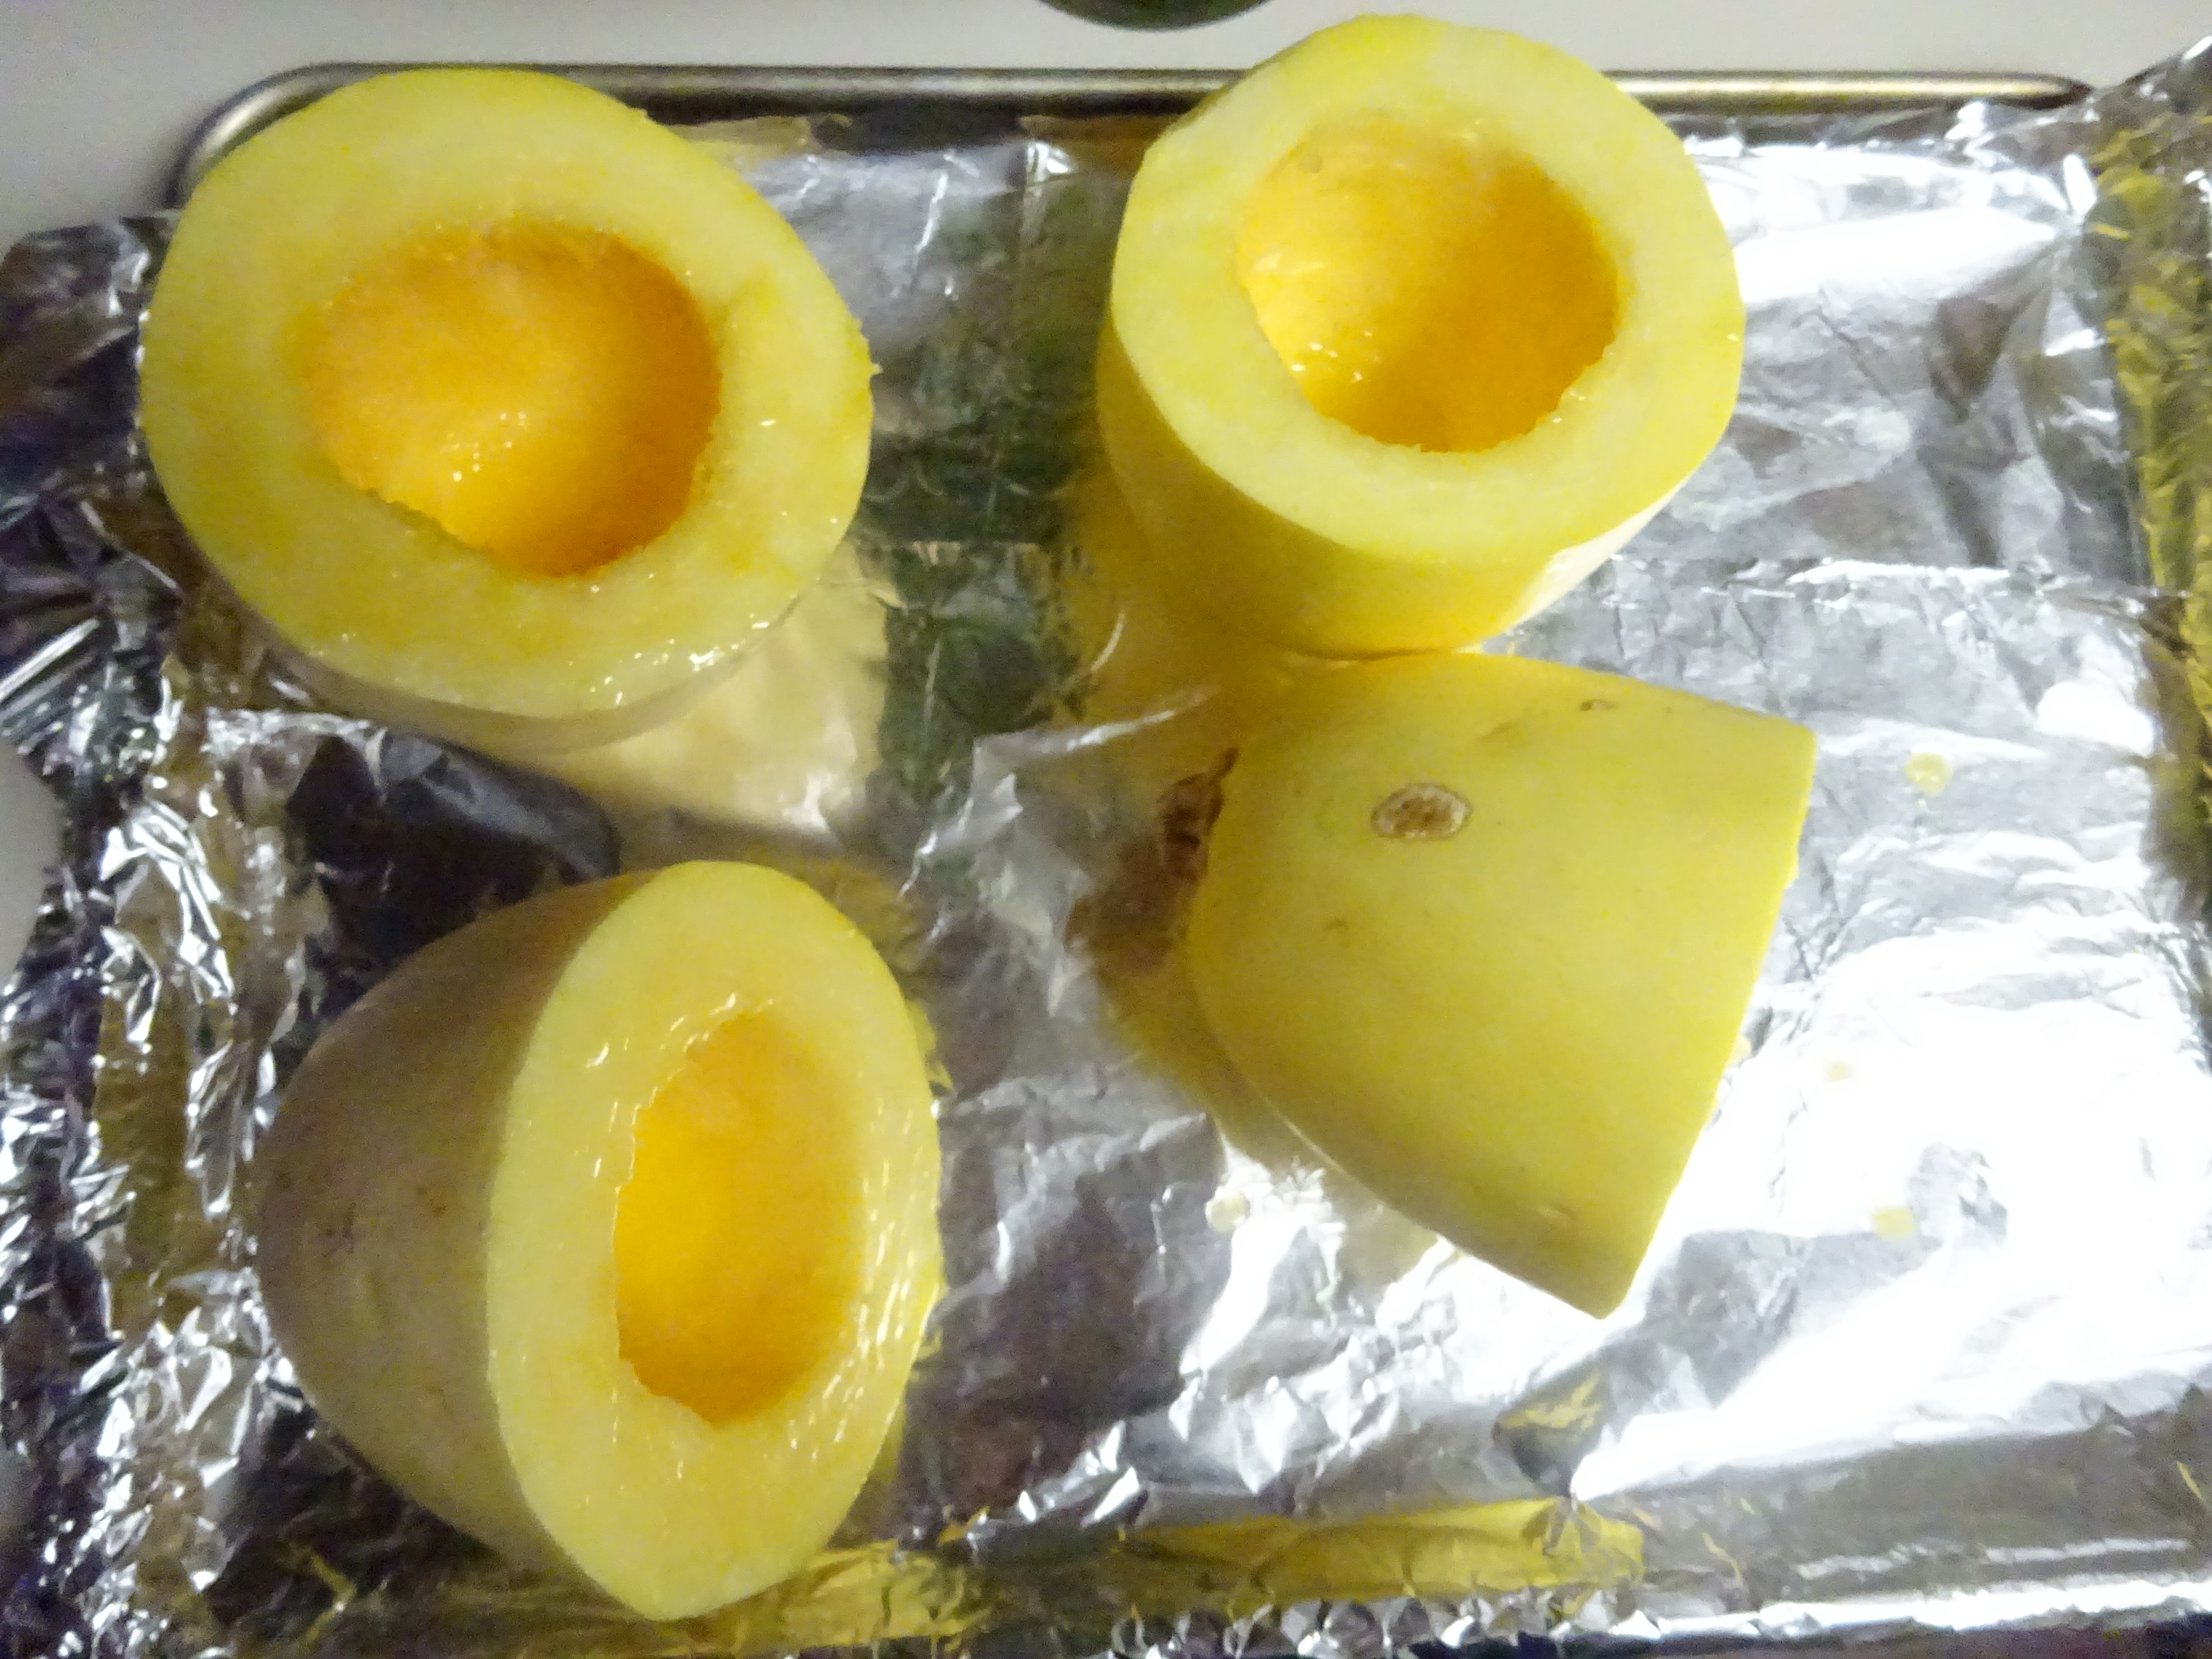
– Pre-heat your oven to about 400 degrees (I have to set my oven a bit higher than normal)
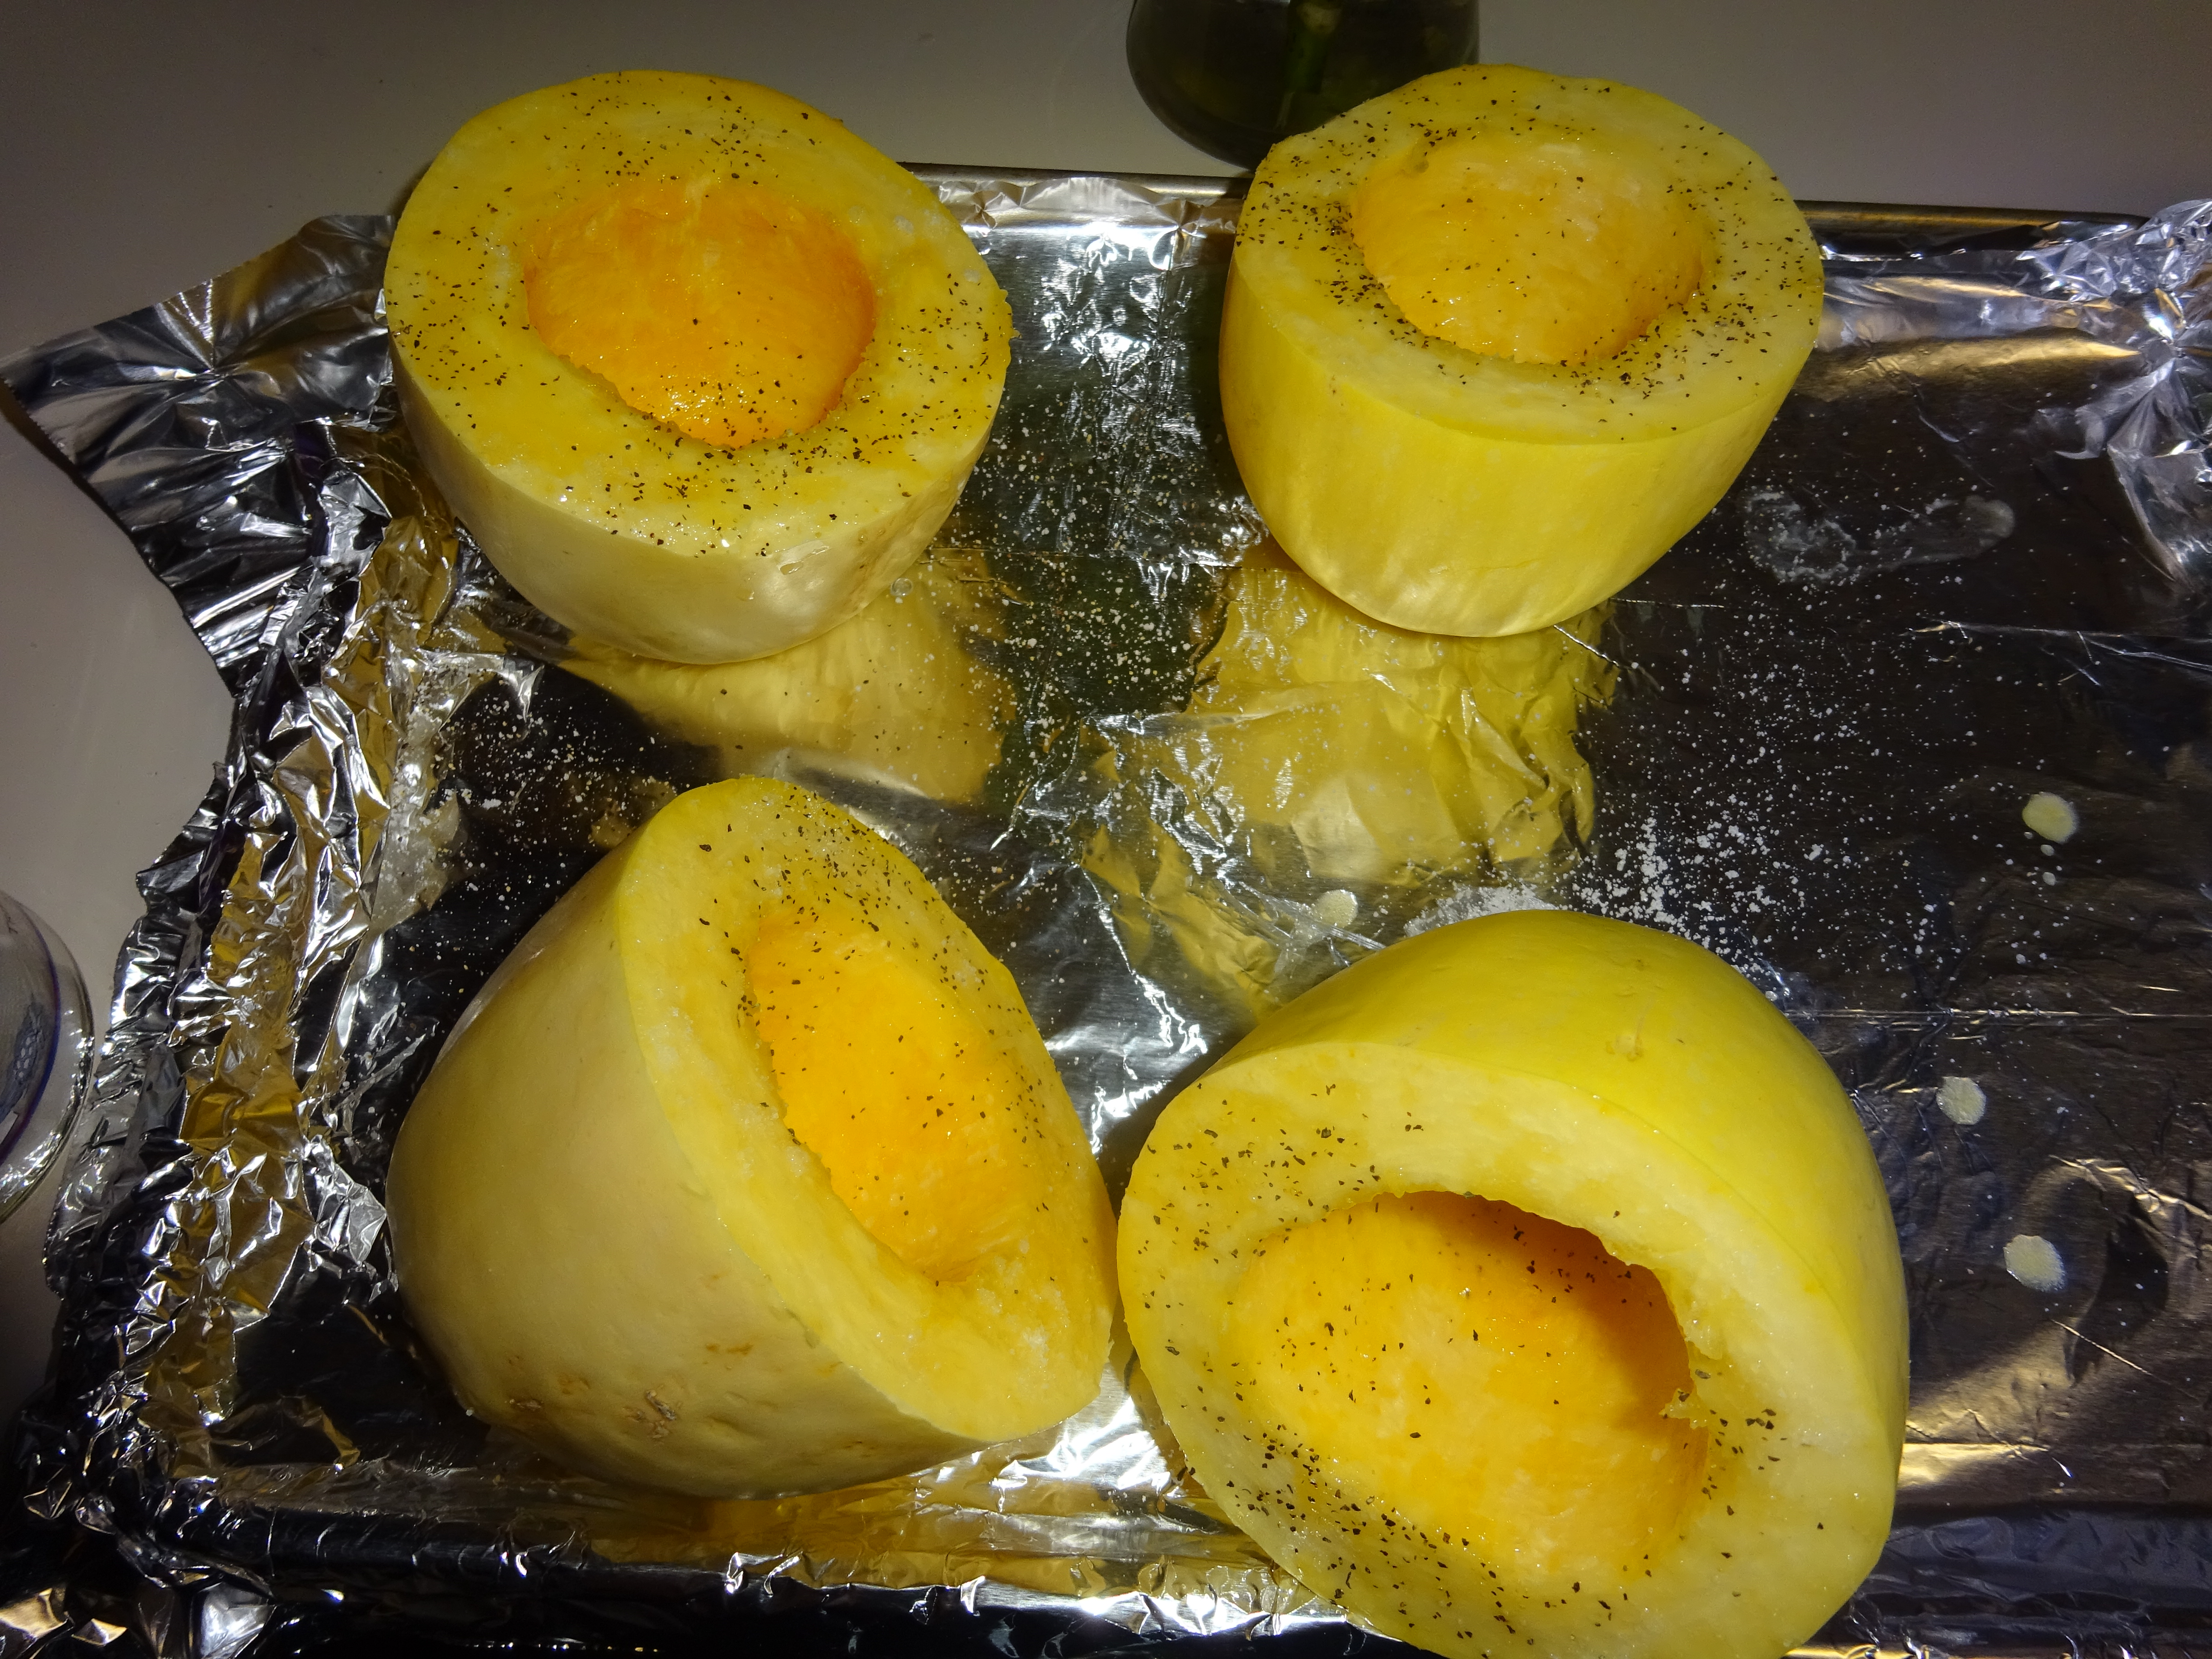
– Cut the tomatoes into wedges and sprinkle with salt, pepper, and olive oil
– If desired, add some garlic cloves – it’ll help add to the garlic flavor of the sauce
DSC00250
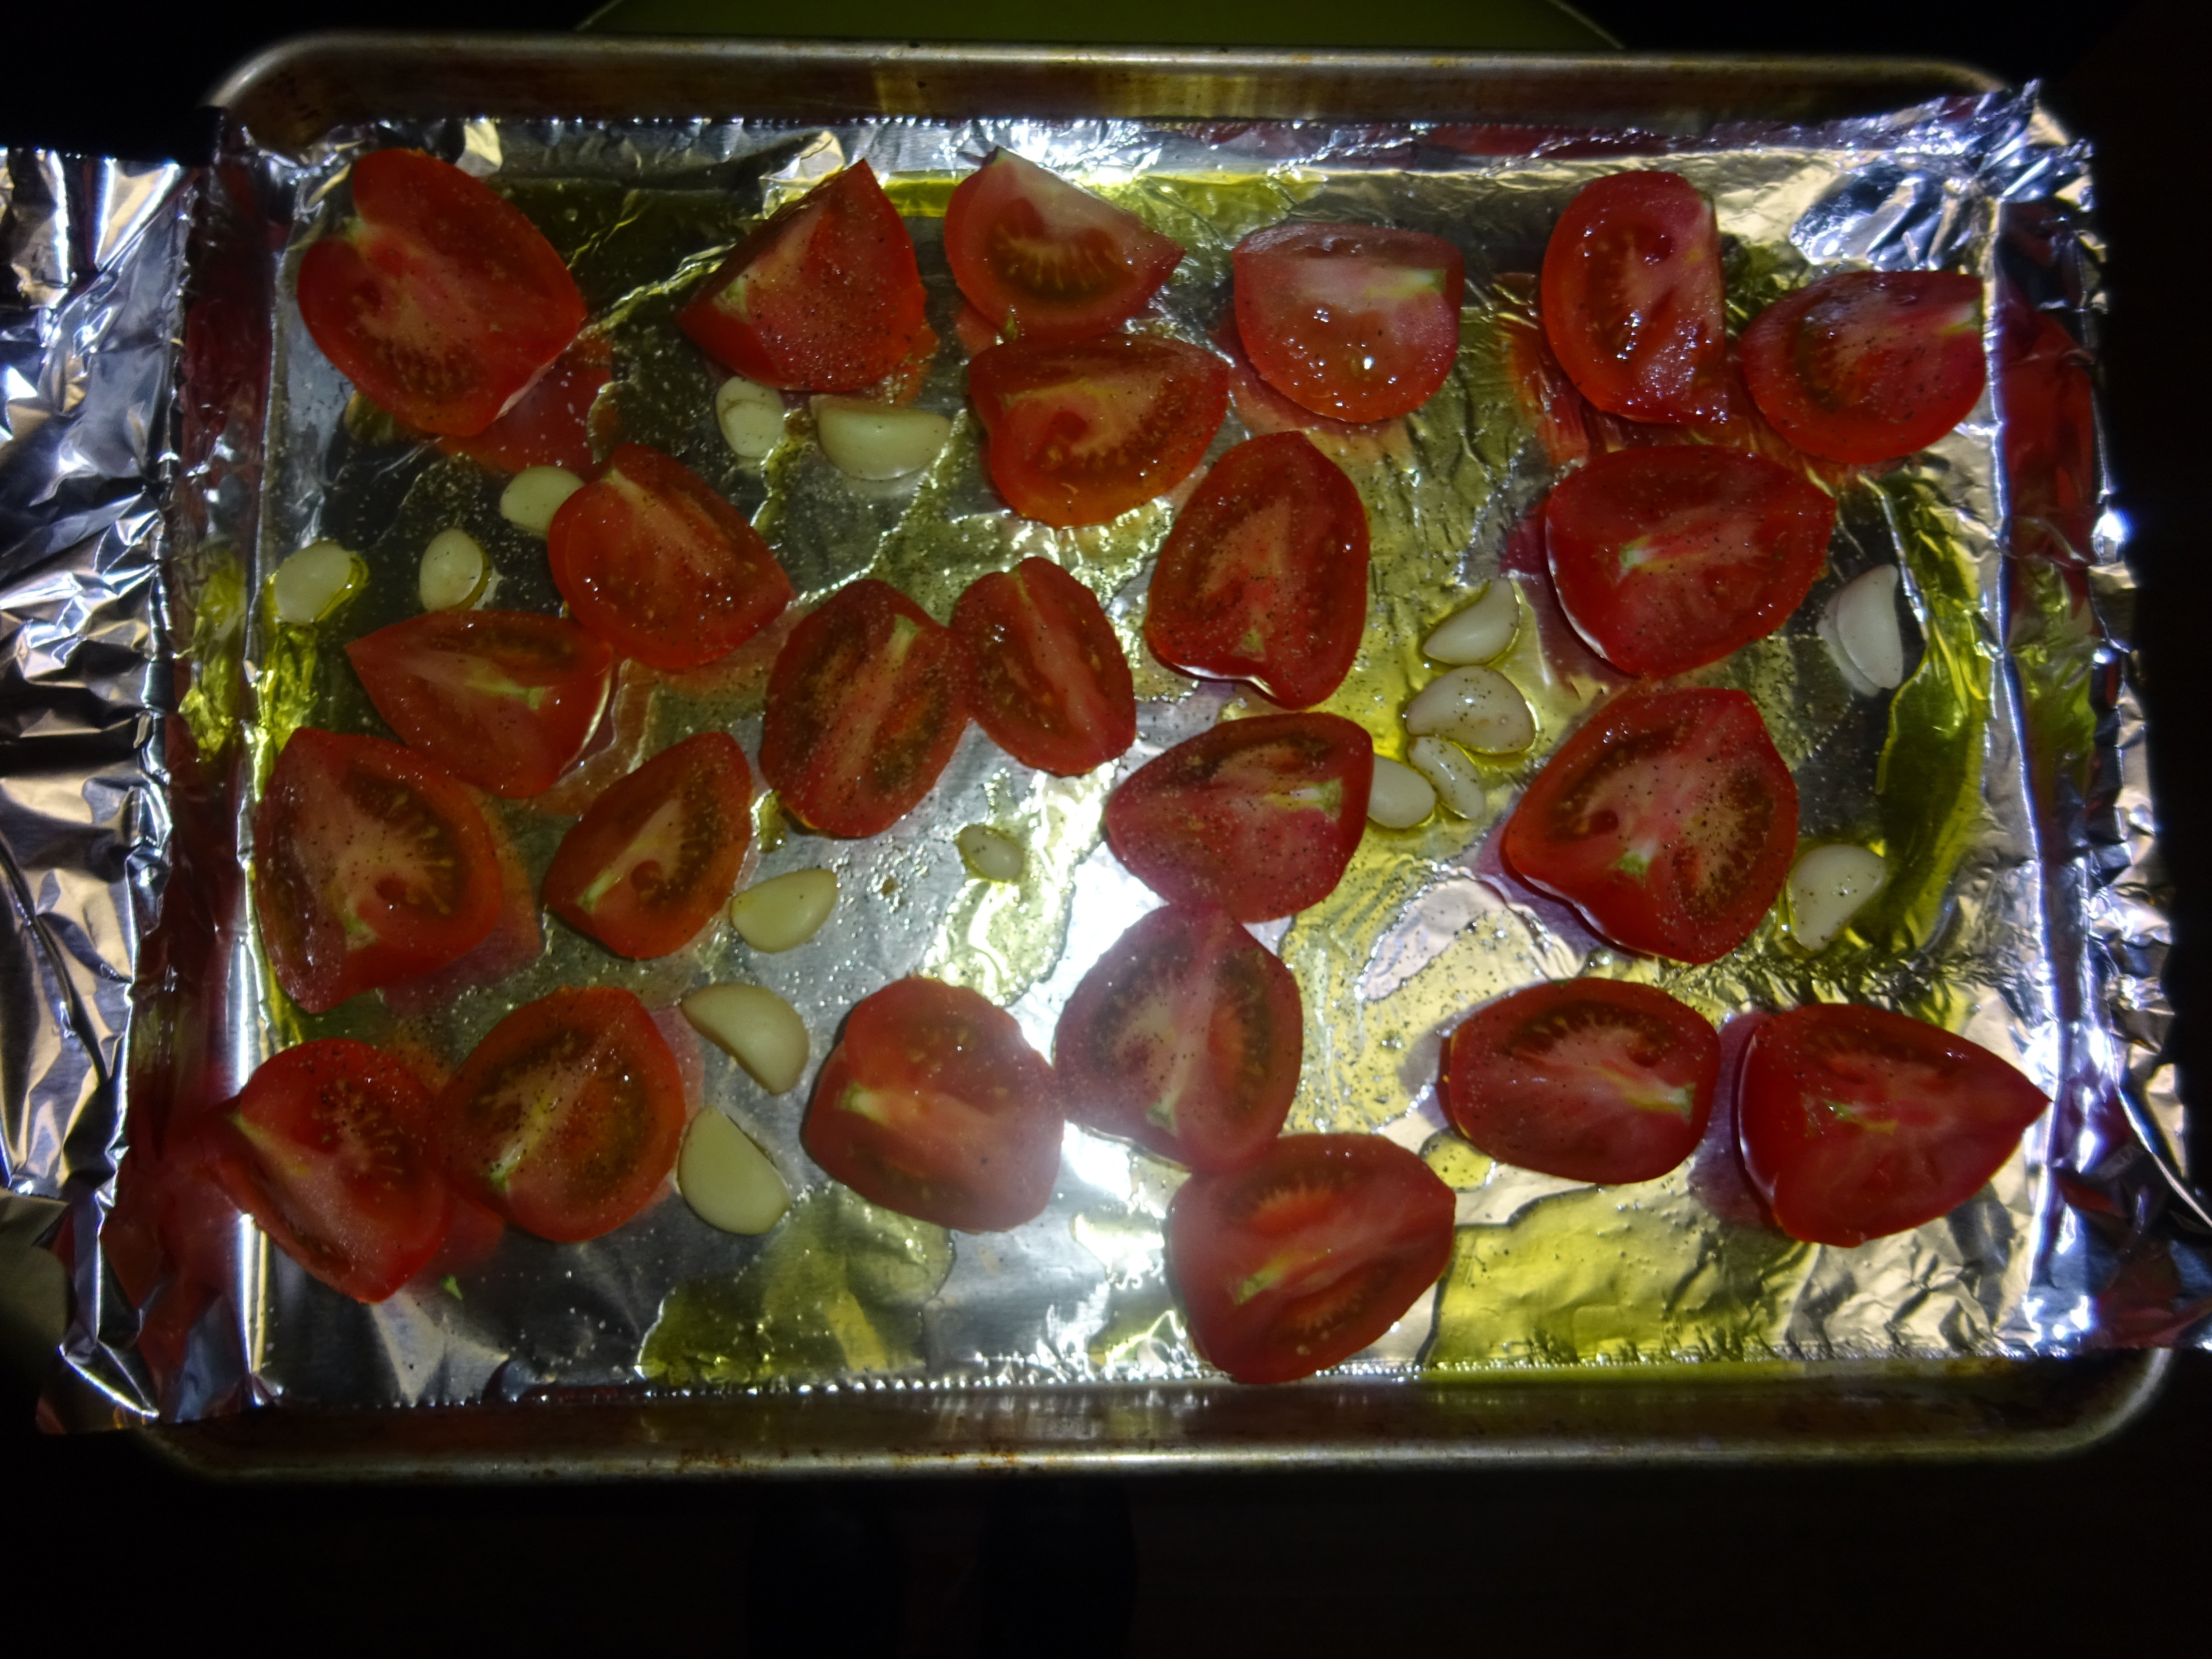
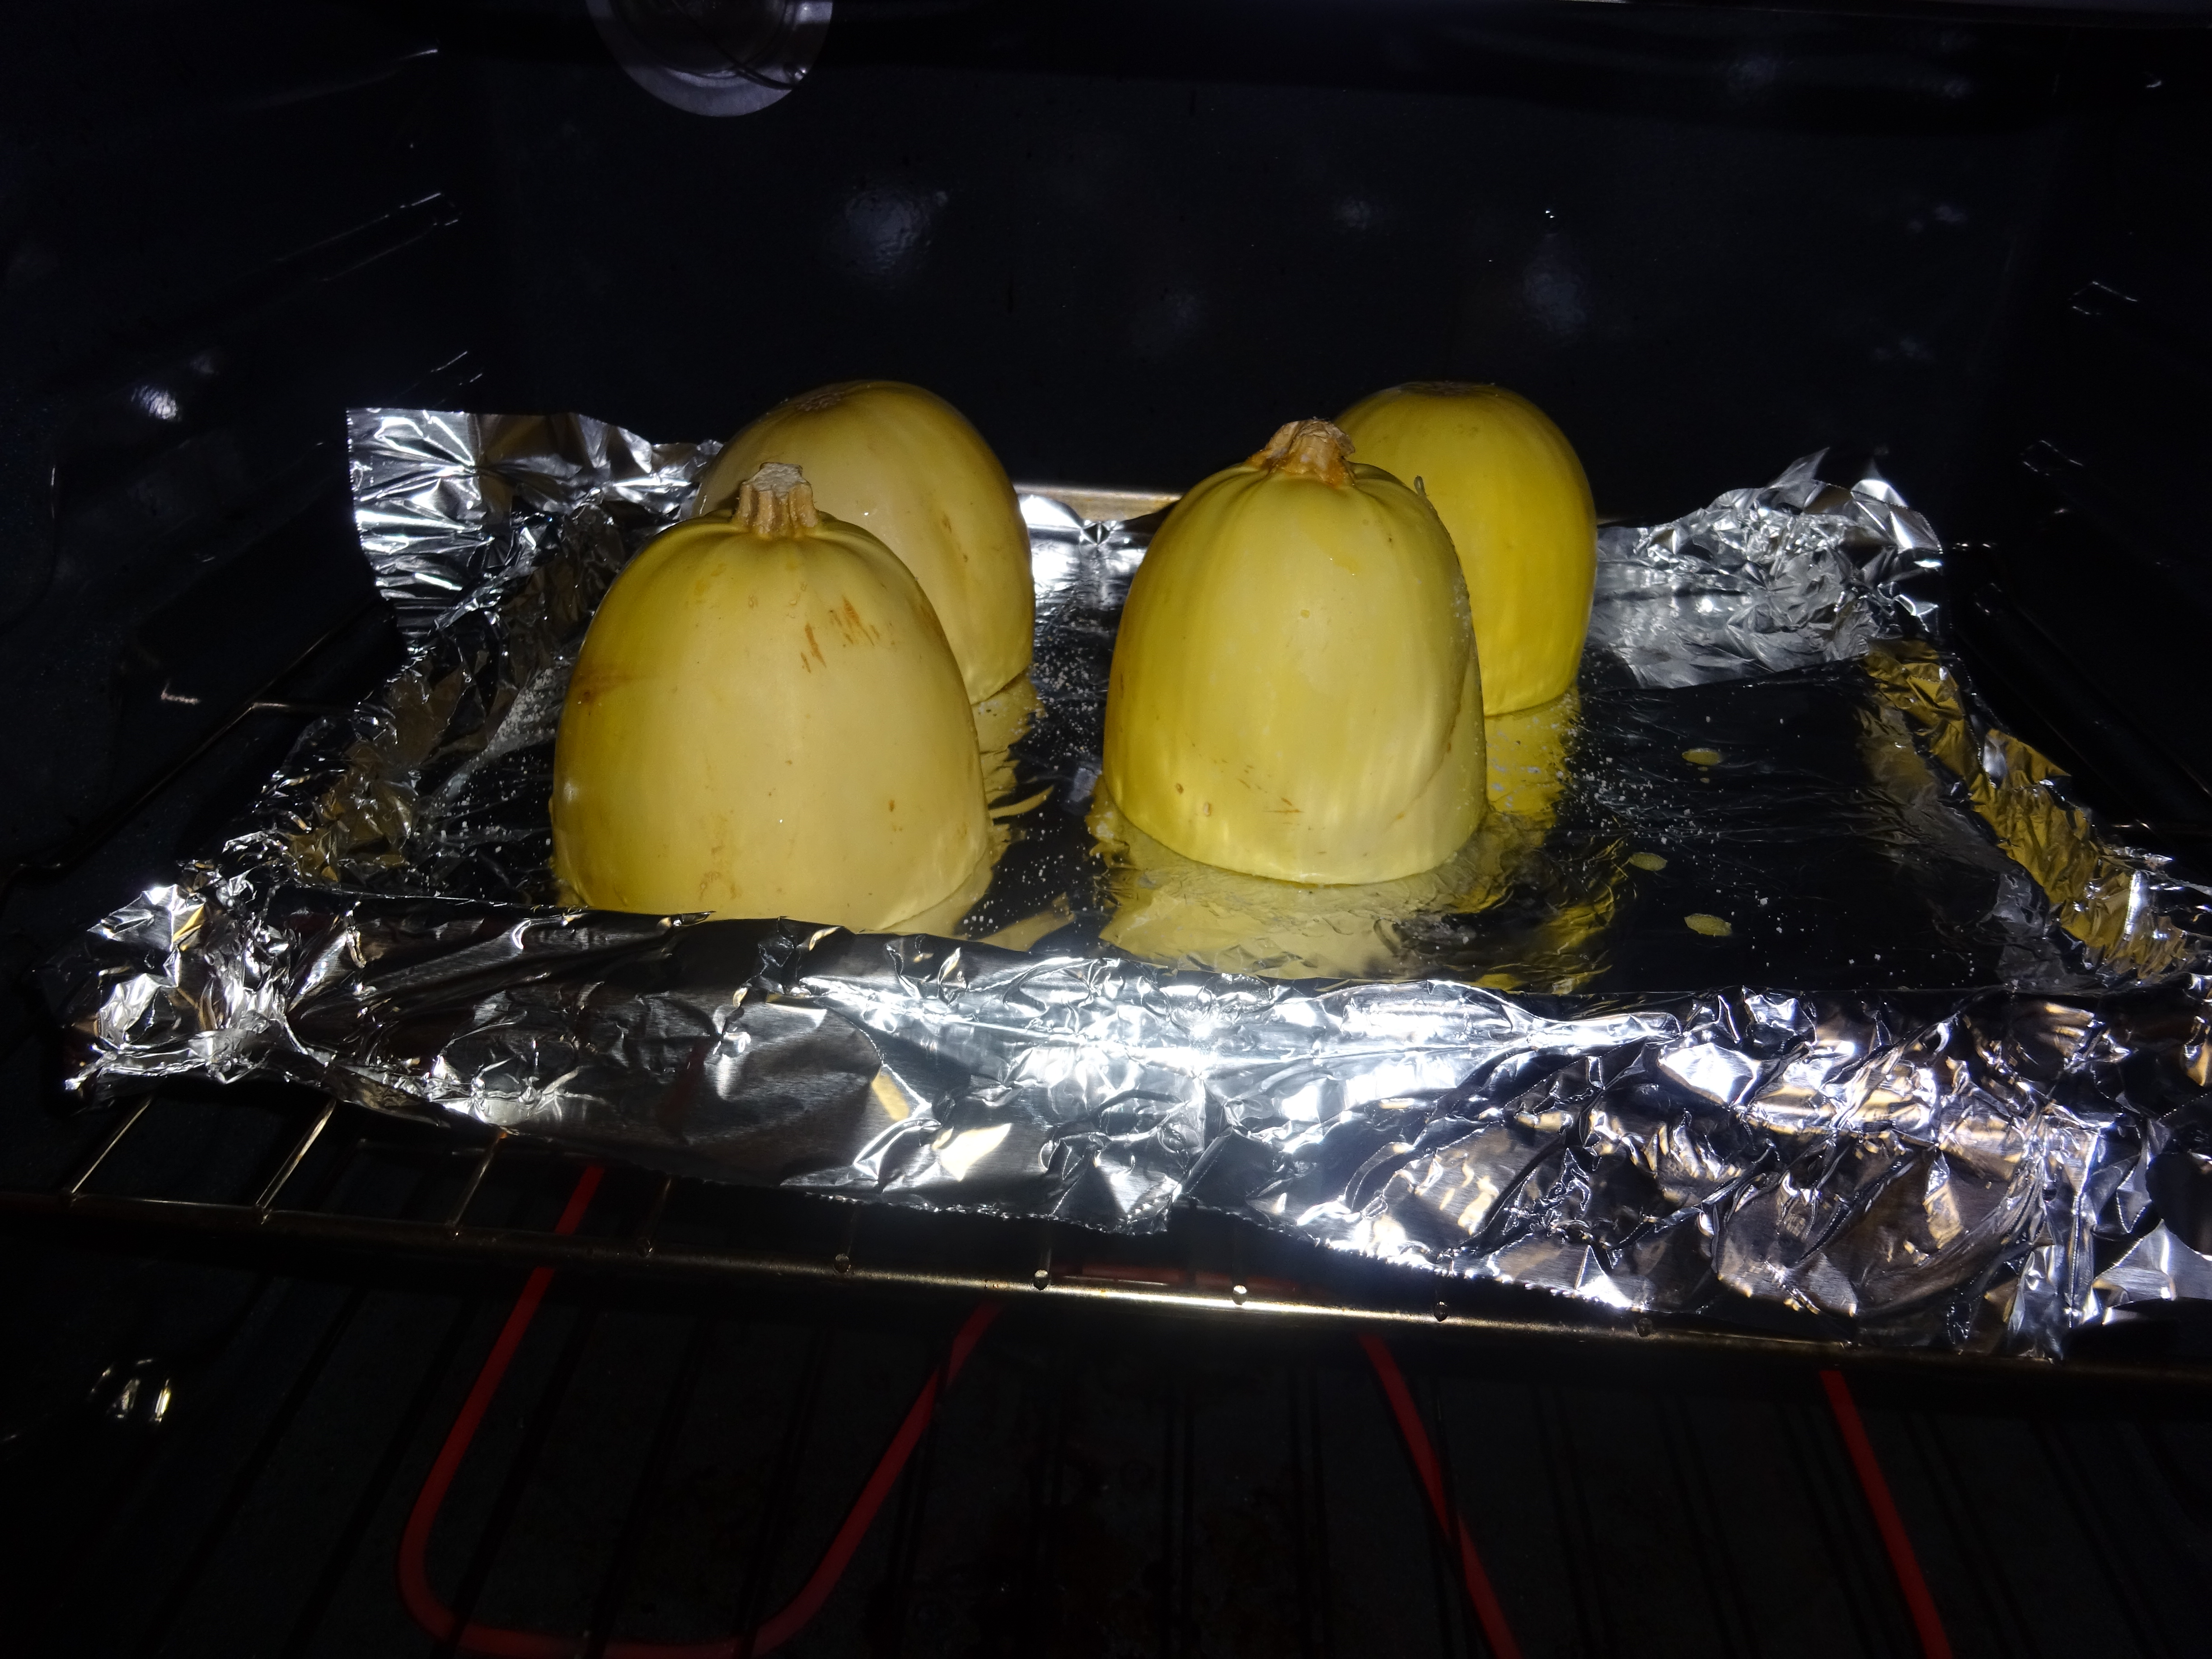
– Let roast for about 20-30 min, or until really tender and the skin is easy to peel off (I always to a little test with a fork to see how ready they are, the skin will also get kind or wrinkly)
– Let cool and peel the tomatoes
– Place peeled tomatoes into a blender or food processor with the roasted garlic and blend until a puree is formed.

For the Sauce
– Brown your grass-fed beef in a pot with olive oil and minced garlic. If you wanted to add some onions, this would be the place to do it.
– Once browned, add in the tomato puree and paste. If you find that it’s a bit thick, add some water to it.
– Add your spices! Have fun with it and taste as you go.
– Let simmer for about 30 min, tasting as it simmers to see what you need to add to get the flavor just right. I like to top mine off with a bit of olive oil as well.
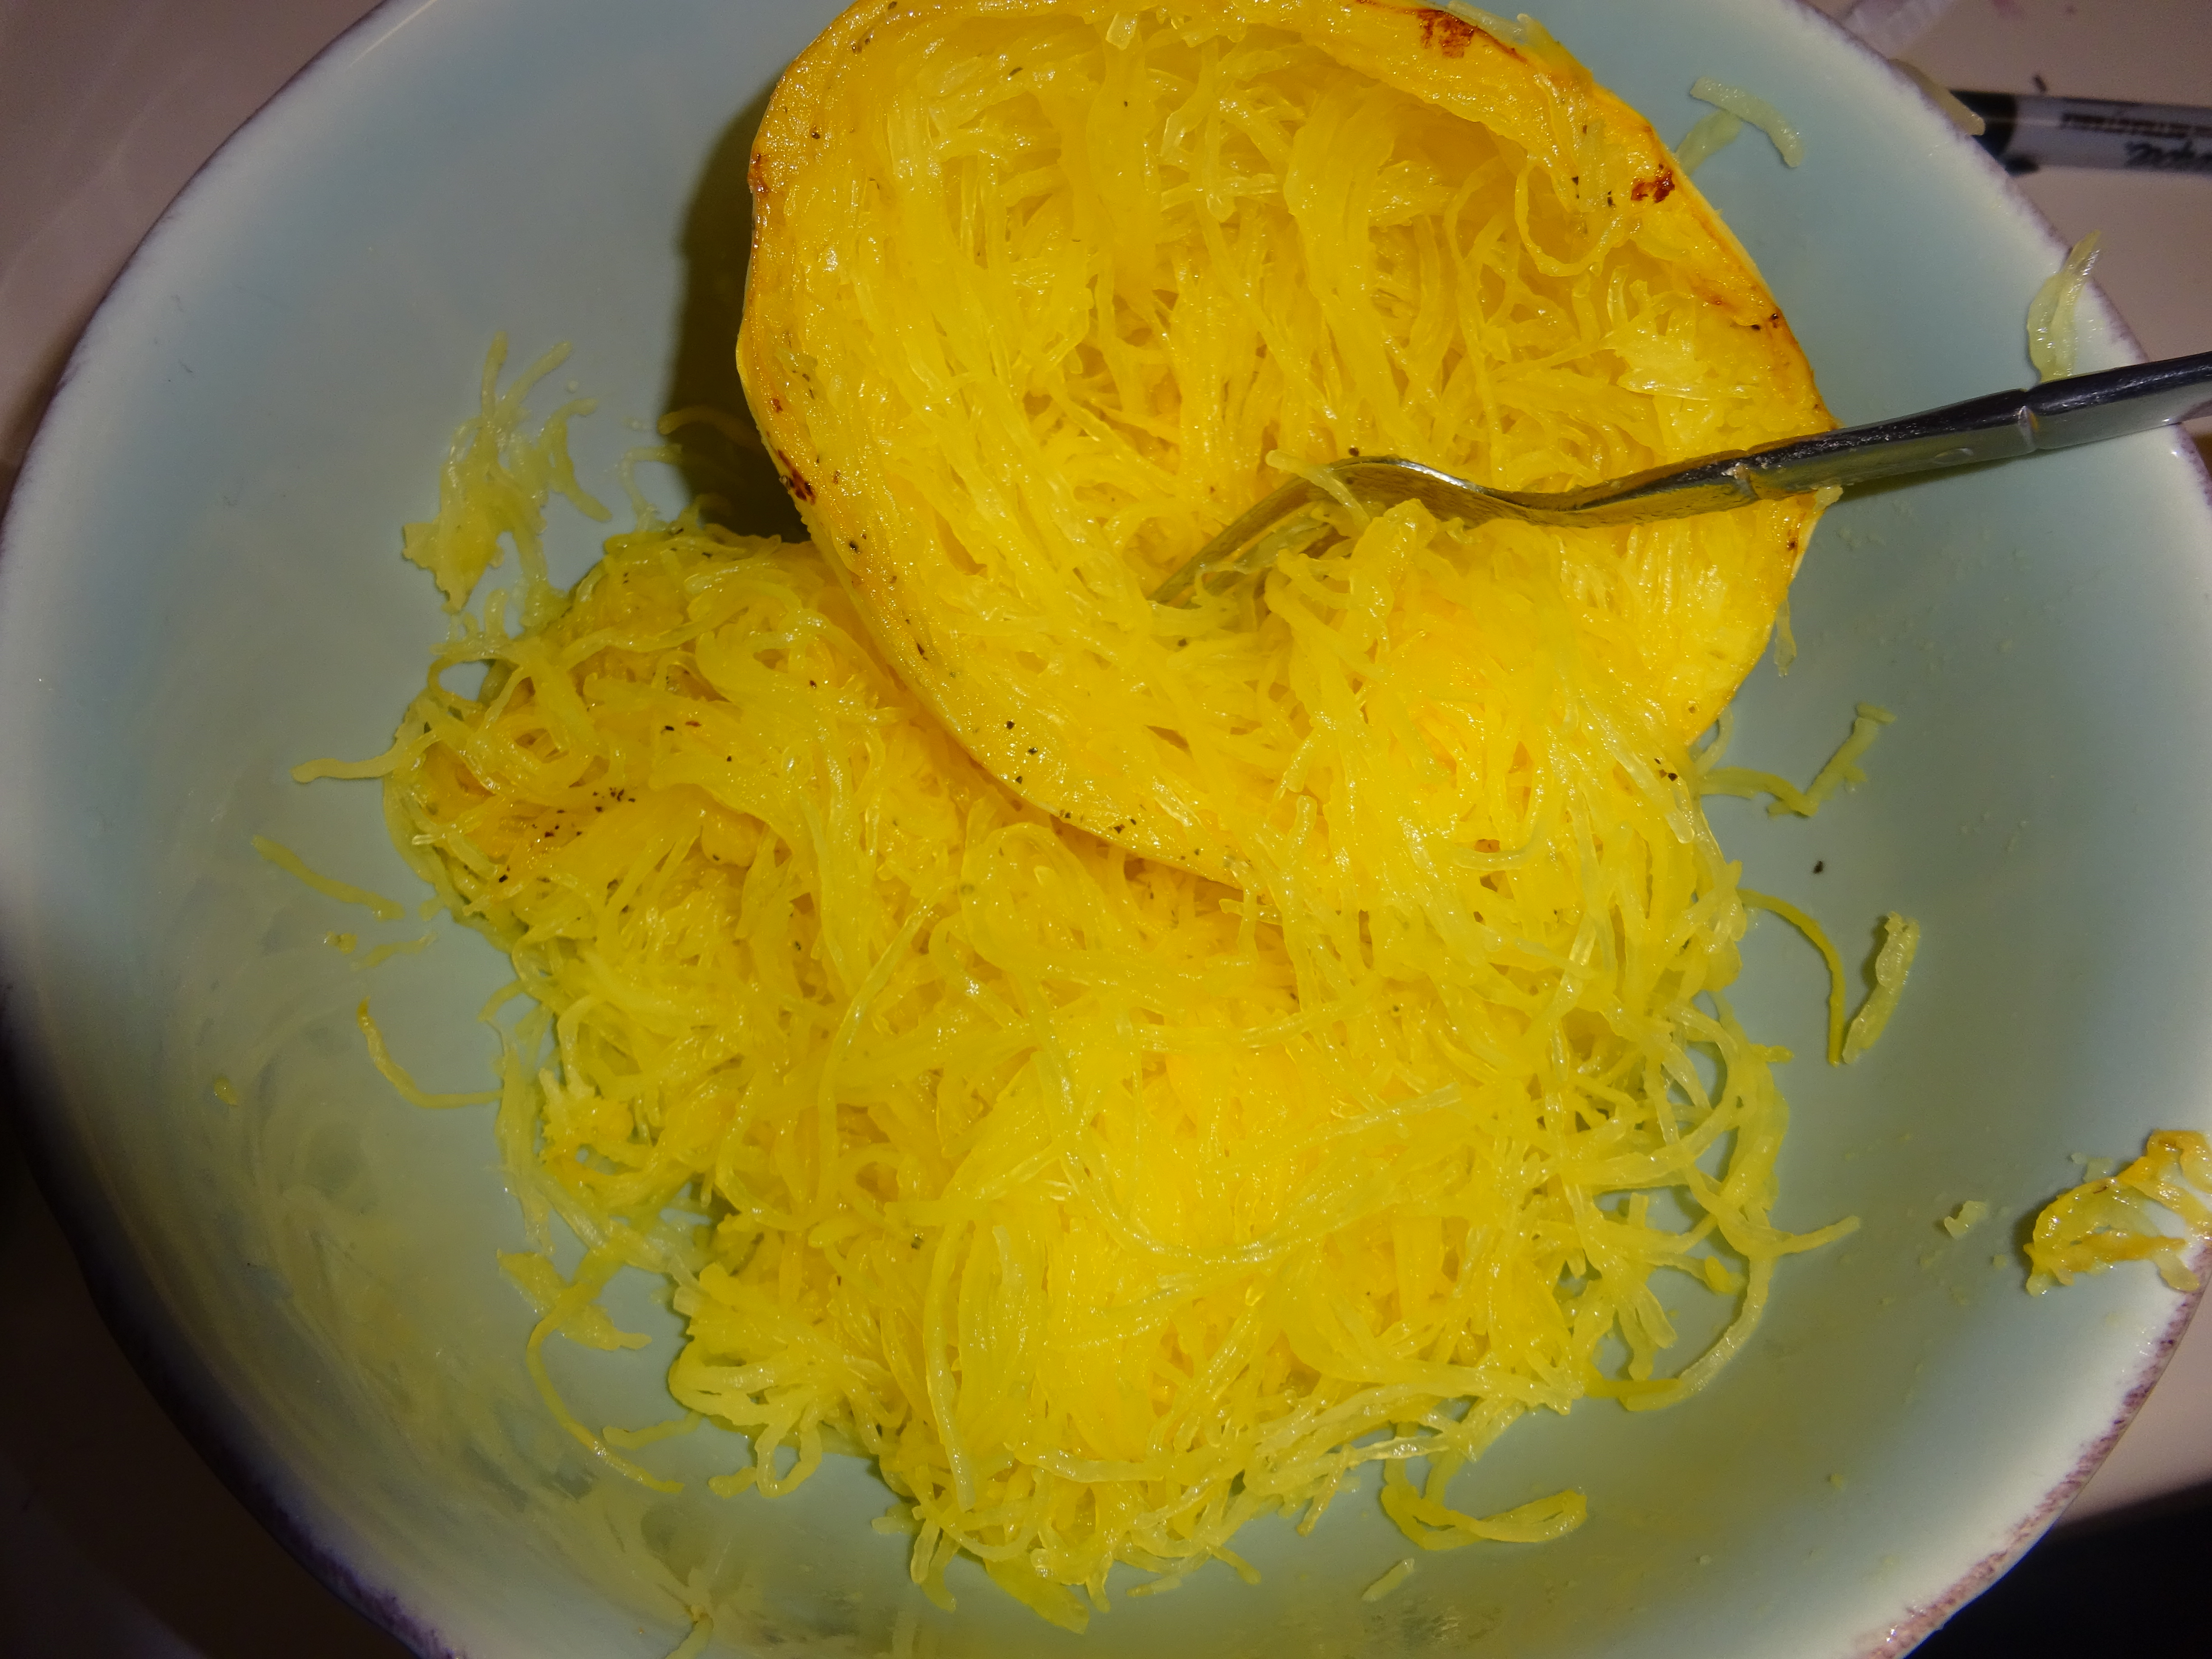
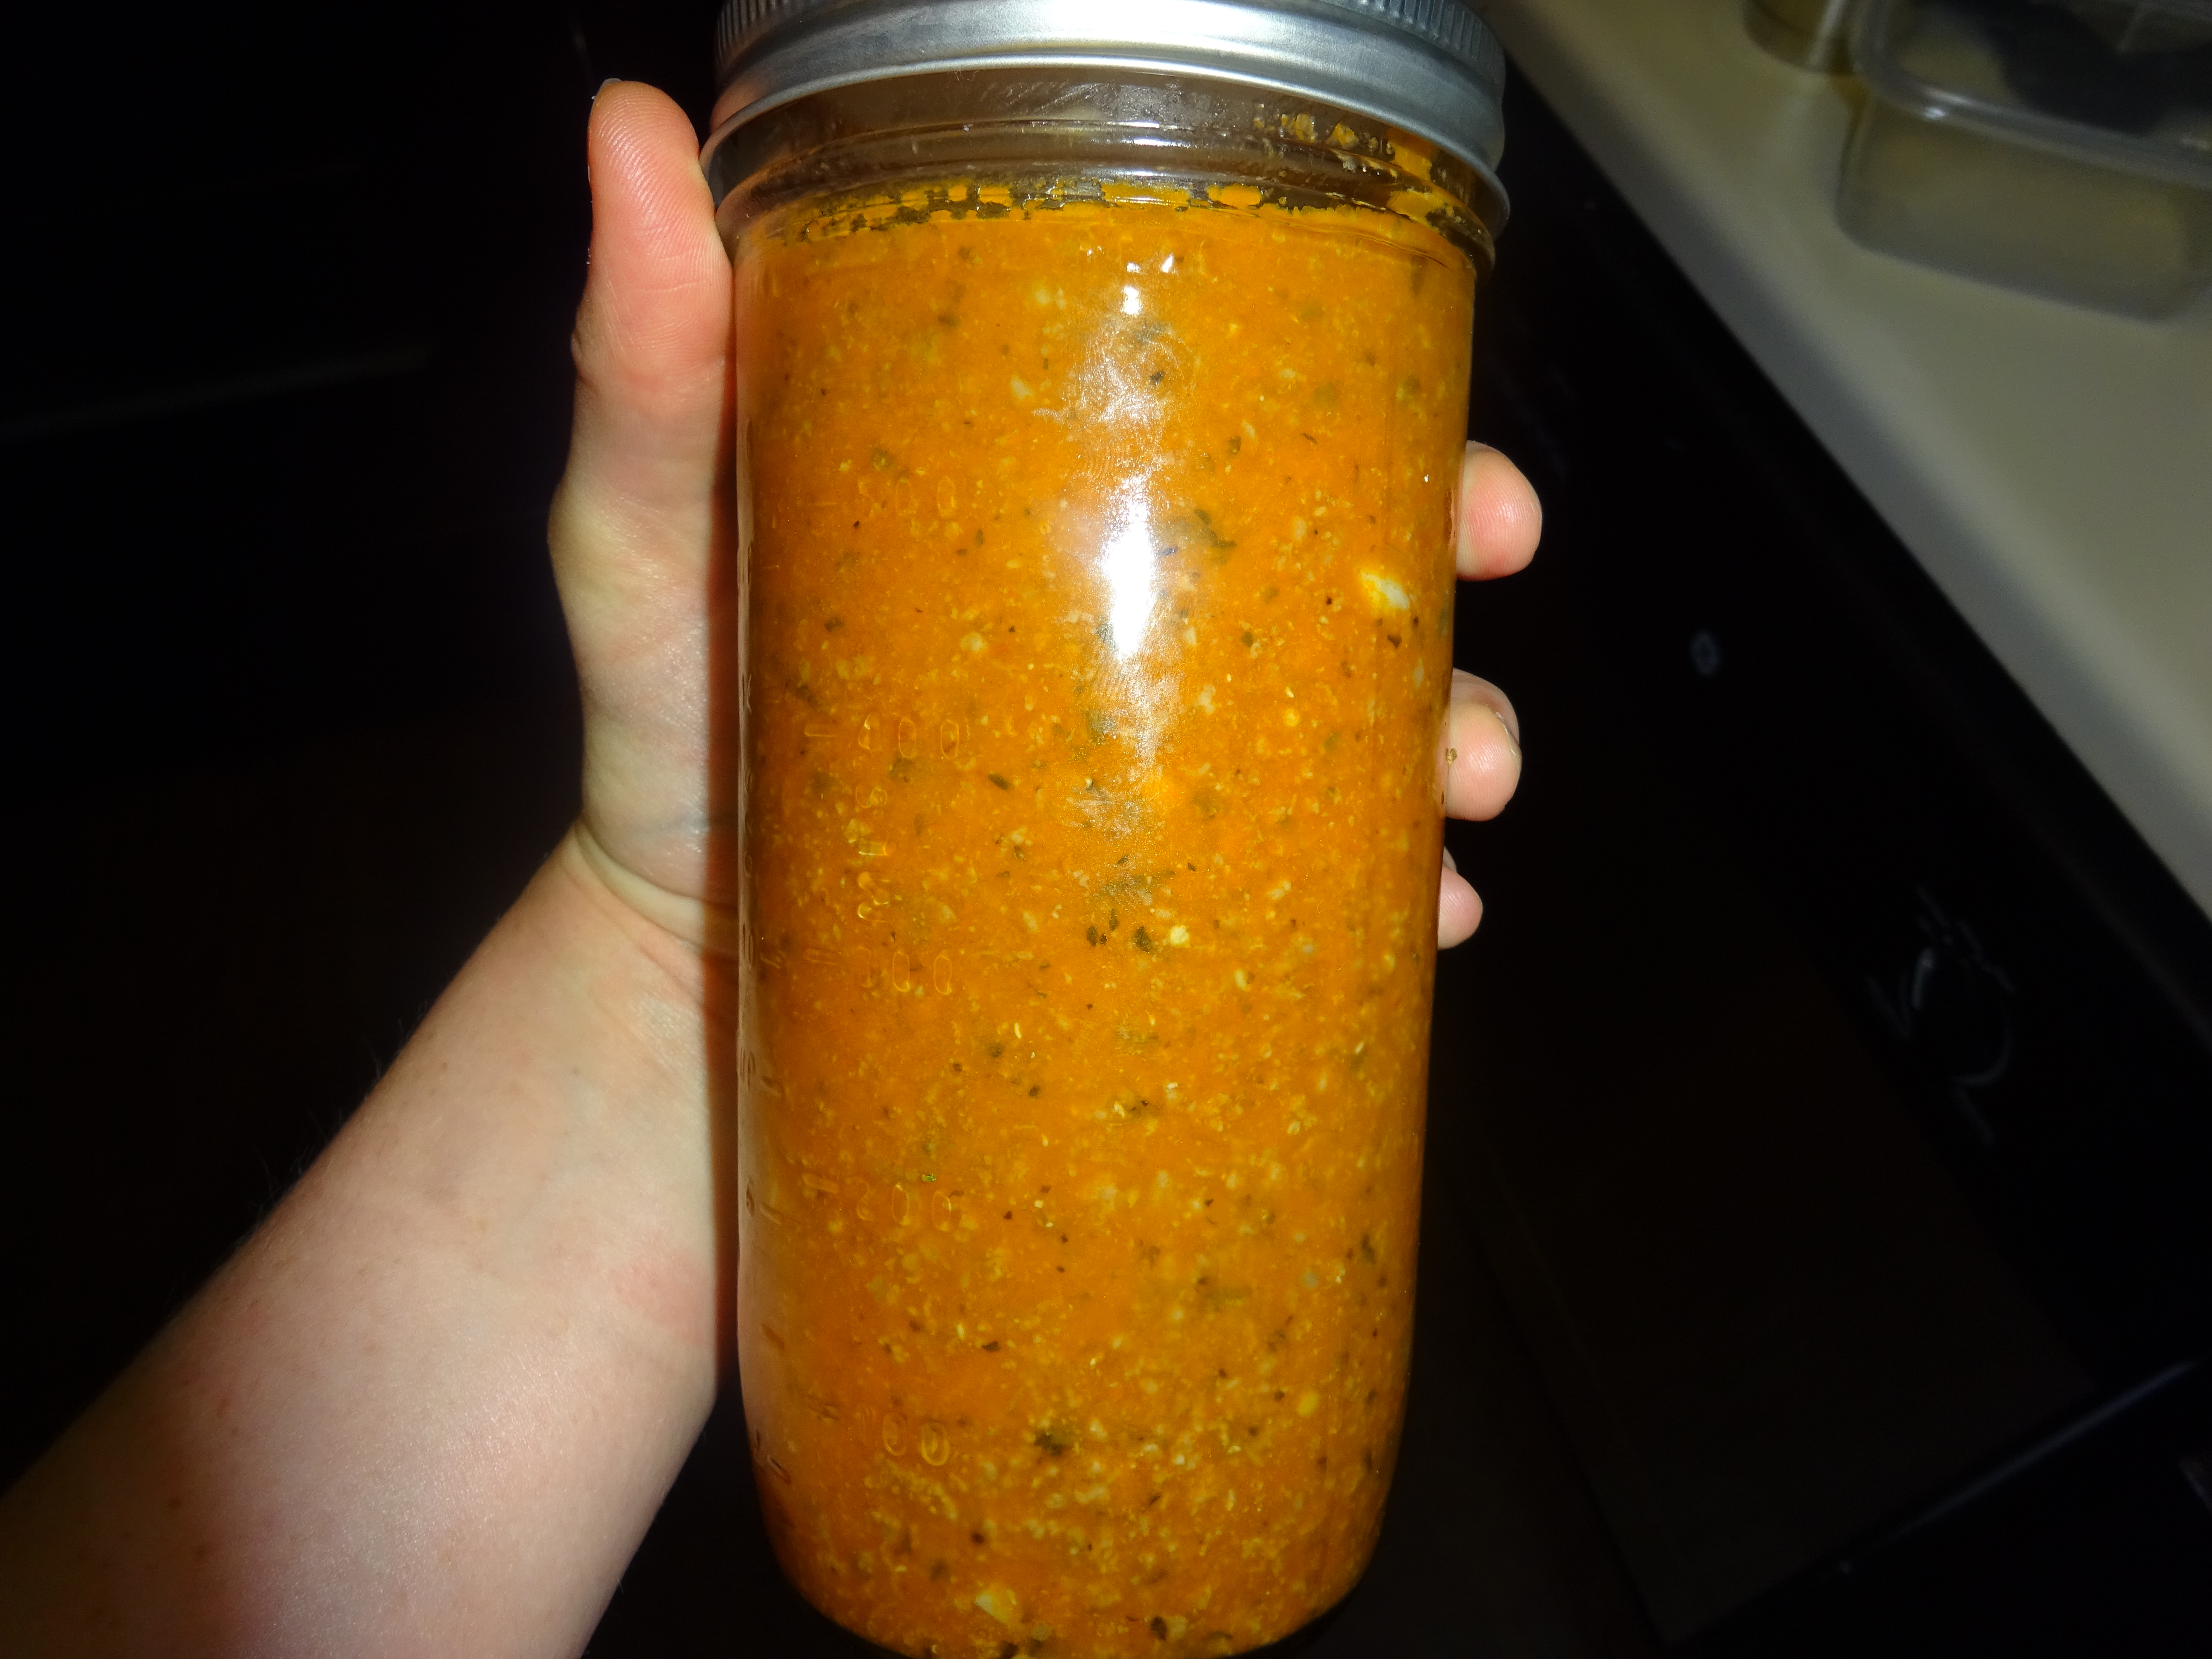
– Serve over spaghetti squash, eat alone, or store in jars (like I did) in the fridge for about 5 days. I find mine is okay for about a week.

Enjoy!
xoxo,
Paige

Cauliflower-Parsnip Mash

The first time I ever tried a cauliflower-parsnip mash I really hated it. It wasn’t exactly a texture thing, it was a flavor thing. After trying a few more times, I realized that I really, REALLY do not like the taste of parsnips. I can’t describe why, but there’s just something about them that makes me gag.

With that being stated, I’ve tried just making mashed cauliflower and there was just something that was missing. I realize now that the starchiness of the parsnip is necessary for a creamier texture. But how was I going to make this without the strong parsnip flavor? Well, add less (duh) and add more ghee/butter. I’ll never be upset about having to add more fat to a recipe.

*You’re going to need a food processor for this, or you could just use a masher. However, I think the food processor is a lot easier. Also – feel free to boil rather than steaming the vegetables.
*Taste this as you go. Maybe you want to add more butter, maybe you need it to be thinner, maybe you think there needs to be more salt. You’ll never know if you don’t taste as you go.

Cauliflower-Parsnip Mash
DSC00200

Ingredients
– Head of cauliflower
– 1 parsnip (I had a really big one and just used half, you’ll see in the pictures)
– Splash of milk of choice (I used almond)
– 2-4 tablespoons of butter or ghee
– Salt and pepper to taste
*Feel free to play with the flavor. For this, I added some garlic and parsley, but I really want to try it with some homemade ranch seasoning. I really love ranch, okay?

Method
– Cut up and wash your vegetable. Place them in the steamer.
– Steam the vegetables for about 15-20 min. You want them to be pretty tender, so you should easily be able to poke the vegetables with a fork or knife.
DSC00194
– Place the vegetables in the food processor and give them a good pulse. Then add your butter/ghee, salt, pepper, or any other spices you want and almond milk. If you want this to be really creamy, add more milk. If you want more of a potato texture, only add a splash.
DSC00199
– Either serve or store in the fridge for a few days in an airtight container.

That’s it! Hope you enjoy!
xoxo,
Paige

Smoothie Packs

I have a confession – I don’t actually like eating fruit. I think this comes from not eating much as a kid, but also that I don’t really care for things that are very sweet. Even now if I have to sweeten anything, I only like a certain kind of sweetness. I’m a very picky sweets eater.

Since most fruits are pretty sweet, I avoid them. I’m more of a vegetable girl – I’d rather eat a plate full of broccoli than one filled with strawberries. With that being said, it is important to have some fruit in your diet so you can get the nutrients you need. This is where the almighty smoothie comes in.

I started making smoothie packs when I realized that:
A) Adding a lot of fruit to a blender produces way more than one serving of smoothie
B) I was wasting a lot of good food
C) I am not good at making decisions on what flavor of smoothie I want, so I would add a little of everything (which wasn’t very good)

These nifty little packs just go in your freezer and are ready for you to use whenever you have a smoothie craving. Just add your liquids of choice – for me it’s plain unsweetened whole milk kefir, homemade nut milk, and green tea – and any nutrient boosters – I add chia seeds for a little boost and texture – and blend. It’s thoughtless, simple, and incredibly easy.

*Depending on how many of these you make is going to determine how much time it takes you to pack these.
*You’re going to need Ziploc bags. I used quart storage bags, but sandwich would work just as well.

Smoothie Packs
DSC00167
Ingredients
– Any frozen or fresh fruit of your choice. I typically stick to frozen berries, but it’s up to you. Get creative! Mango, melon, pineapple, banana – they would all be good choices!
– Leafy greens, such as spinach and/or kale. You’ll see in the pictures I also use some zucchini. Actually a very good smoothie addition if you’ve never tried it.

Method
DSC00163
^^^This was my assembly line before cutting the zucchini.
– Prepare your fruits and vegetables. If you have fresh fruits and vegetables, wash and cut them accordingly. For bigger fruits and veggies, I’d try and cut them into pretty small pieces. This is what my zucchini looked like after cutting.
– Lay out all your ingredients like in the above picture.
– Assemble your bags. It’s fun to mix it up a little. One bag with strawberry and blueberry, the next with raspberry and blackberry. Just be sure to always add a leafy green or vegetable. Or both, because you love nutrition.
– Zip up the bag, label it, and place it in the freezer.
– Repeat all steps until you’re out of ingredients.

That’s it! It’s super simple! This is also a great way to meal prep. I ended up making about 24 of these smoothie packs from buying 2 bags of each frozen fruit, the large tubs of spinach and kale, and the small zucchinis. This will last me for awhile and is something I don’t have to do often – which is great. This is what my freezer looks like after placing all the packs in there.
DSC00171

Hope this helps some of y’all out! I know being a busy college student this has helped me out tremendously!

Keep it healthy!
xoxo,
Paige

Spaghetti Squash

When I first started living a grain-free life, the one thing I knew I would miss would be pasta – particularly noodles. There’s something so calming about twirling some spaghetti around a fork. However, after a lot of research I found I could use zucchini’s as noodles. They filled the void until I finally broke down and tried spaghetti squash.

Spaghetti squash takes grain-free pasta dishes to a whole new level. Very neutral in flavor, these noodles remind me of angel hair pasta (though it’s been awhile since I’ve had real angel hair pasta, but oh well).

Use this as a replacement for noodles in a variety of Italian inspired pasta dishes, such as my Seafood Alfredo.

This should take about 30-40 min to cook, and prep time isn’t too long. Anywhere from 5-10 min. It’s great to prepare this on a Sunday so it’s ready to use throughout the week (or whatever day you have available).

Spaghetti Squash
DSC00176
Ingredients
– Spaghetti Squash
– 1-2 tablespoons of butter or ghee, melted (feel free to use your favorite oil, sometimes I’ll use avocado)
– Salt and pepper

Method
– Preheat your oven. This is tricky for me because I have an oven that I’ve got to set pretty high. I preheated mine to 415 degrees.
– Take the squash and cut it width wise. You could cut it length wise, but trust me – width is easier.
DSC00156
-Clean out the seeds and discard the waste so your squash looks like this
DSC00158
– Melt the butter and coat the the meat of the squash. I used two squash’s and needed 2 tablespoons of butter. Mine were somewhat smaller than some I’ve seen. Once oiled, sprinkle with salt and pepper.
DSC00160
– Once the oven is preheated, place the spaghetti squash face down on a cooking sheet covered in foil (you’ll thank me for that) and let cook about 30-40</>min.
DSC00161
– After your timer has dinged, take the squash out and make sure the squash is tender to the touch. They’re going to be hot, but you should be able to poke and see. If not tender, let cook another 5 min. Let the squash cool.
– Once cooled, it’s time to get the meat out! Using a fork, scrape the squash into a bowl. It will come out like spaghetti noodles!
DSC00174
– Place your prepared squash in airtight containers and enjoy! This should last for about a week in the fridge.

Enjoy! If you haven’t discovered the greatness of spaghetti squash, let me know how you like it!

xoxo,
Paige