Living this lifestyle has a lot of ups and downs. For starters, I can’t enjoy a lot of the foods that I once indulged in. Humor me for a second and hear this – growing up in a small town one restaurant stood above all the rest and that place was the Olive Garden. When my Mom and I would go out of town to the big city (Houston!), we always had to stop at Olive Garden, it was like our thing. Once this holy grail of a restaurant came to our town, Houston wasn’t as glamorous and I remember thinking, “where are we going to eat now?” Don’t worry, we supplemented with the Cheesecake Factory.
With that being stated, I absolutely love Italian. When I visited Italy in high school, I was in food heaven. However, Italian food isn’t necessarily all too kind to the gluten-free diet and even less friendly to the paleo diet. So long, creamy Alfredo and noodles.
That is, until now.
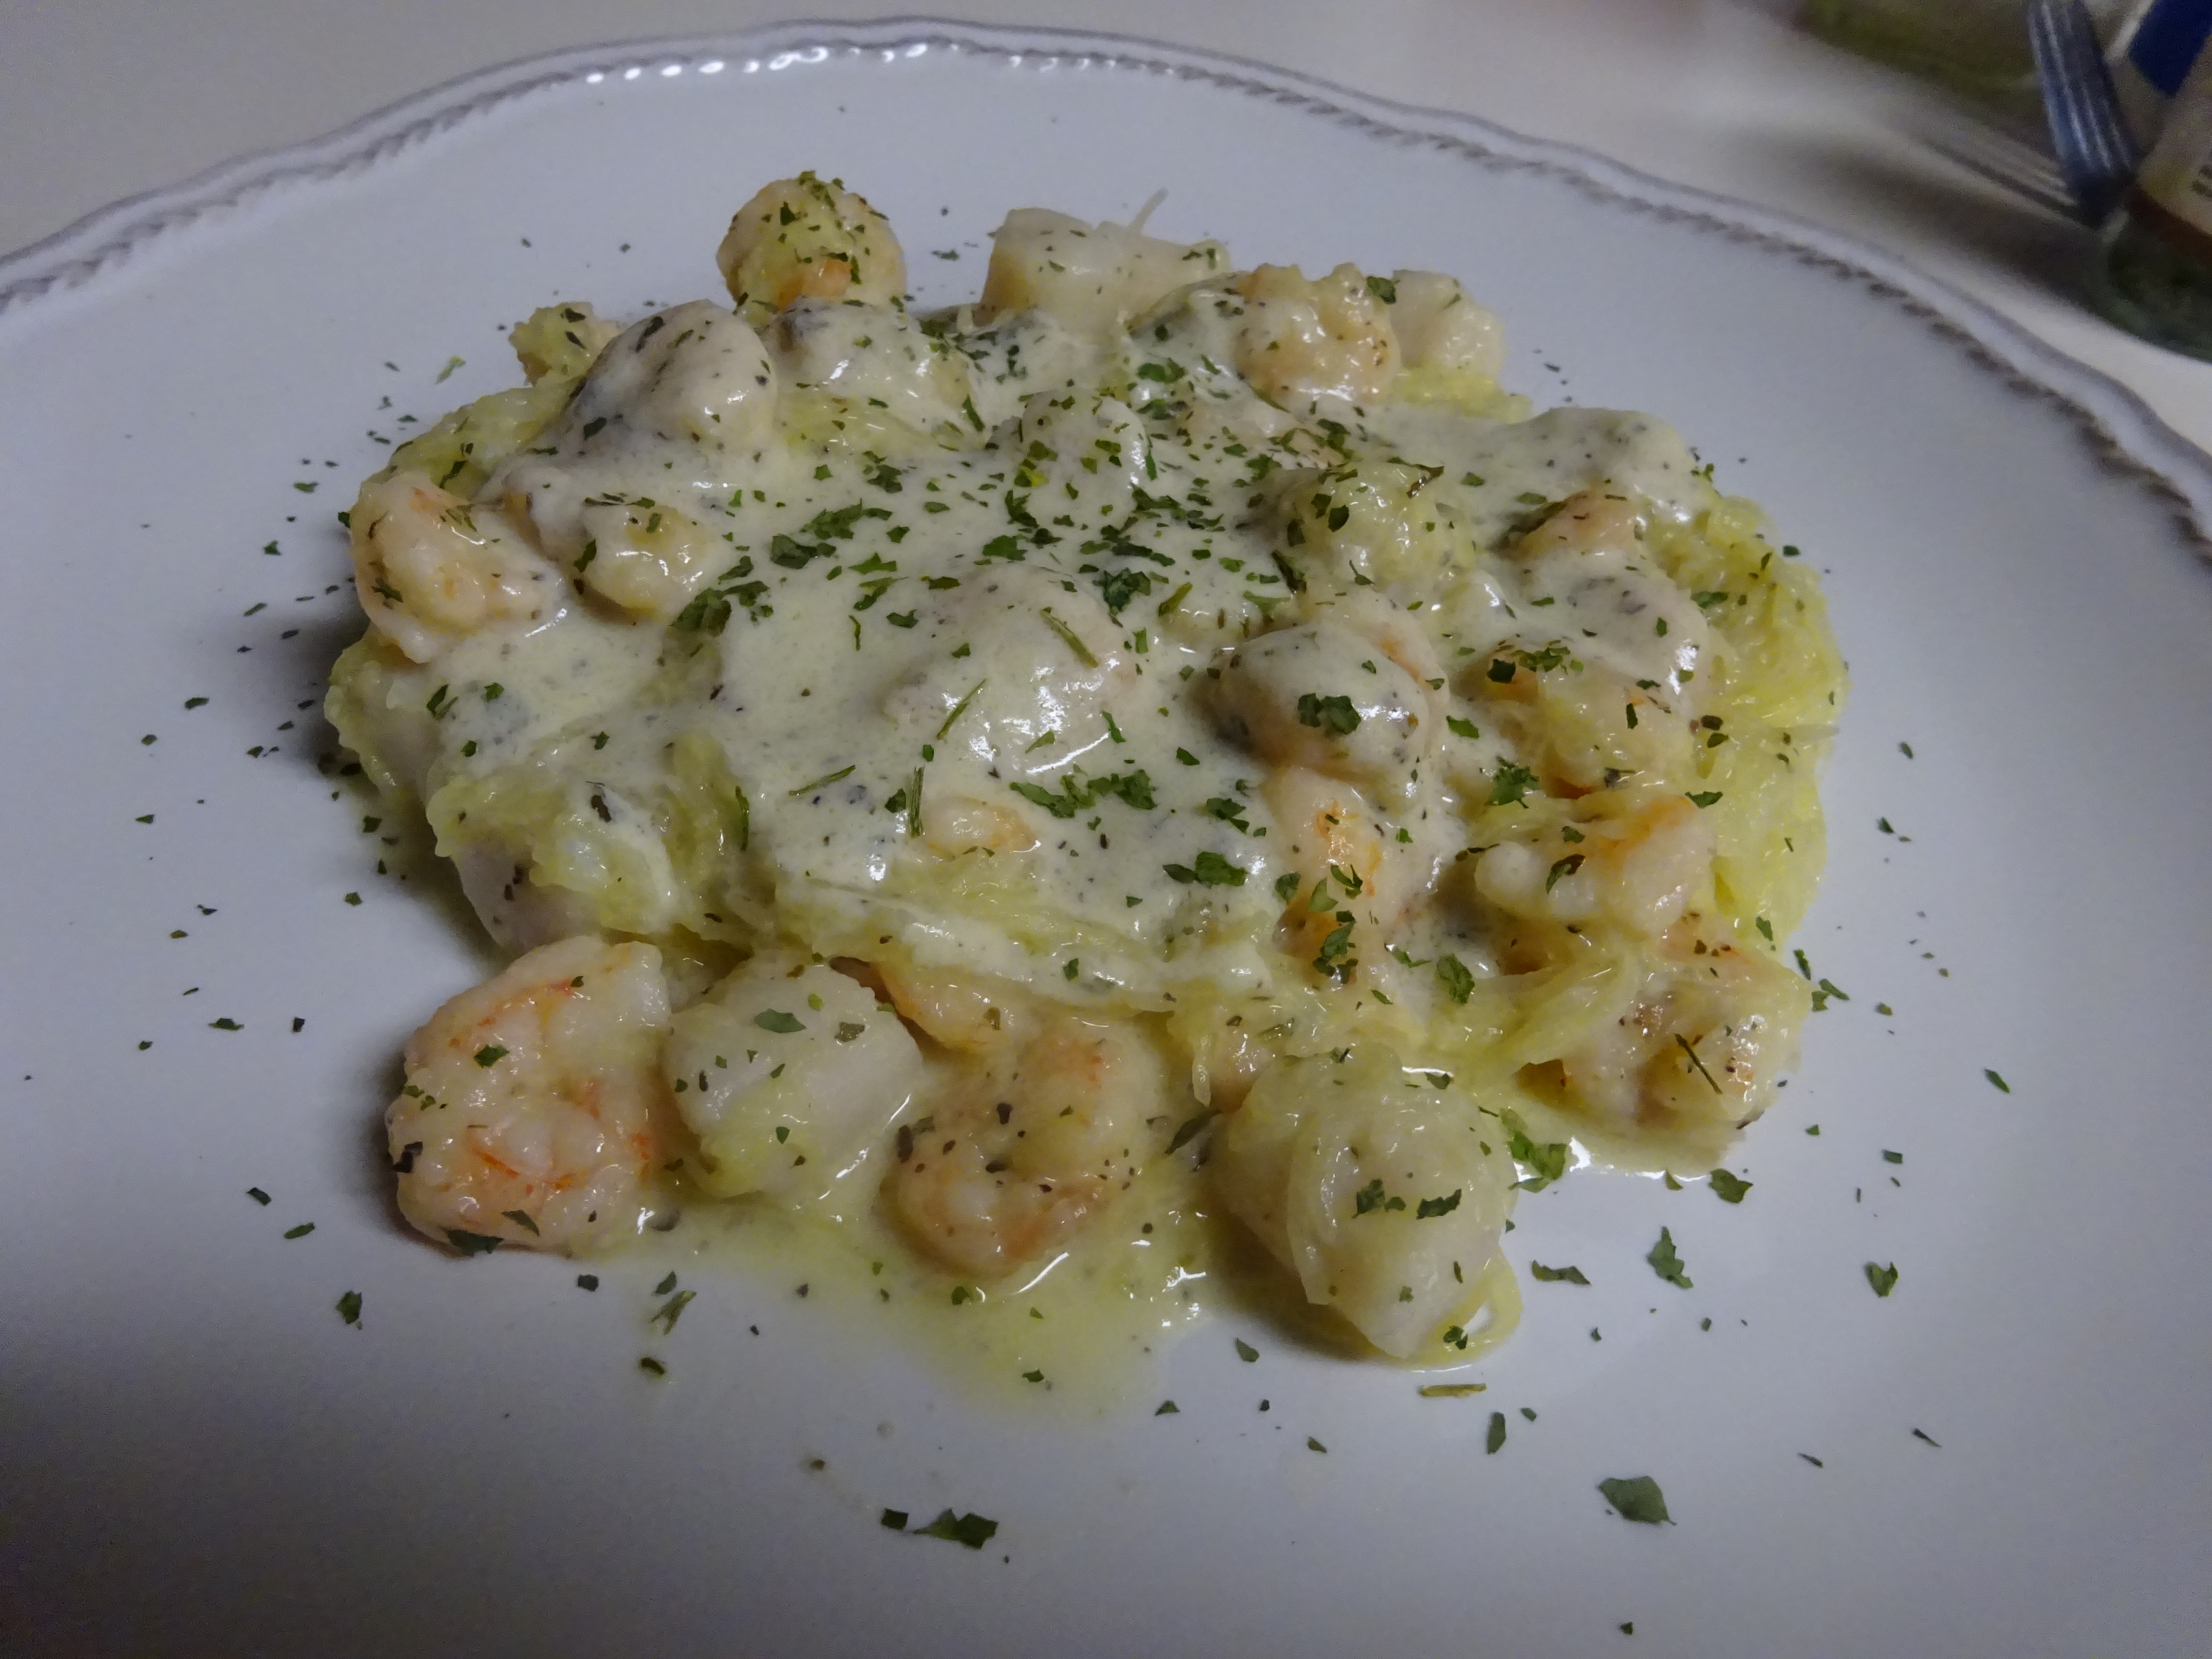
I have found a wonderful replacement for traditional Alfredo sauce. It’s everything I wanted it to be and more. It comes out rich and creamy and is perfect with shrimp and scallops over spaghetti squash. I hope you’re as amazed as I was.
*I cannot tolerate certain dairy products. Cheese, butter, and yogurt are okay for me, but I cannot handle heavy cream, half and half, or just plain ol’ milk. Feel free to use heavy cream in this, as well as cheese. I have omitted the cheese in the version I made since, honestly, you don’t really need it. But hey, a little cheese never hurt.
The sauce will serve about 2 people. If you need to serve more, double the recipe.
ALSO THIS IS SO IMPORTANT: As you are cooking this sauce be sure you are tasting it throughout the cooking process. Your taste buds are your biggest asset in the kitchen. If you don’t think there’s enough basil, add more basil. Not enough garlic, add more garlic. Not enough butter or ghee, add more butter or ghee. You get the idea. These are rough measurements and your pallet might not be the same as mine. You will benefit greatly by tasting the sauce as you go. Plus, tasting stuff while you’re cooking it is really fun (for me, anyway).
Seafood Alfredo Over Spaghetti Squash
Ingredients
– Cooked spaghetti squash or zucchini noodles (I always have this stuff pre-made and ready to go in the fridge. I’ll post about my meal prep soon!)
– Enough shrimp and scallops for you and any guests, defrosted (*sigh* I live alone, so I just grab a handful of each from the freezer and that’s enough for me, just as an aside)
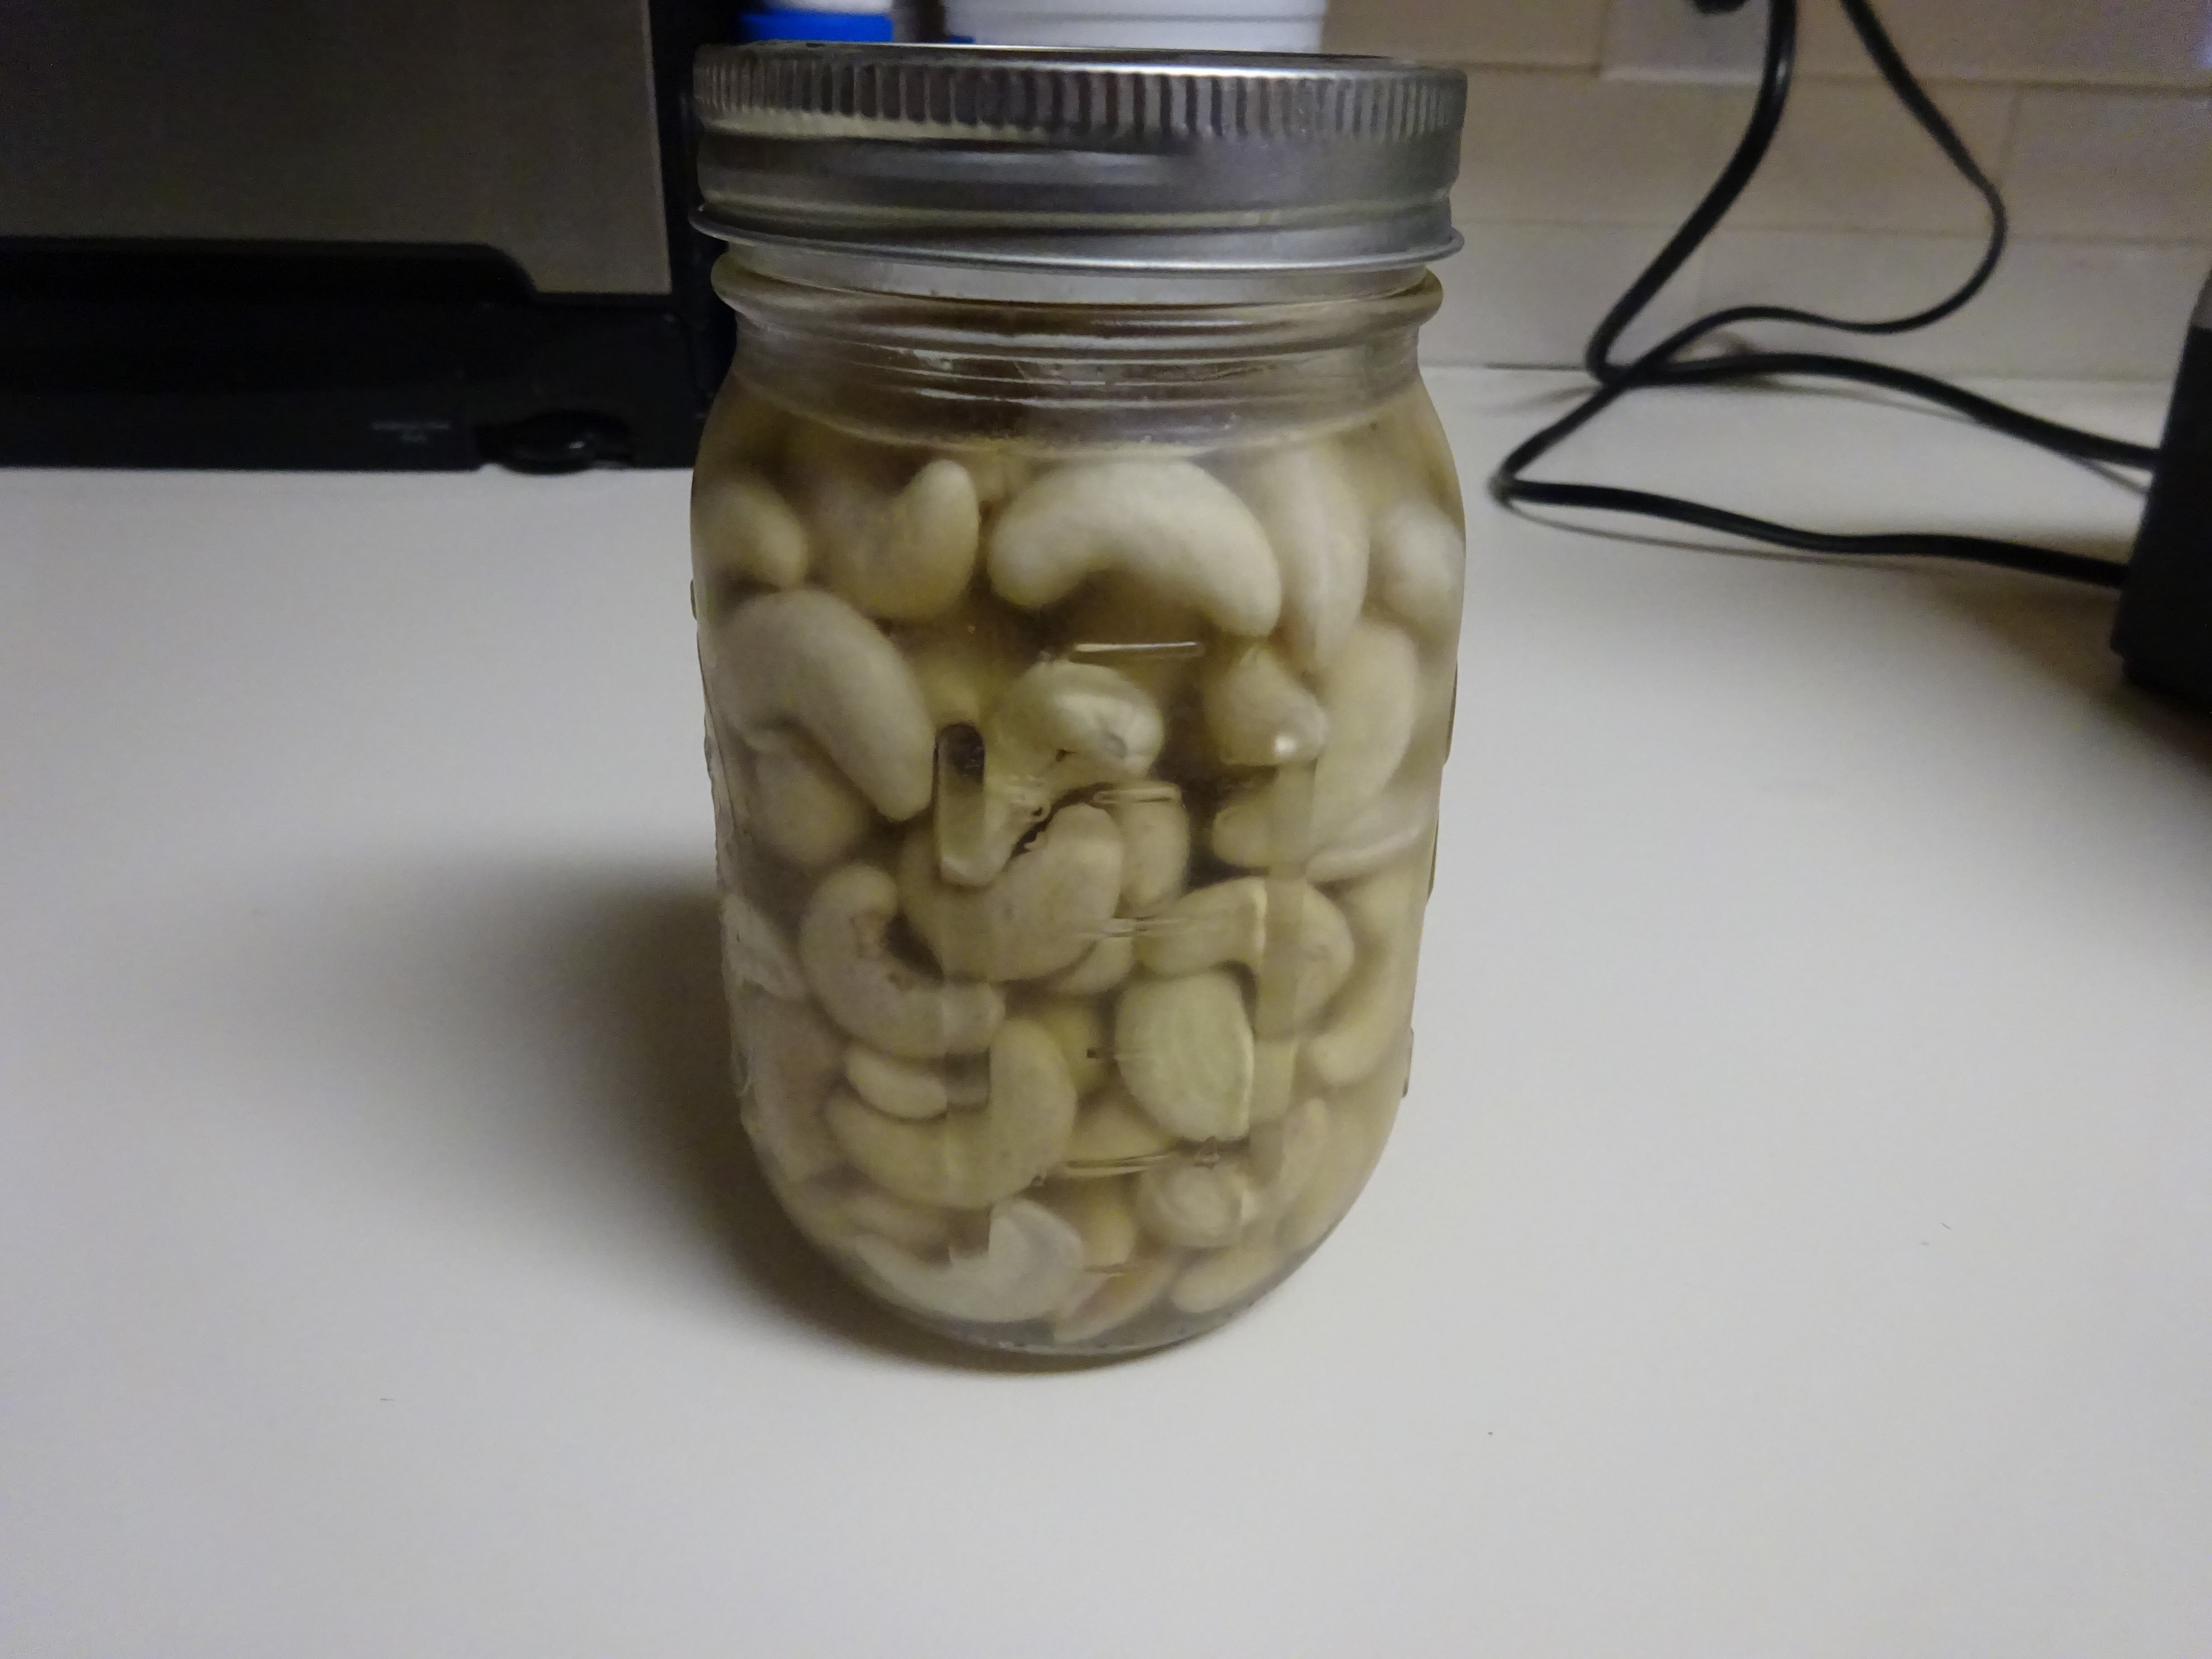
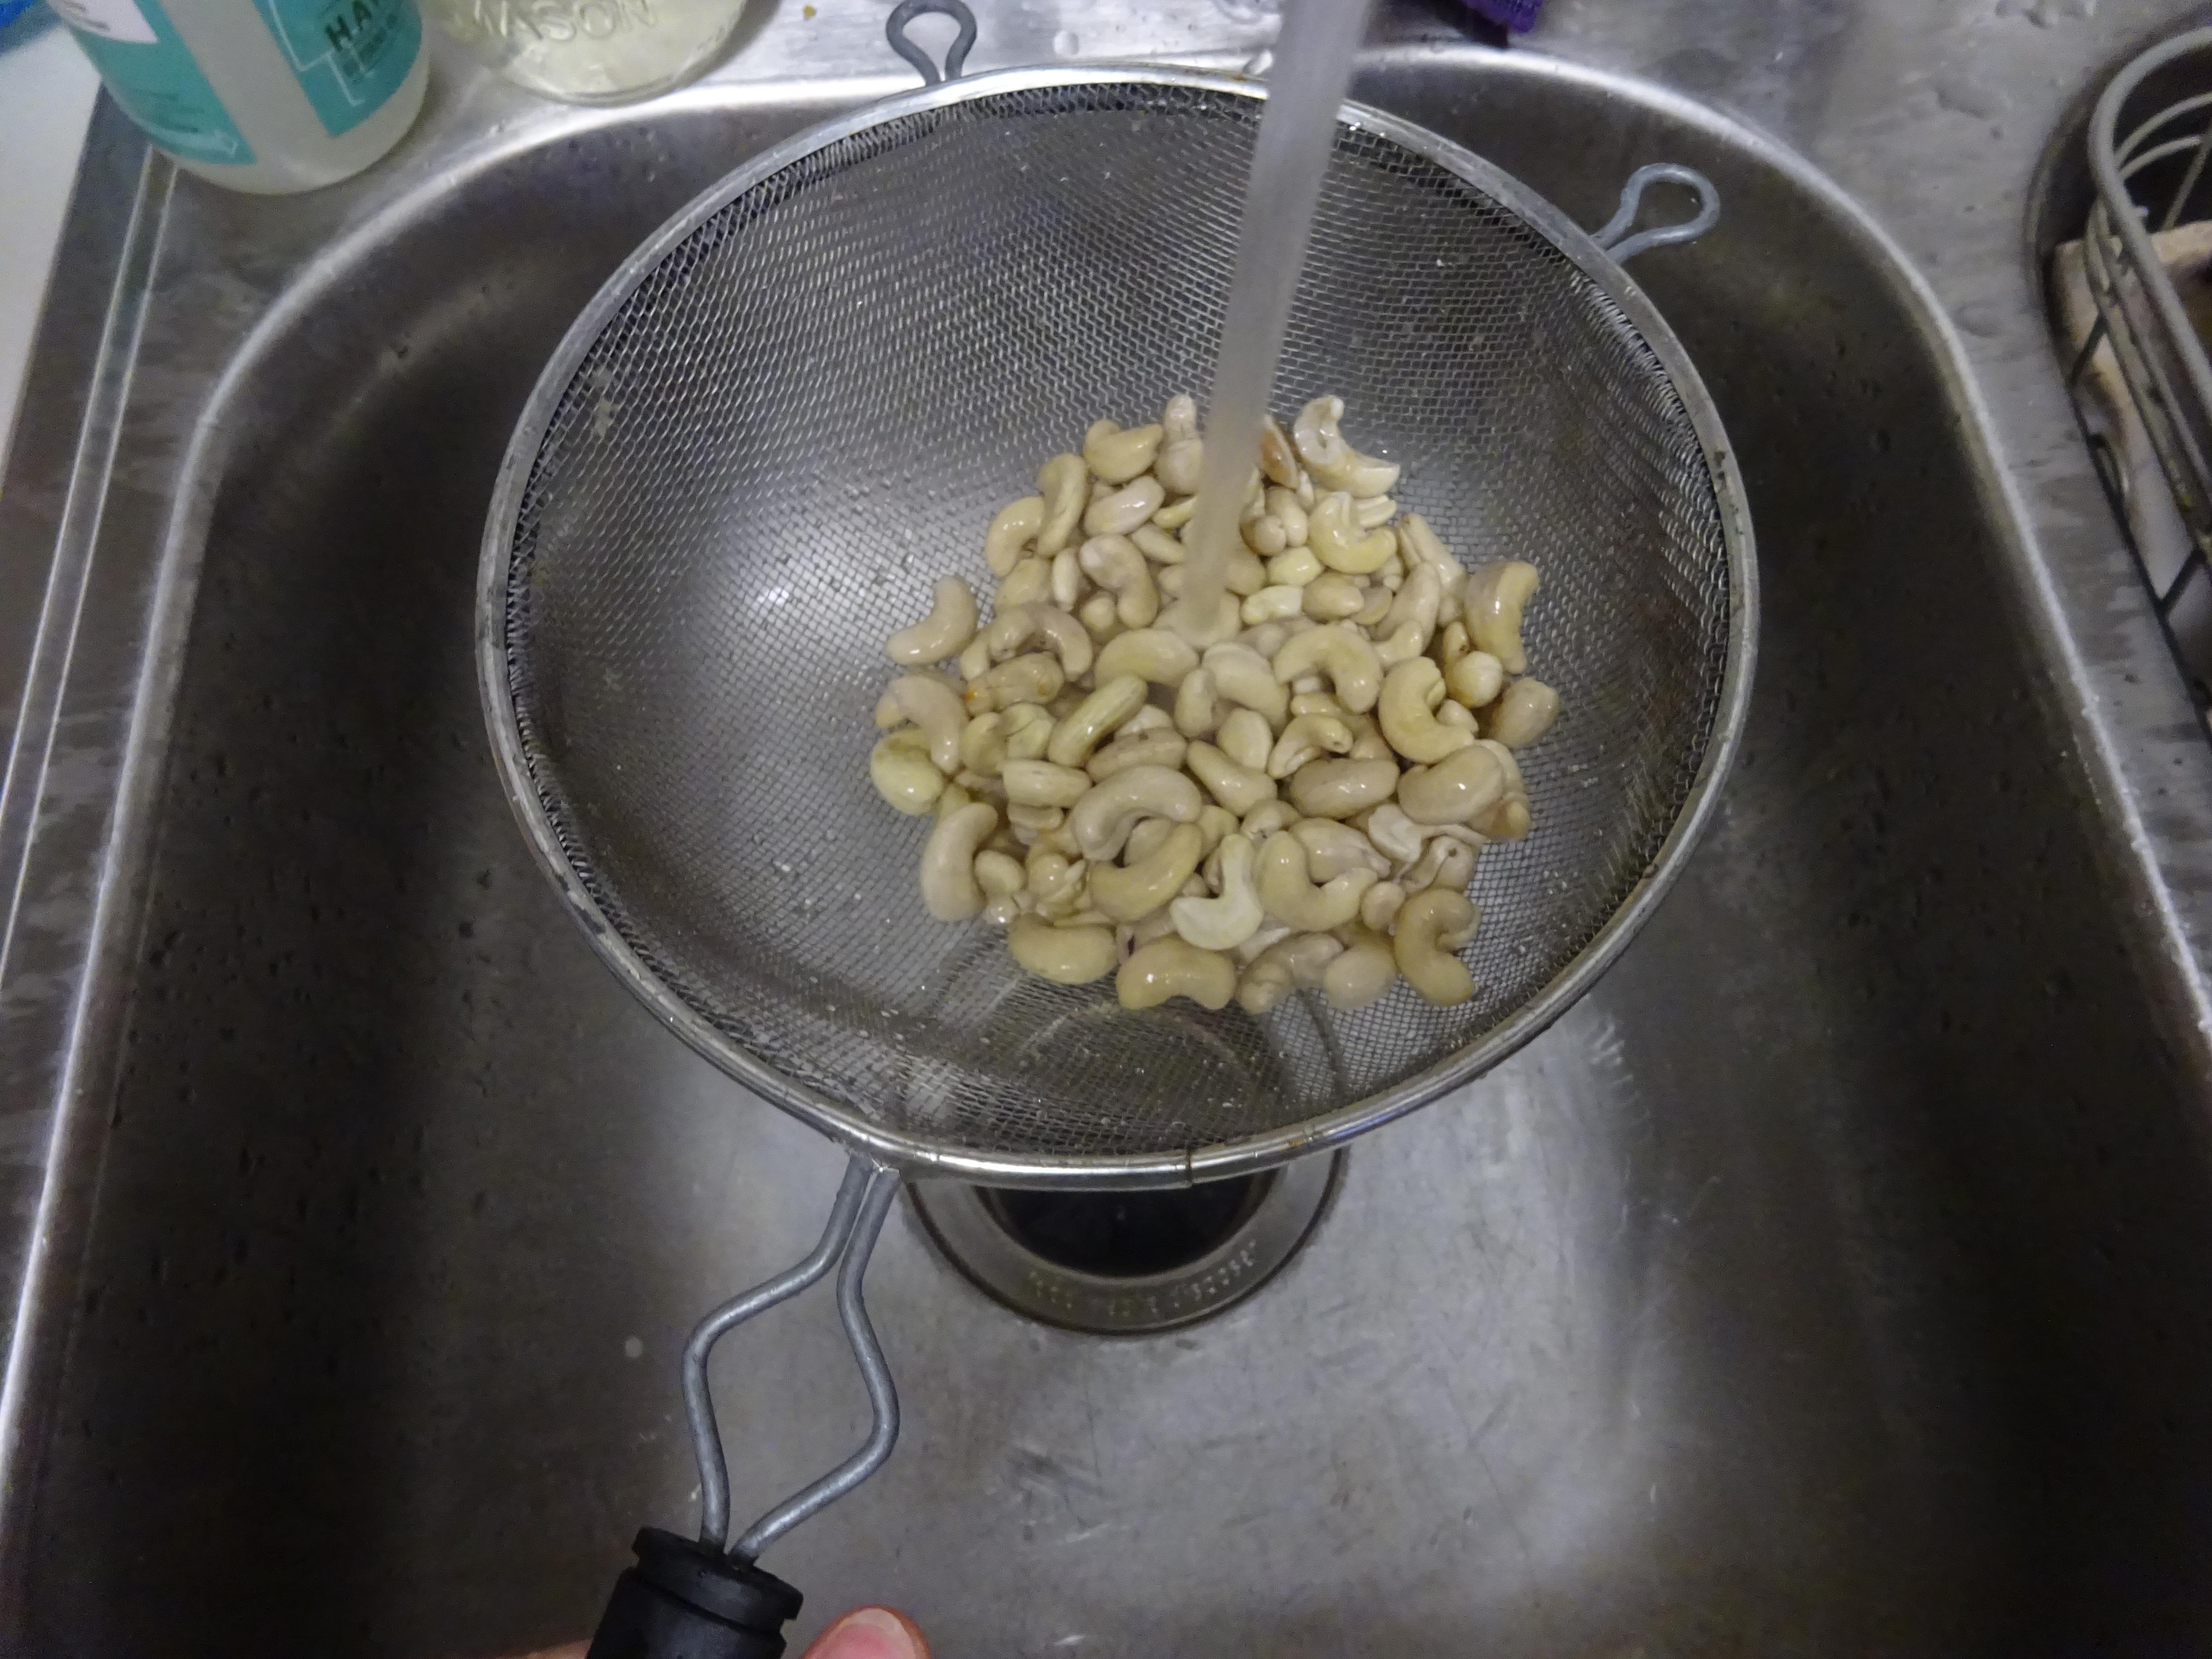
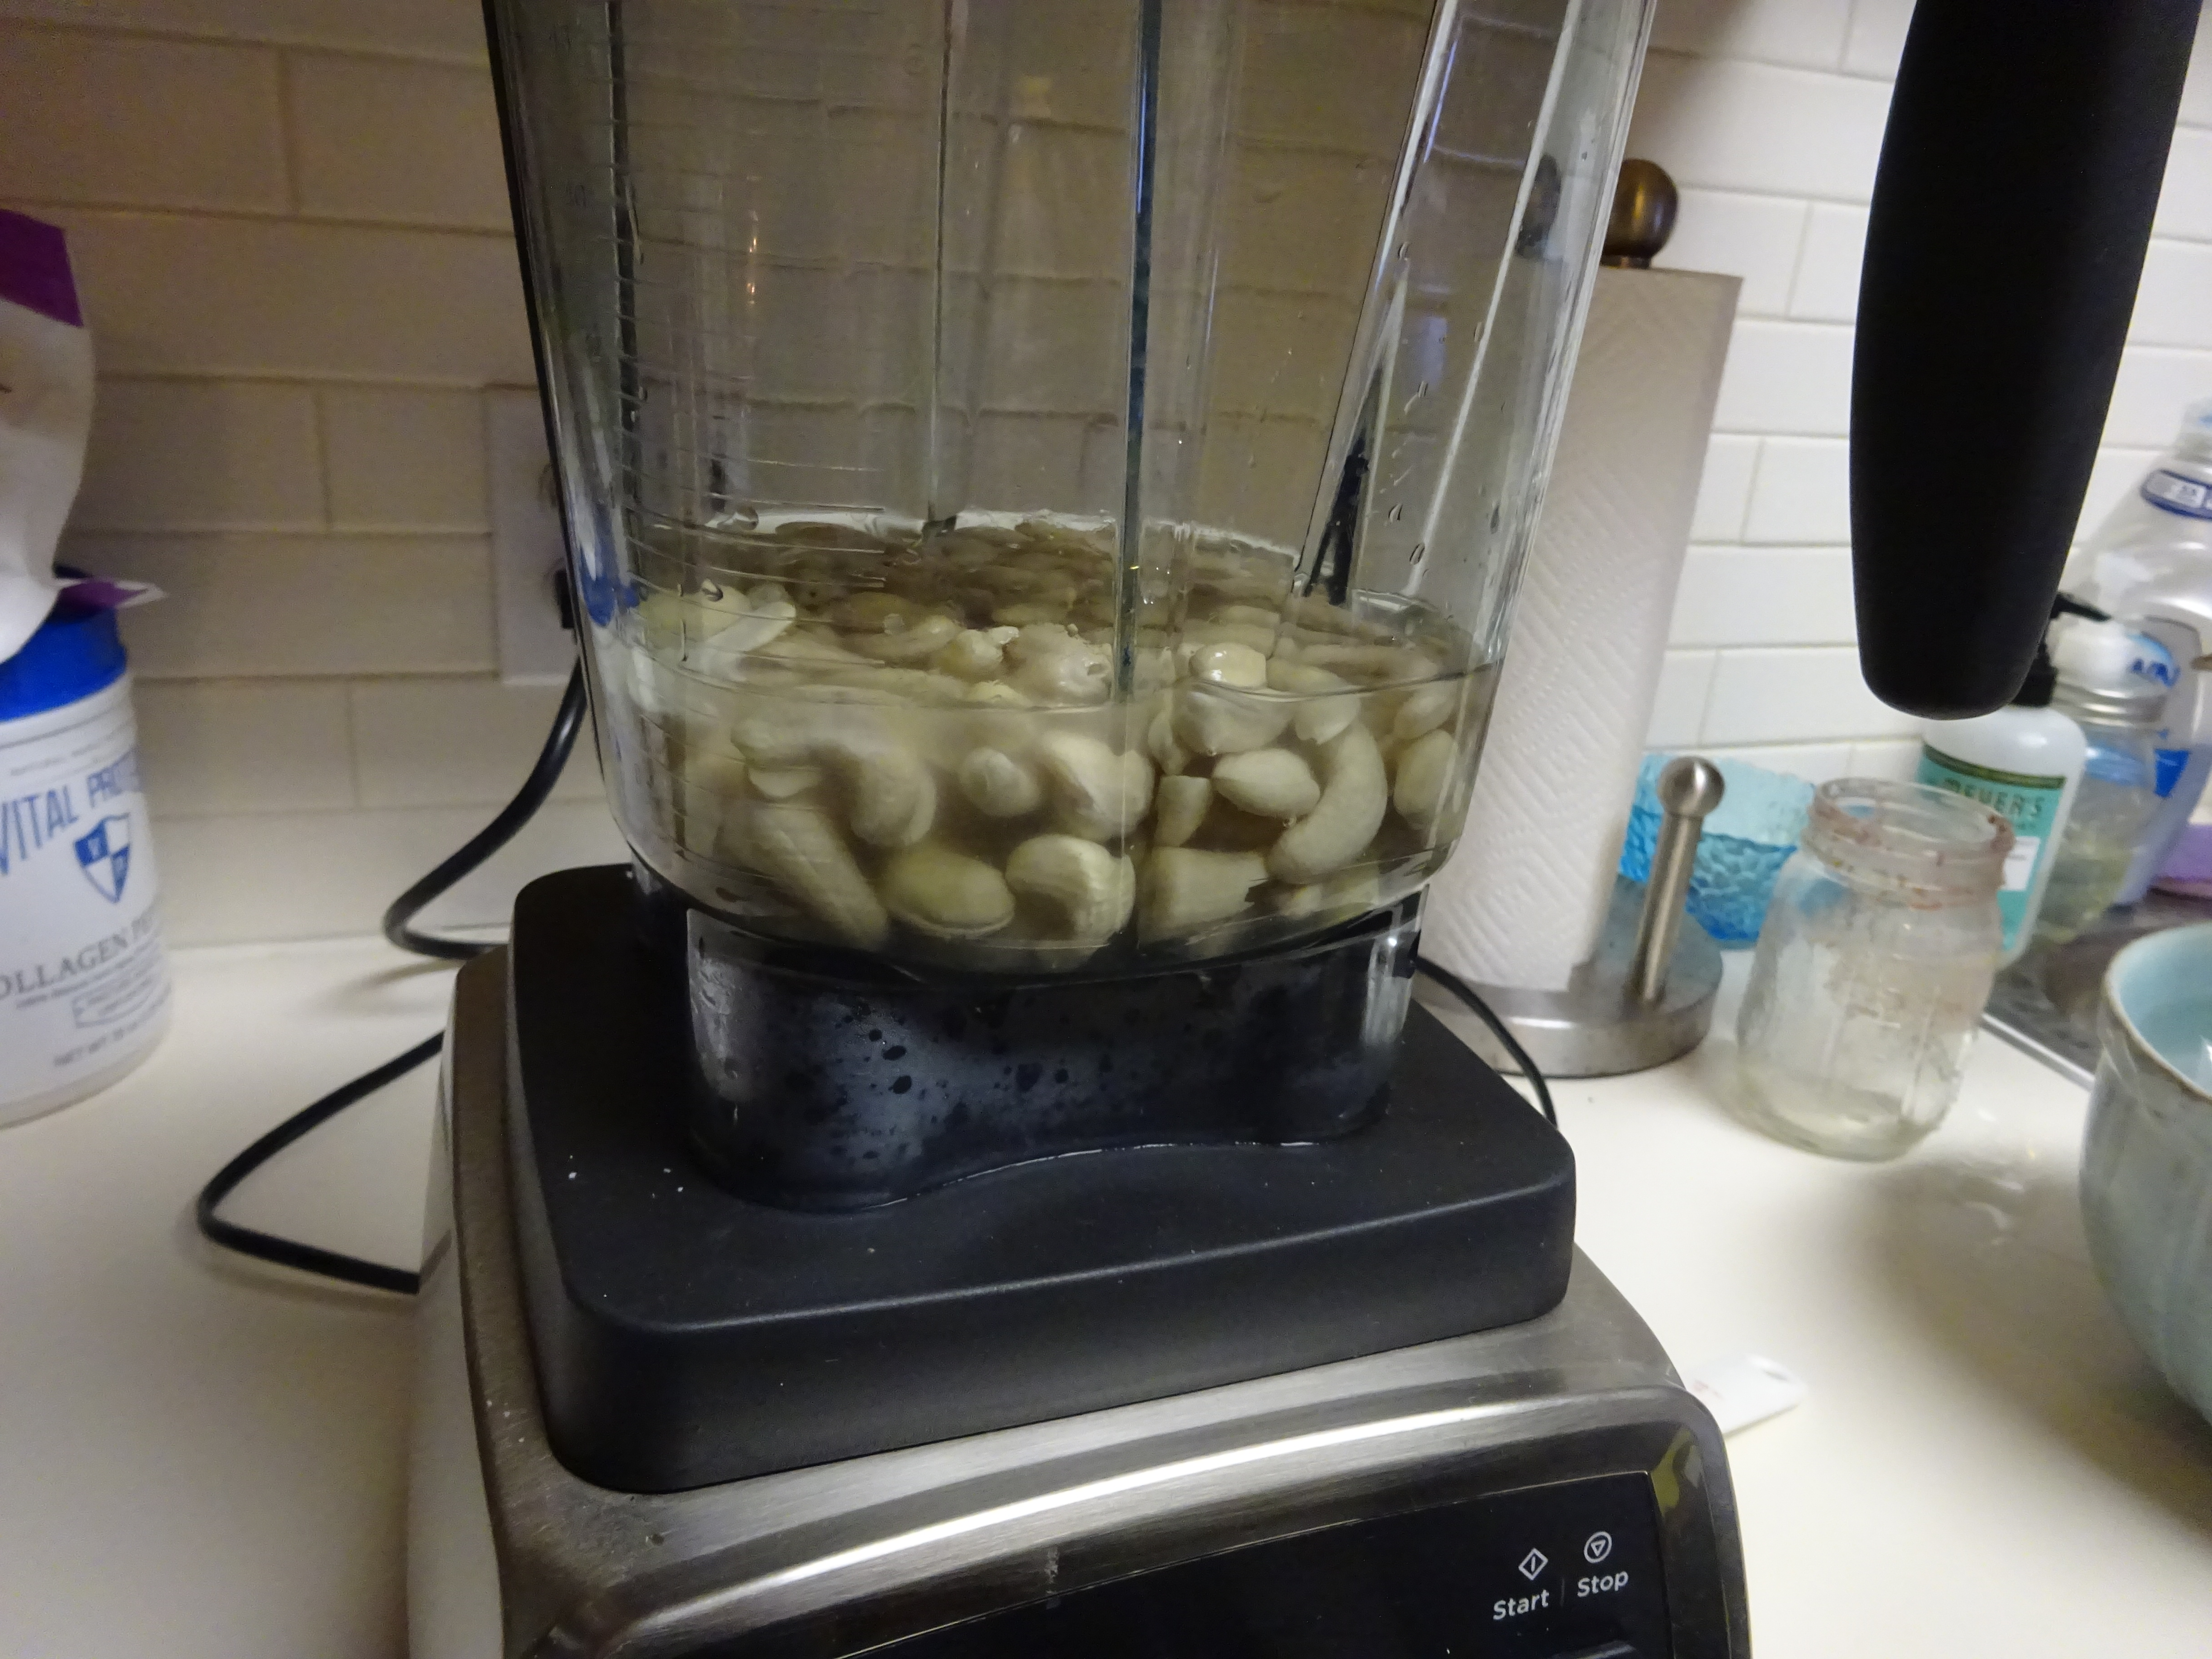
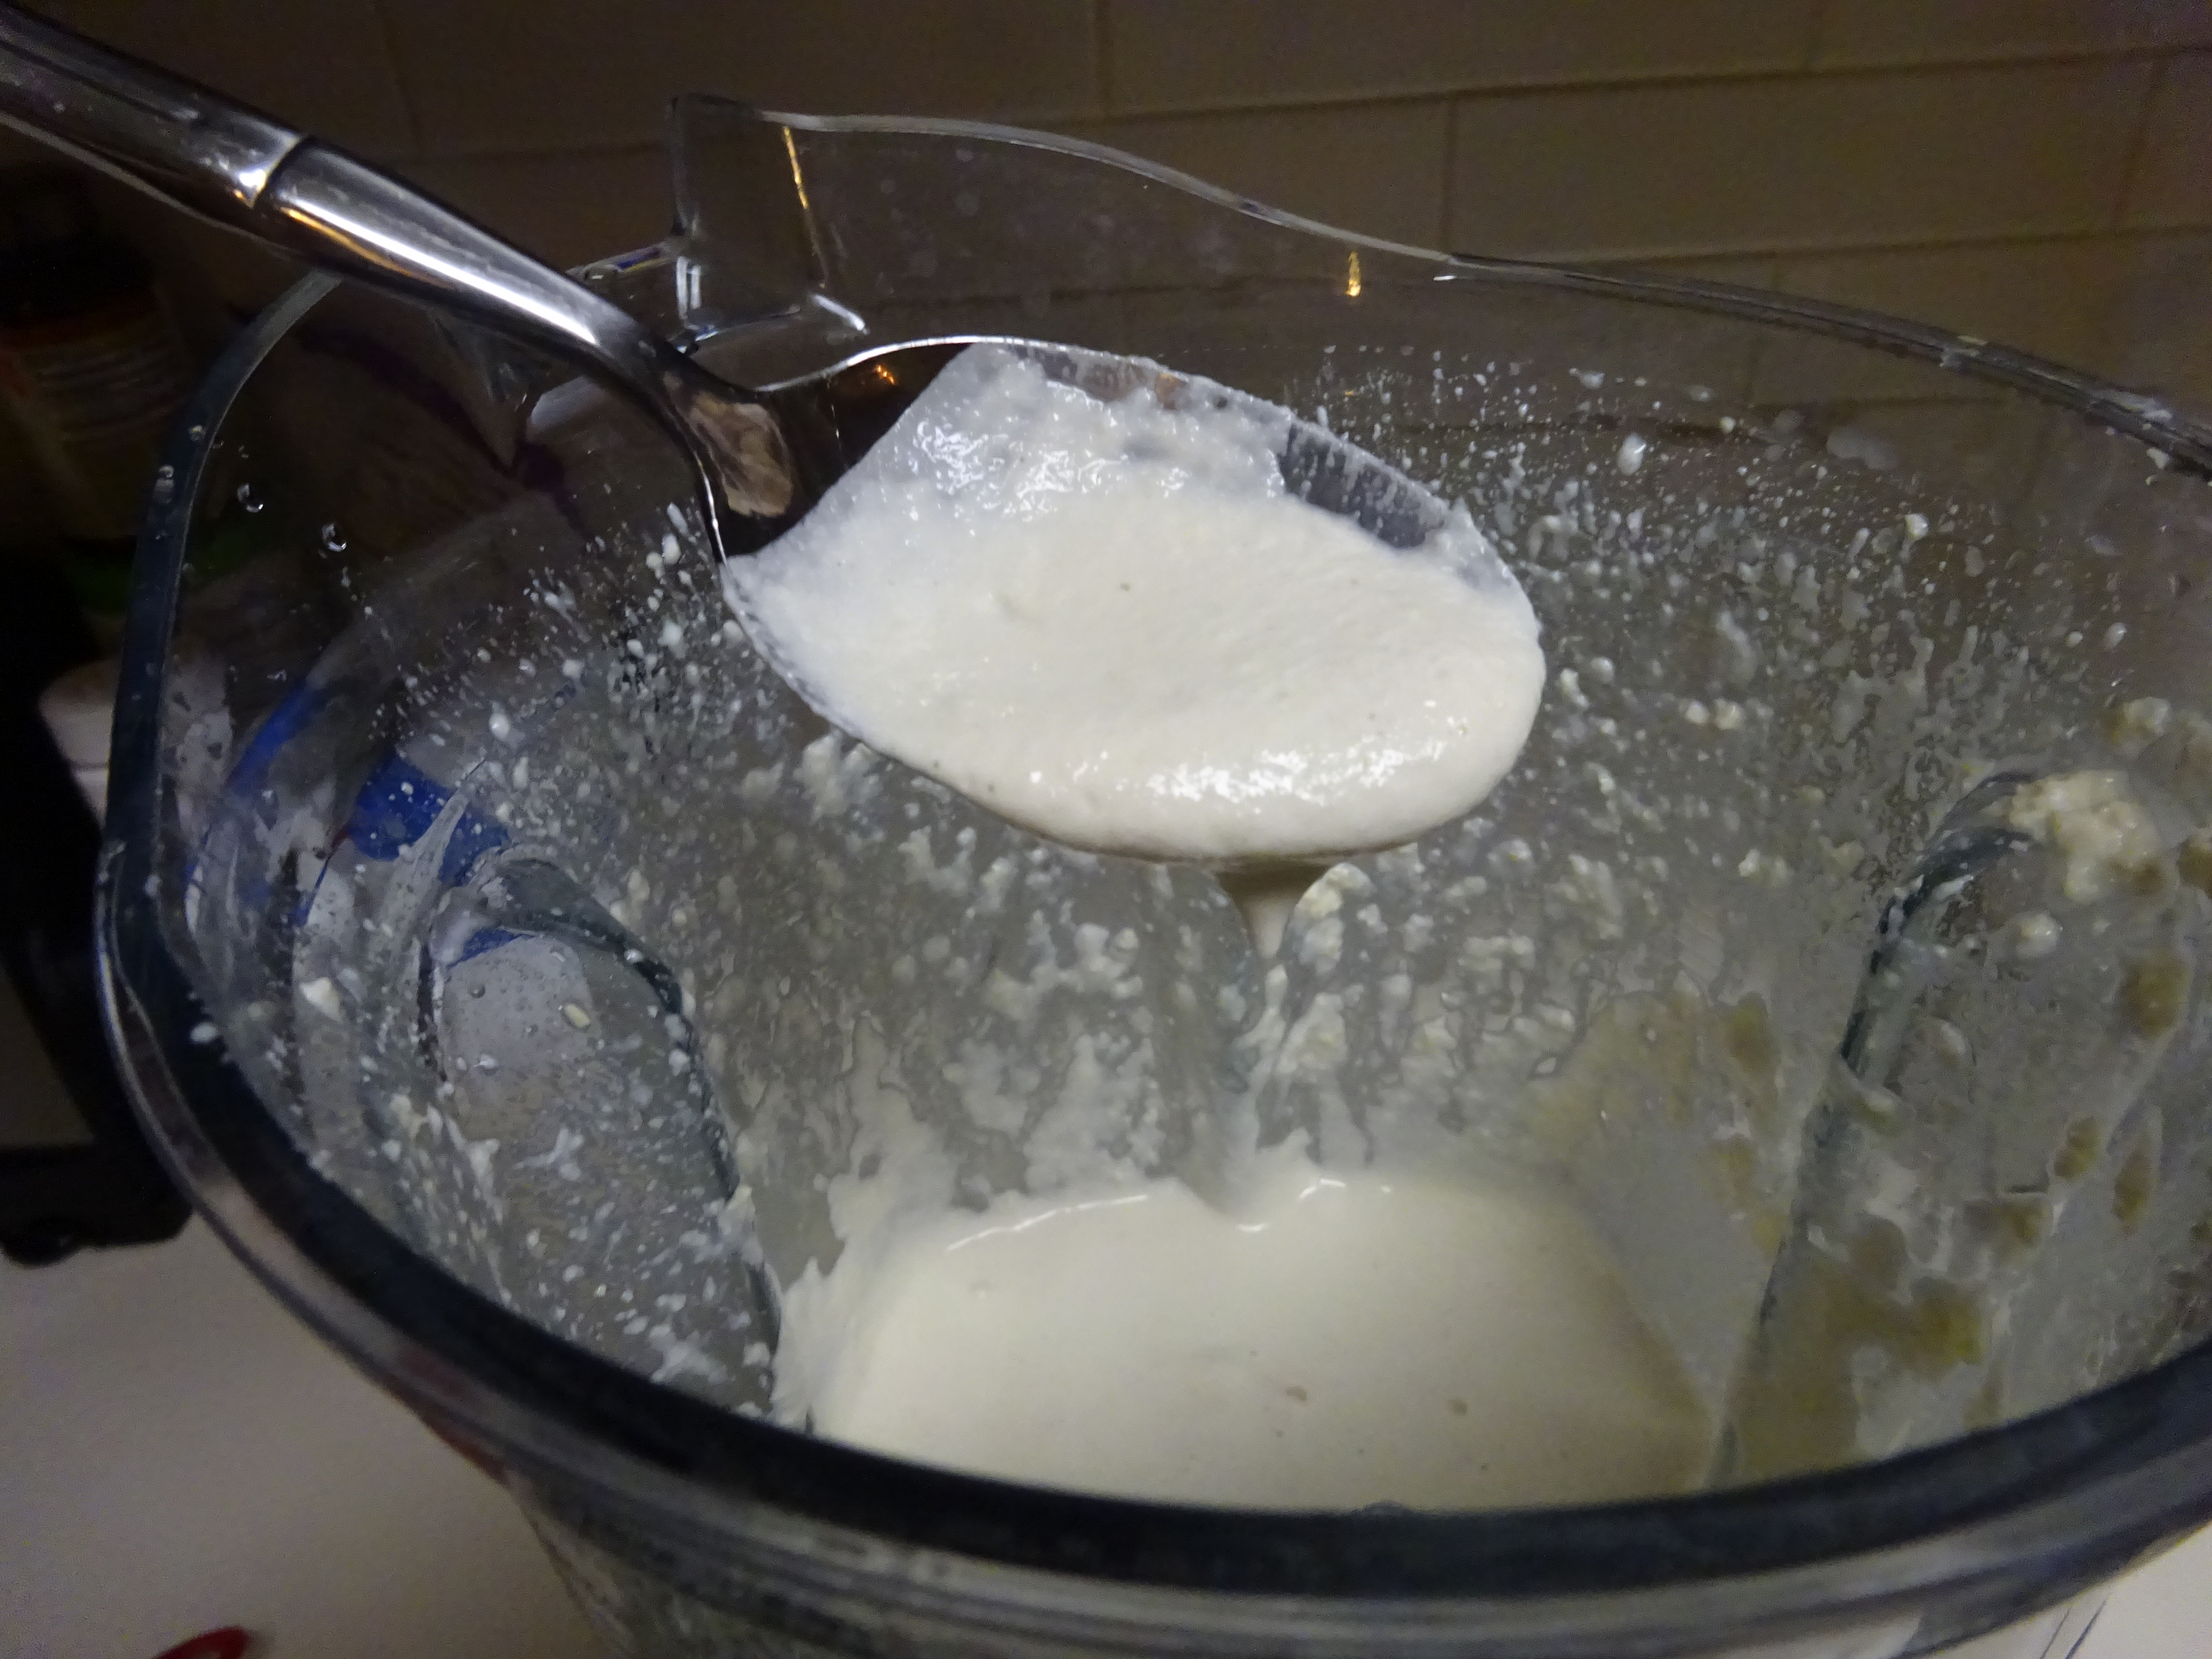
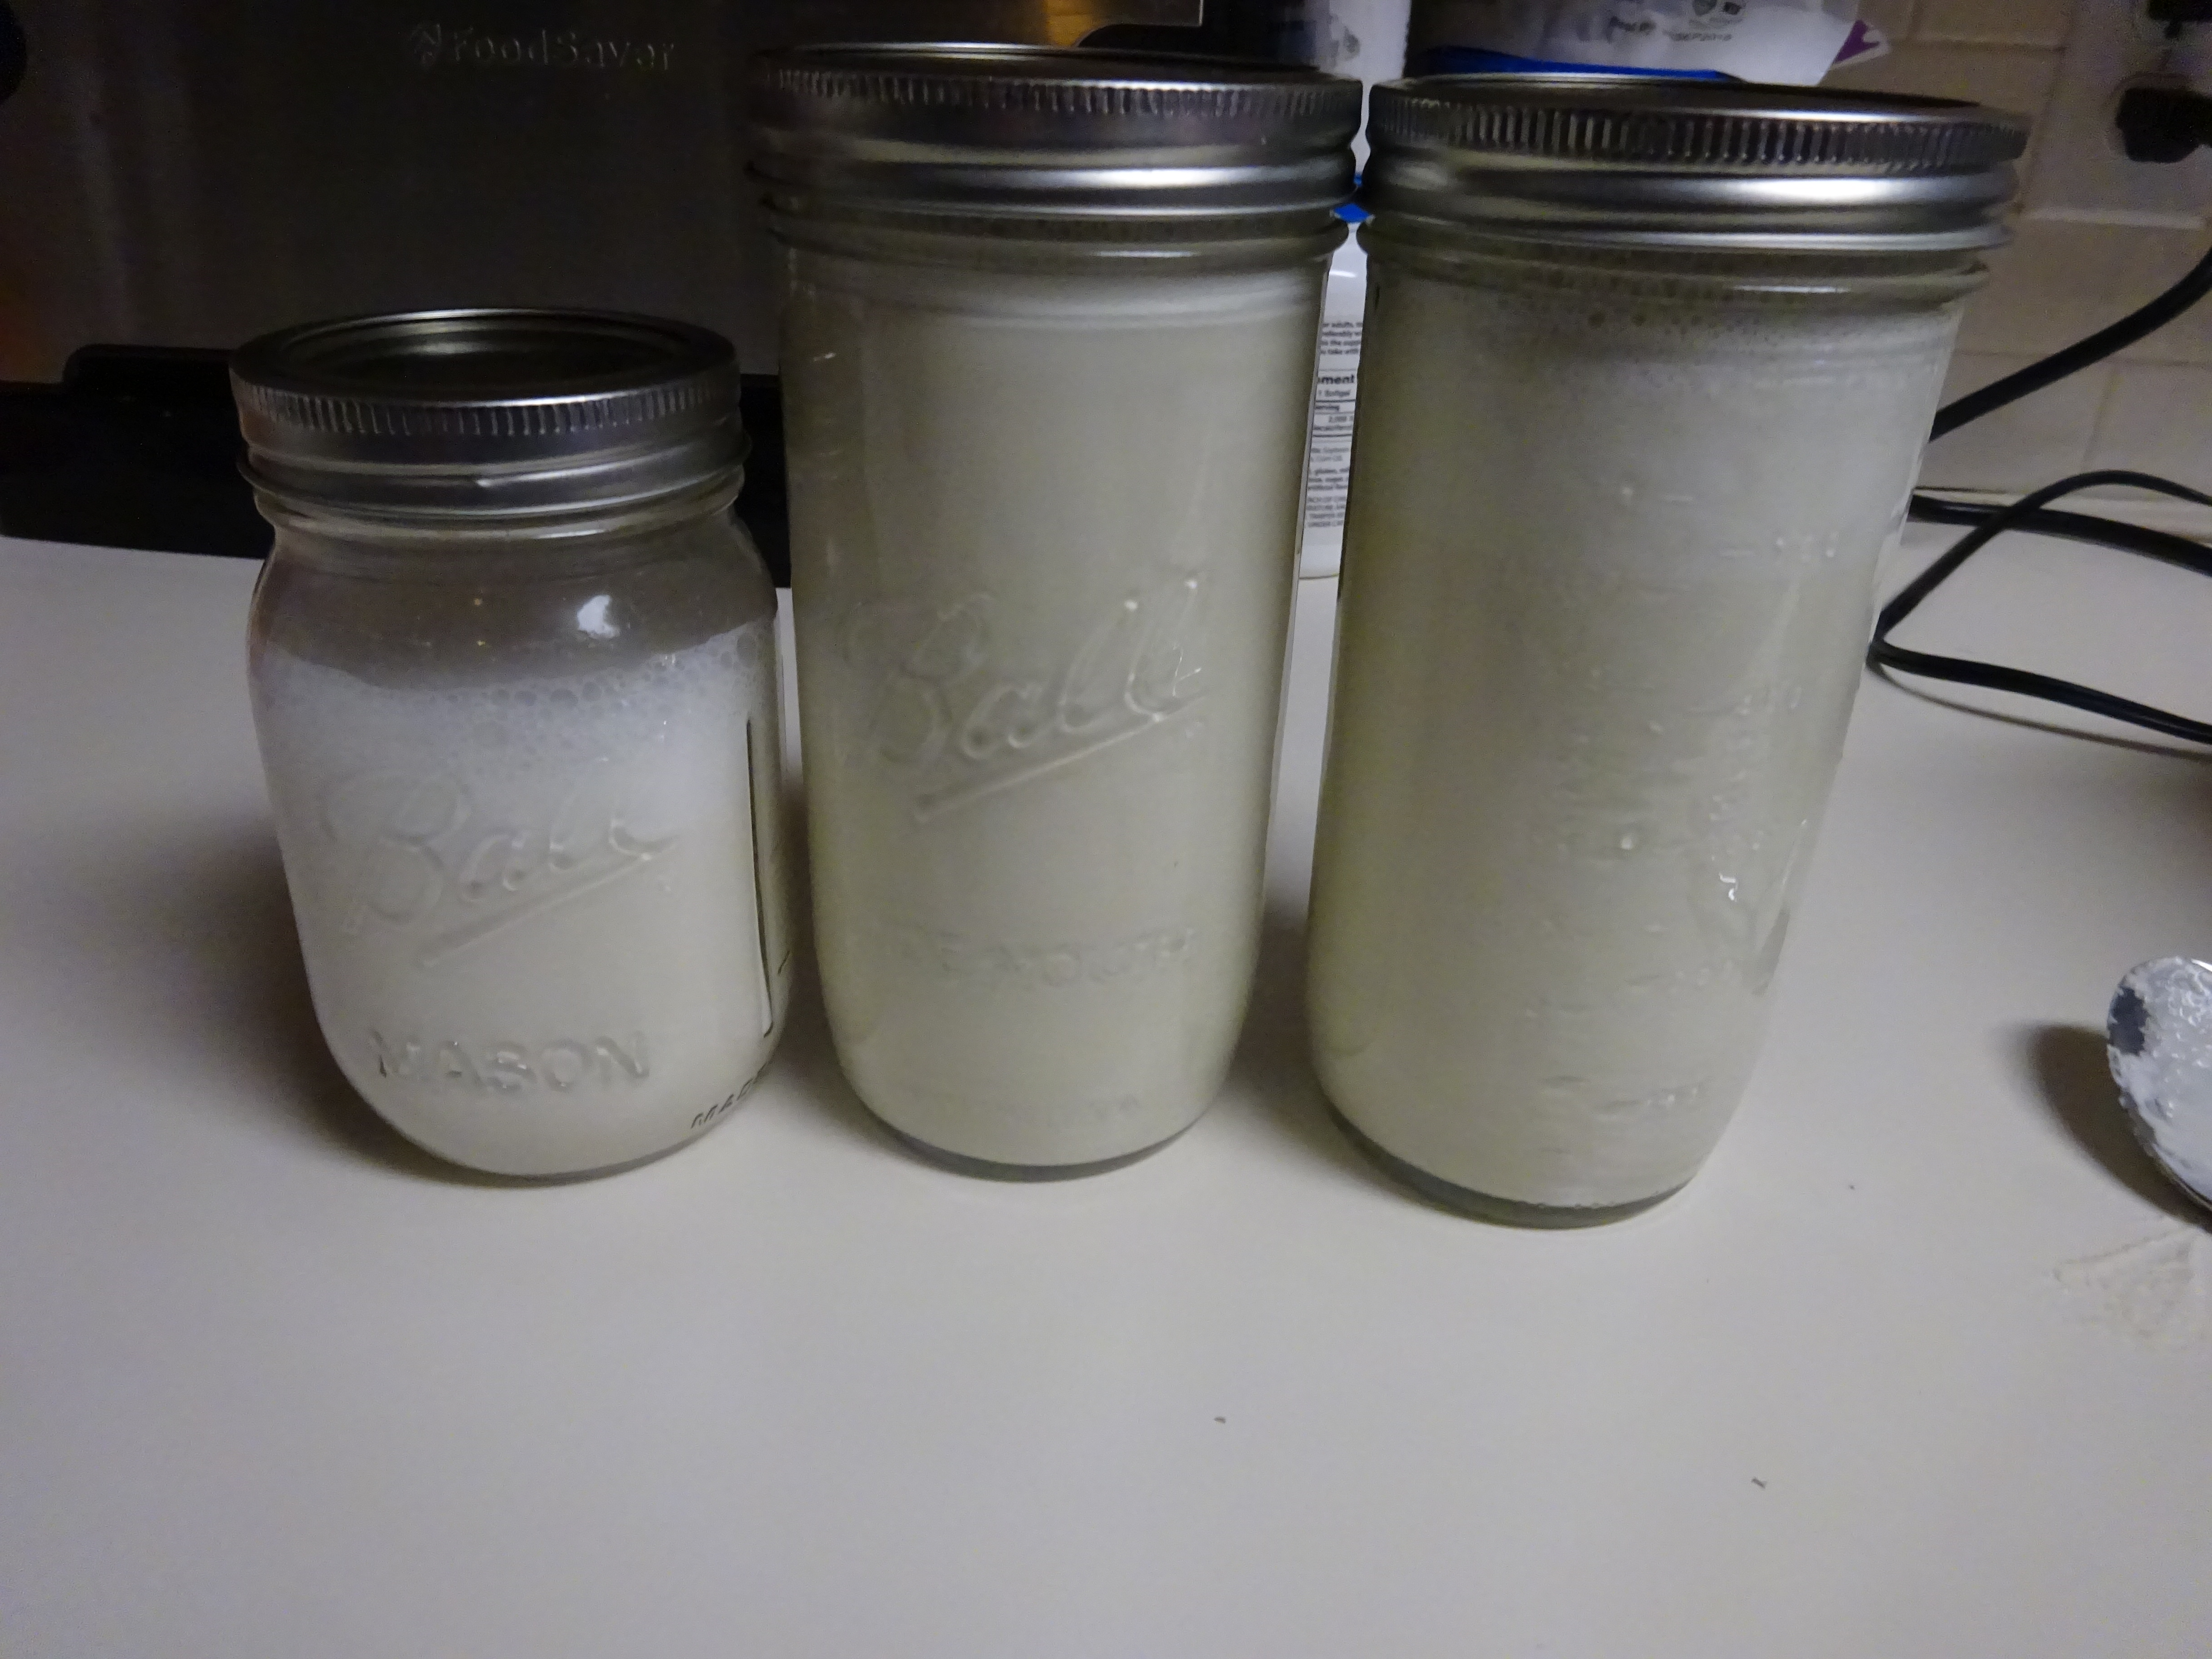
– 1 cup cashew milk or heavy cream
– 2-3 tablespoons of grass-fed butter or ghee, more for cooking the shrimp and scallops
– 1/2 to 1 teaspoon dried basil
– 2 to 3 teaspoons of garlic powder (more or less, depending on how much you like garlic)
– a few pinches of dried parsley
– 1 1/2 teaspoons onion powder
– salt and pepper to taste
– raw cheese if that’s your thing
Method
– If using frozen shrimp and scallops, make sure they have been properly defrosted and set aside.
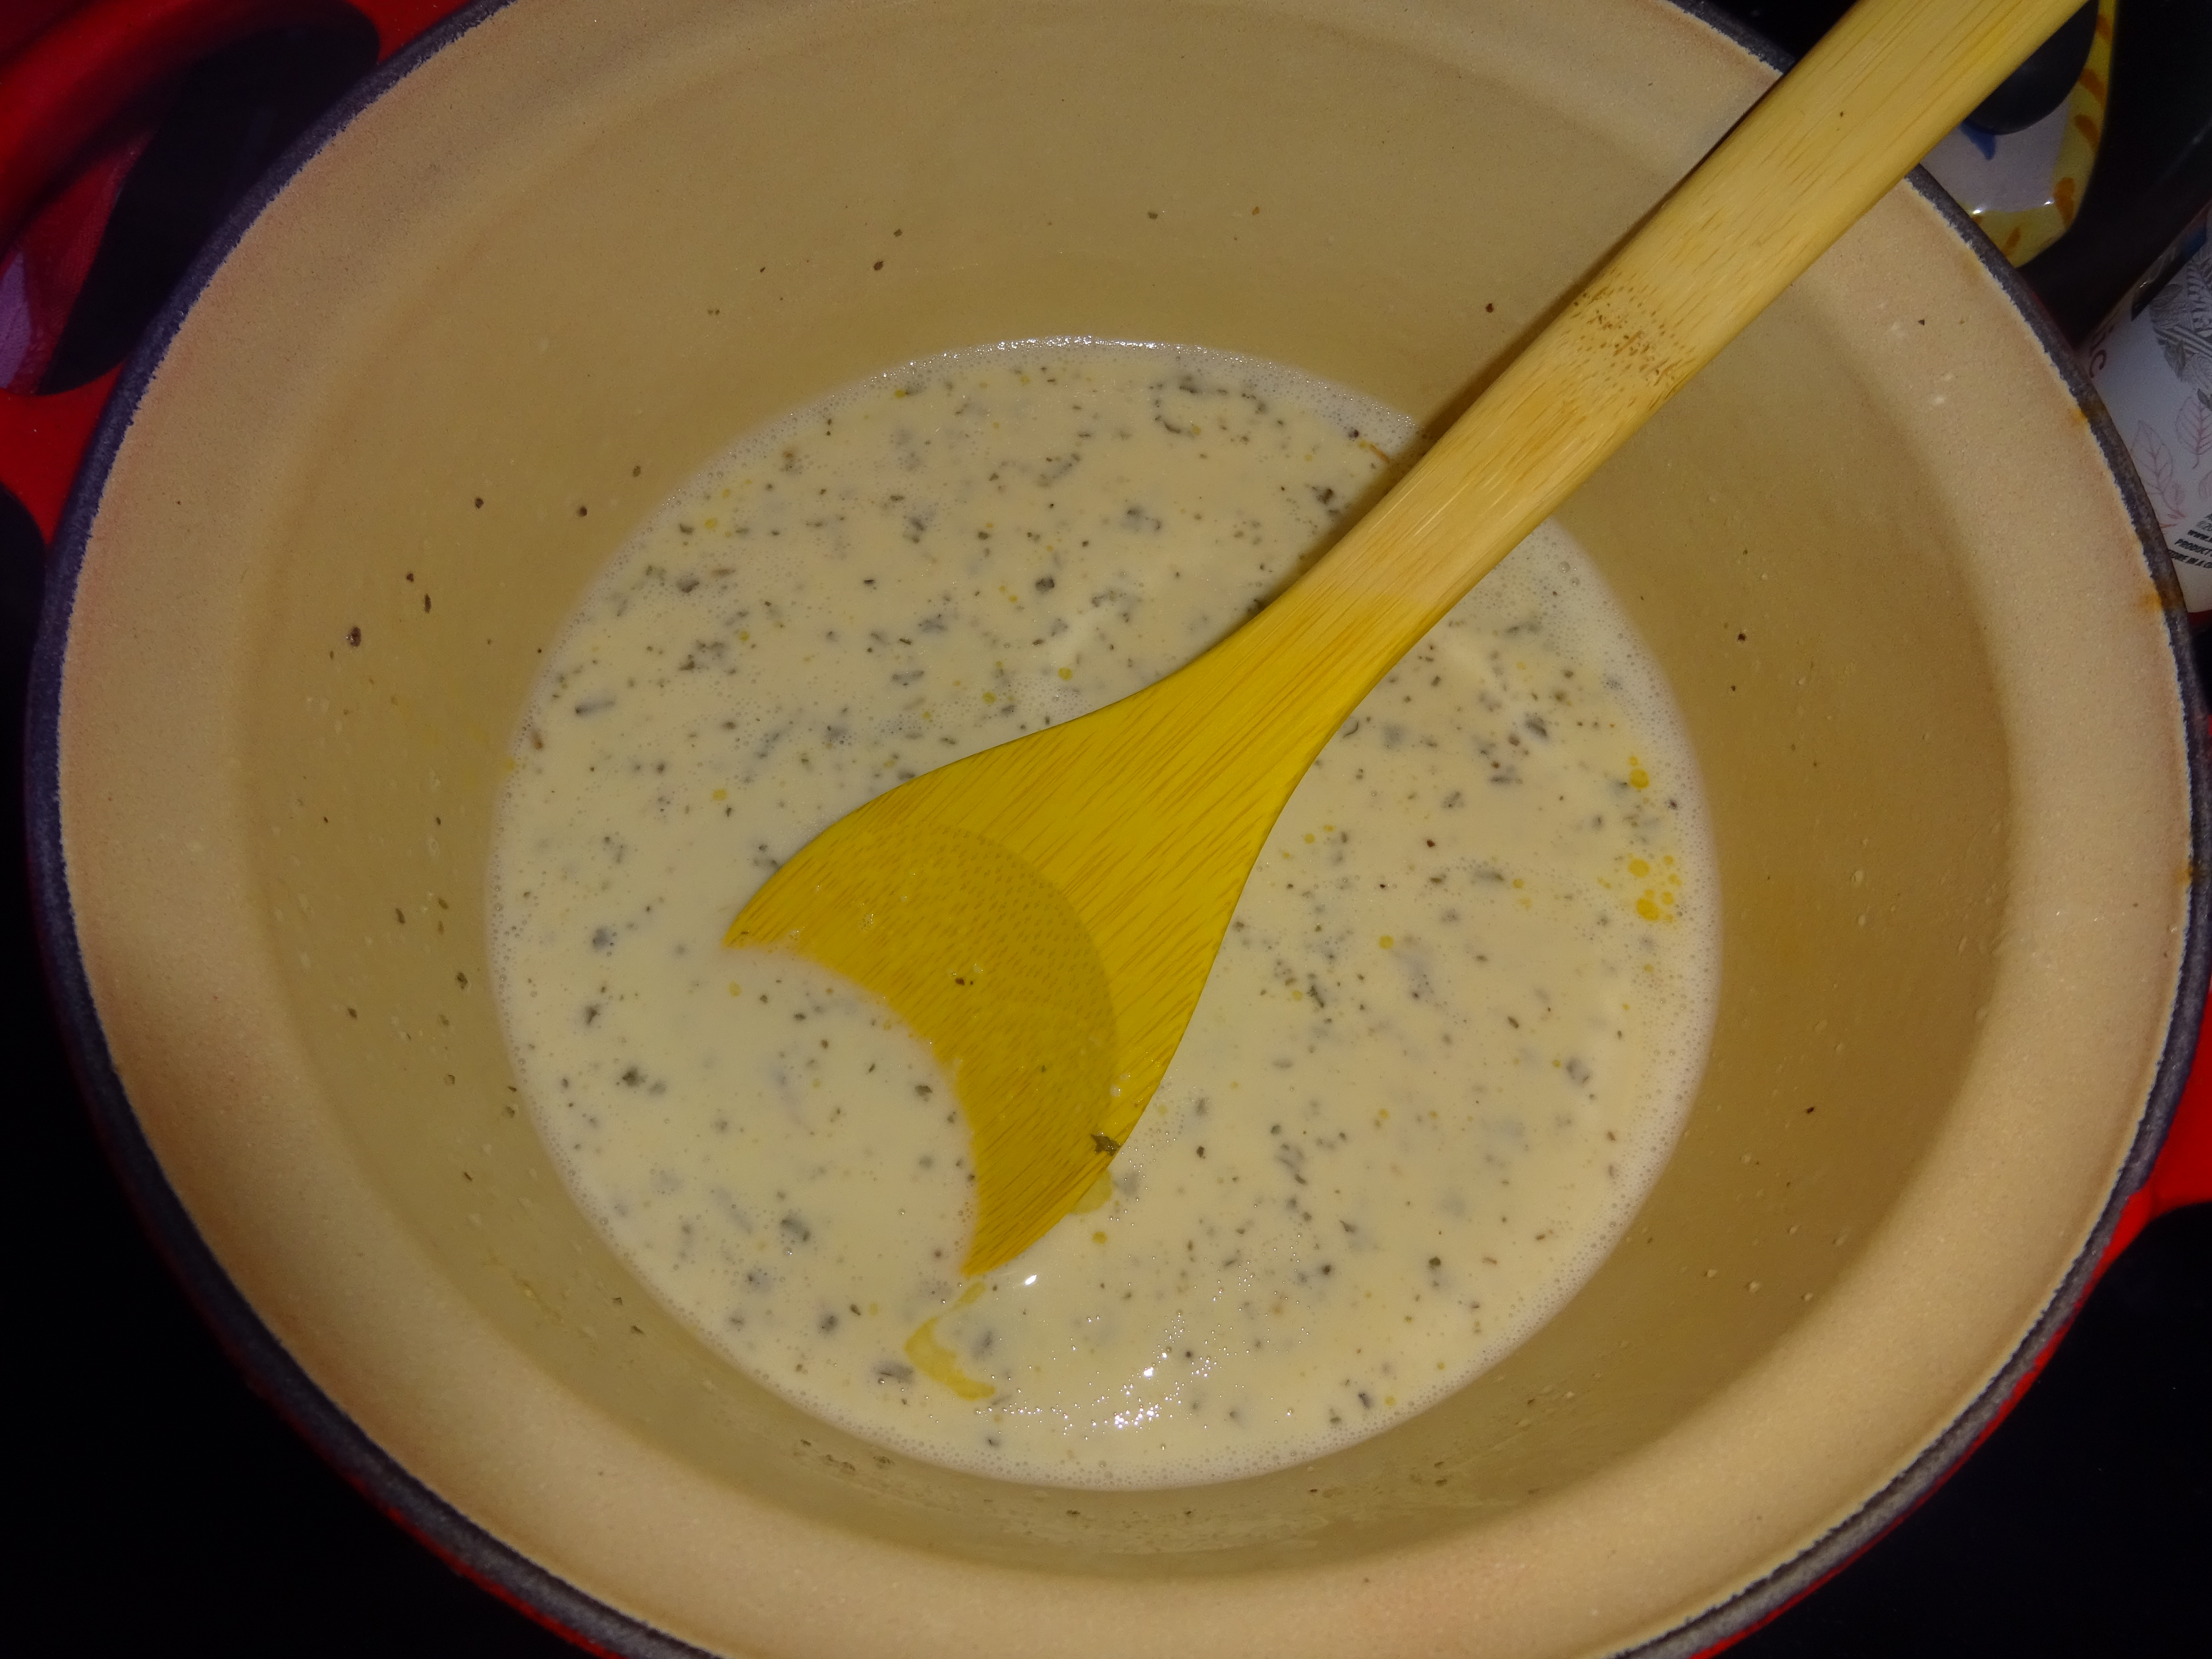
– Over low-medium heat, add the cashew milk and spices into a pot and let come to a simmer, stirring occasionally.
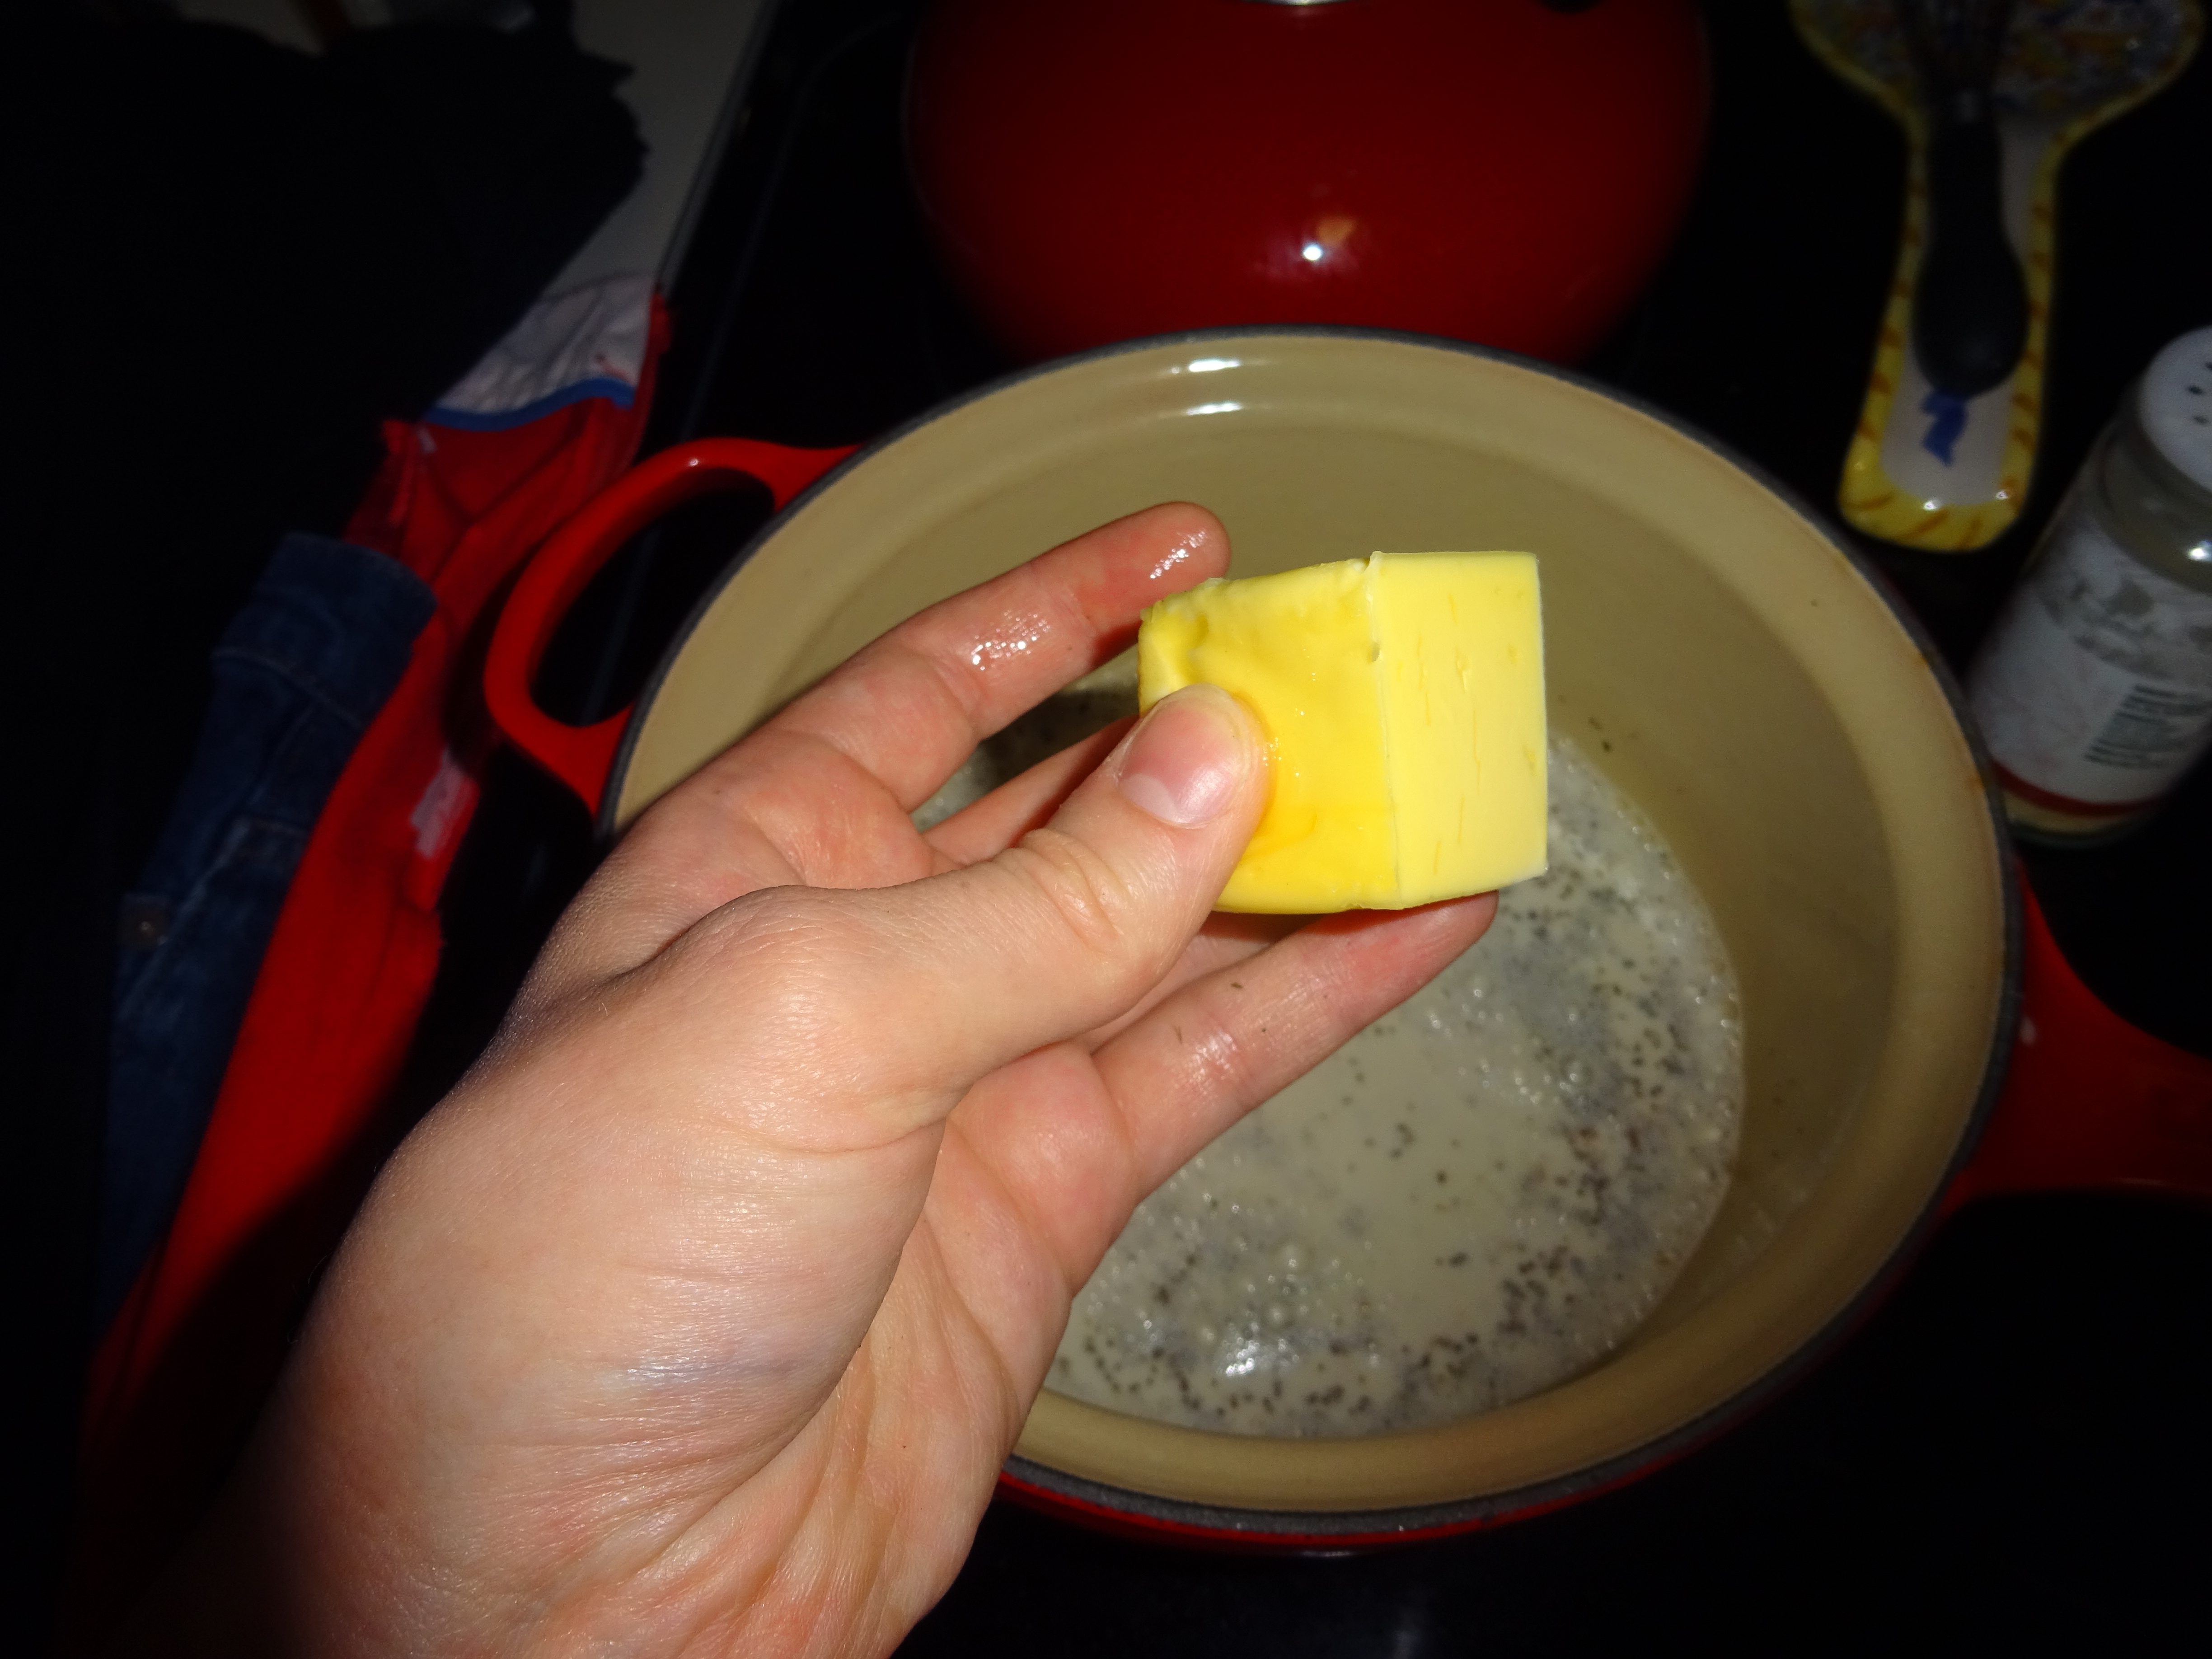
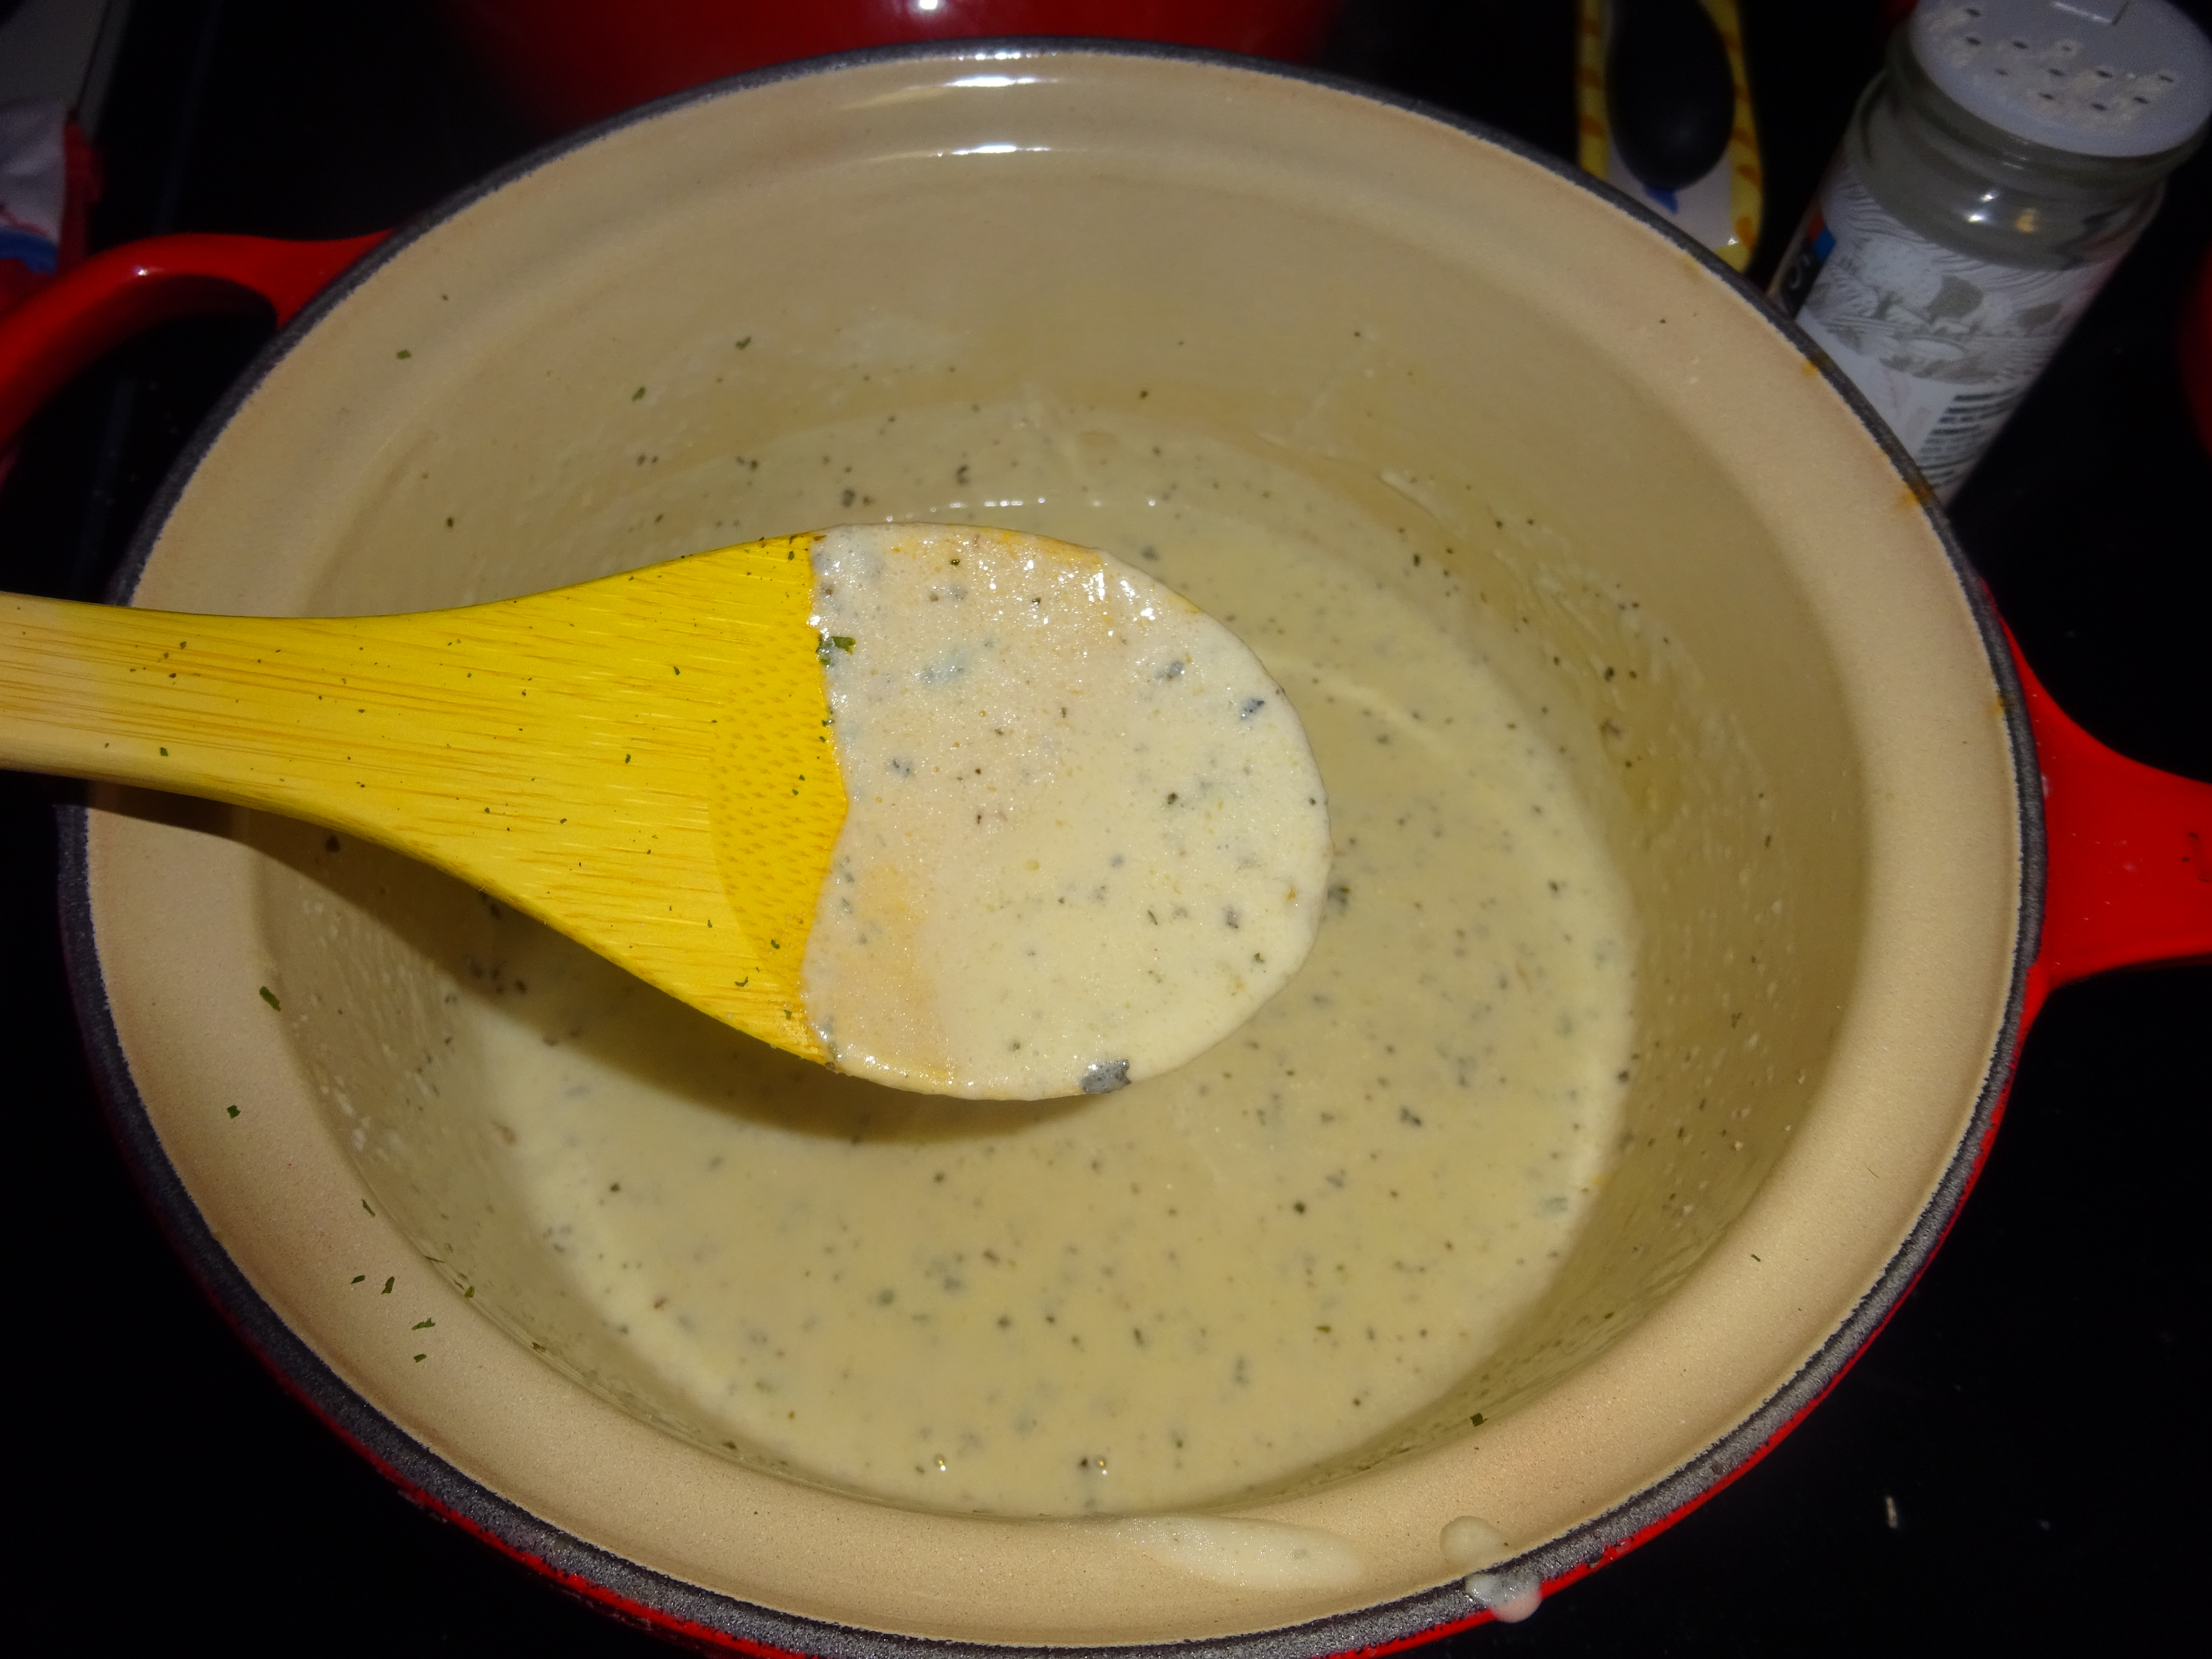
– Once the sauce is warm, add the butter. For visuals, this is how much butter I used. Kerrygold isn’t very kind and doesn’t have nice sticks, so I have to cut the brick in half to make my own.
– Allow the butter to melt and incorporate it into the sauce. Keep the sauce at the directed heat and let sit uncovered, checking to make sure it’s thickening, but doesn’t start to bubble.
– While your sauce is cooking, heat a pan and add either butter or ghee.
– Cook the shrimp until they are pink, seasoning with salt and pepper.
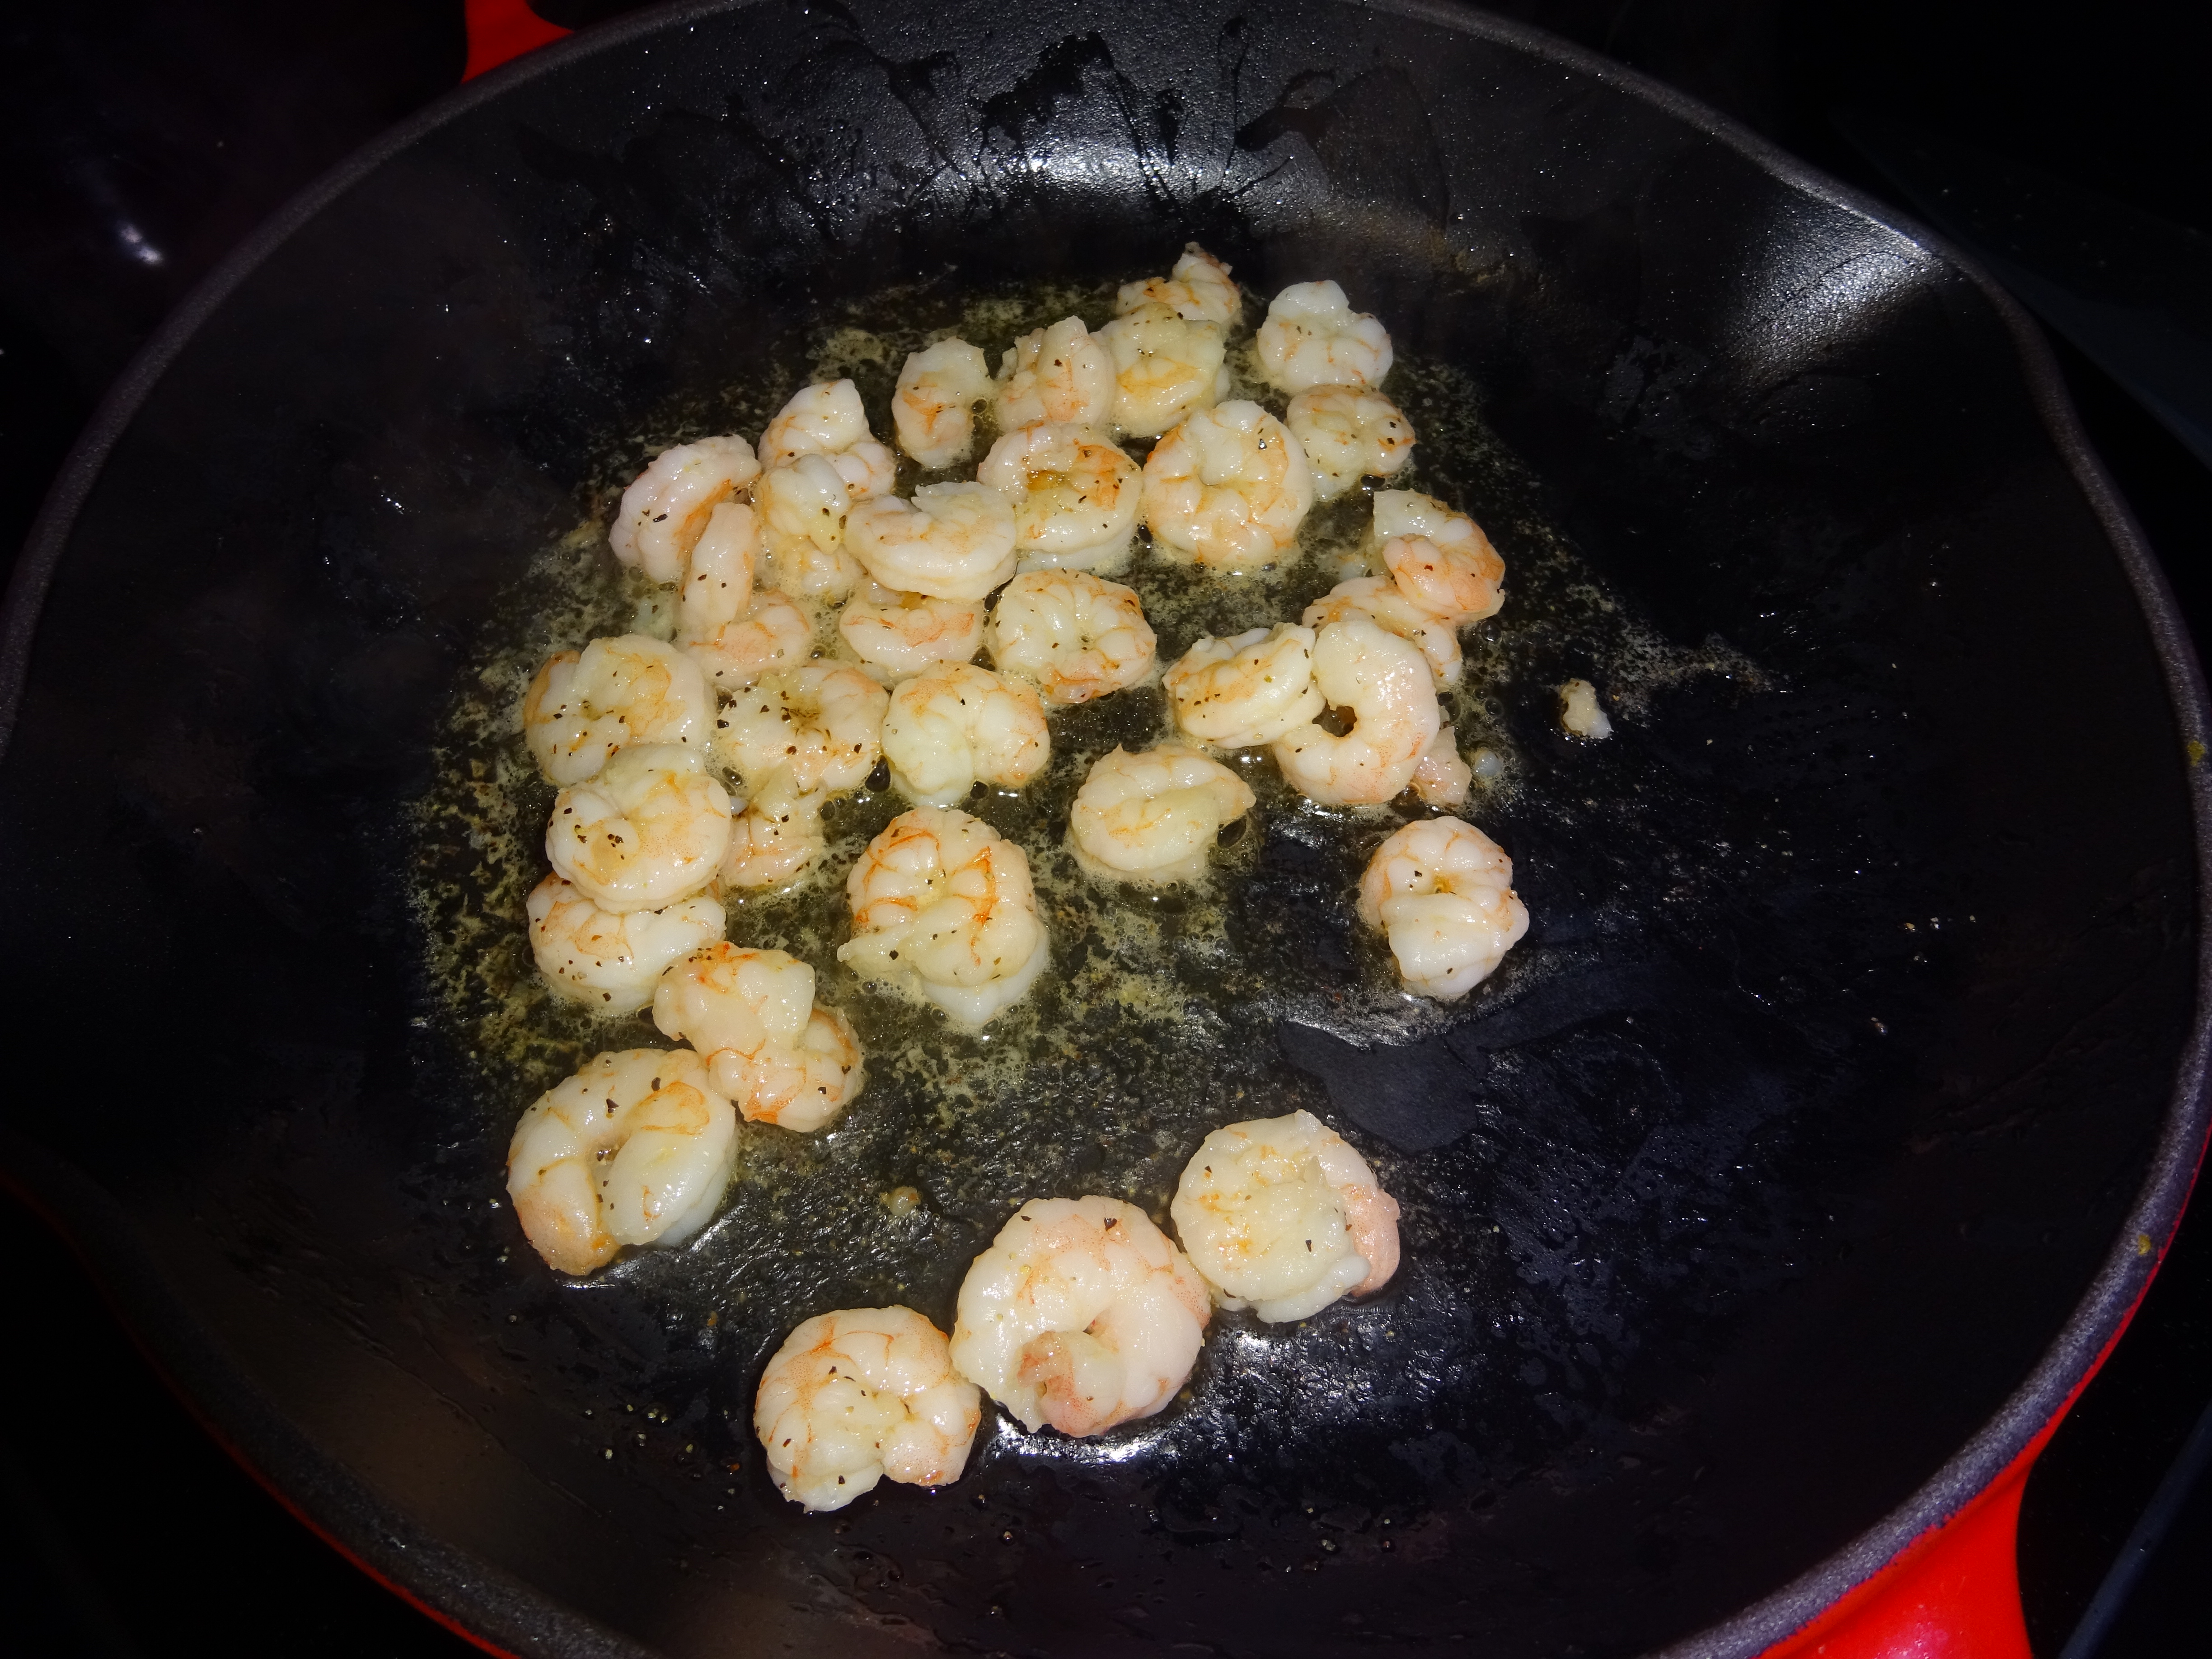
– As your shrimp is cooking, you should notice that the sauce is thickening up nicely. It’ll look like this. If it isn’t very thick, just let it cook a bit longer. Trust me, it will thicken up.
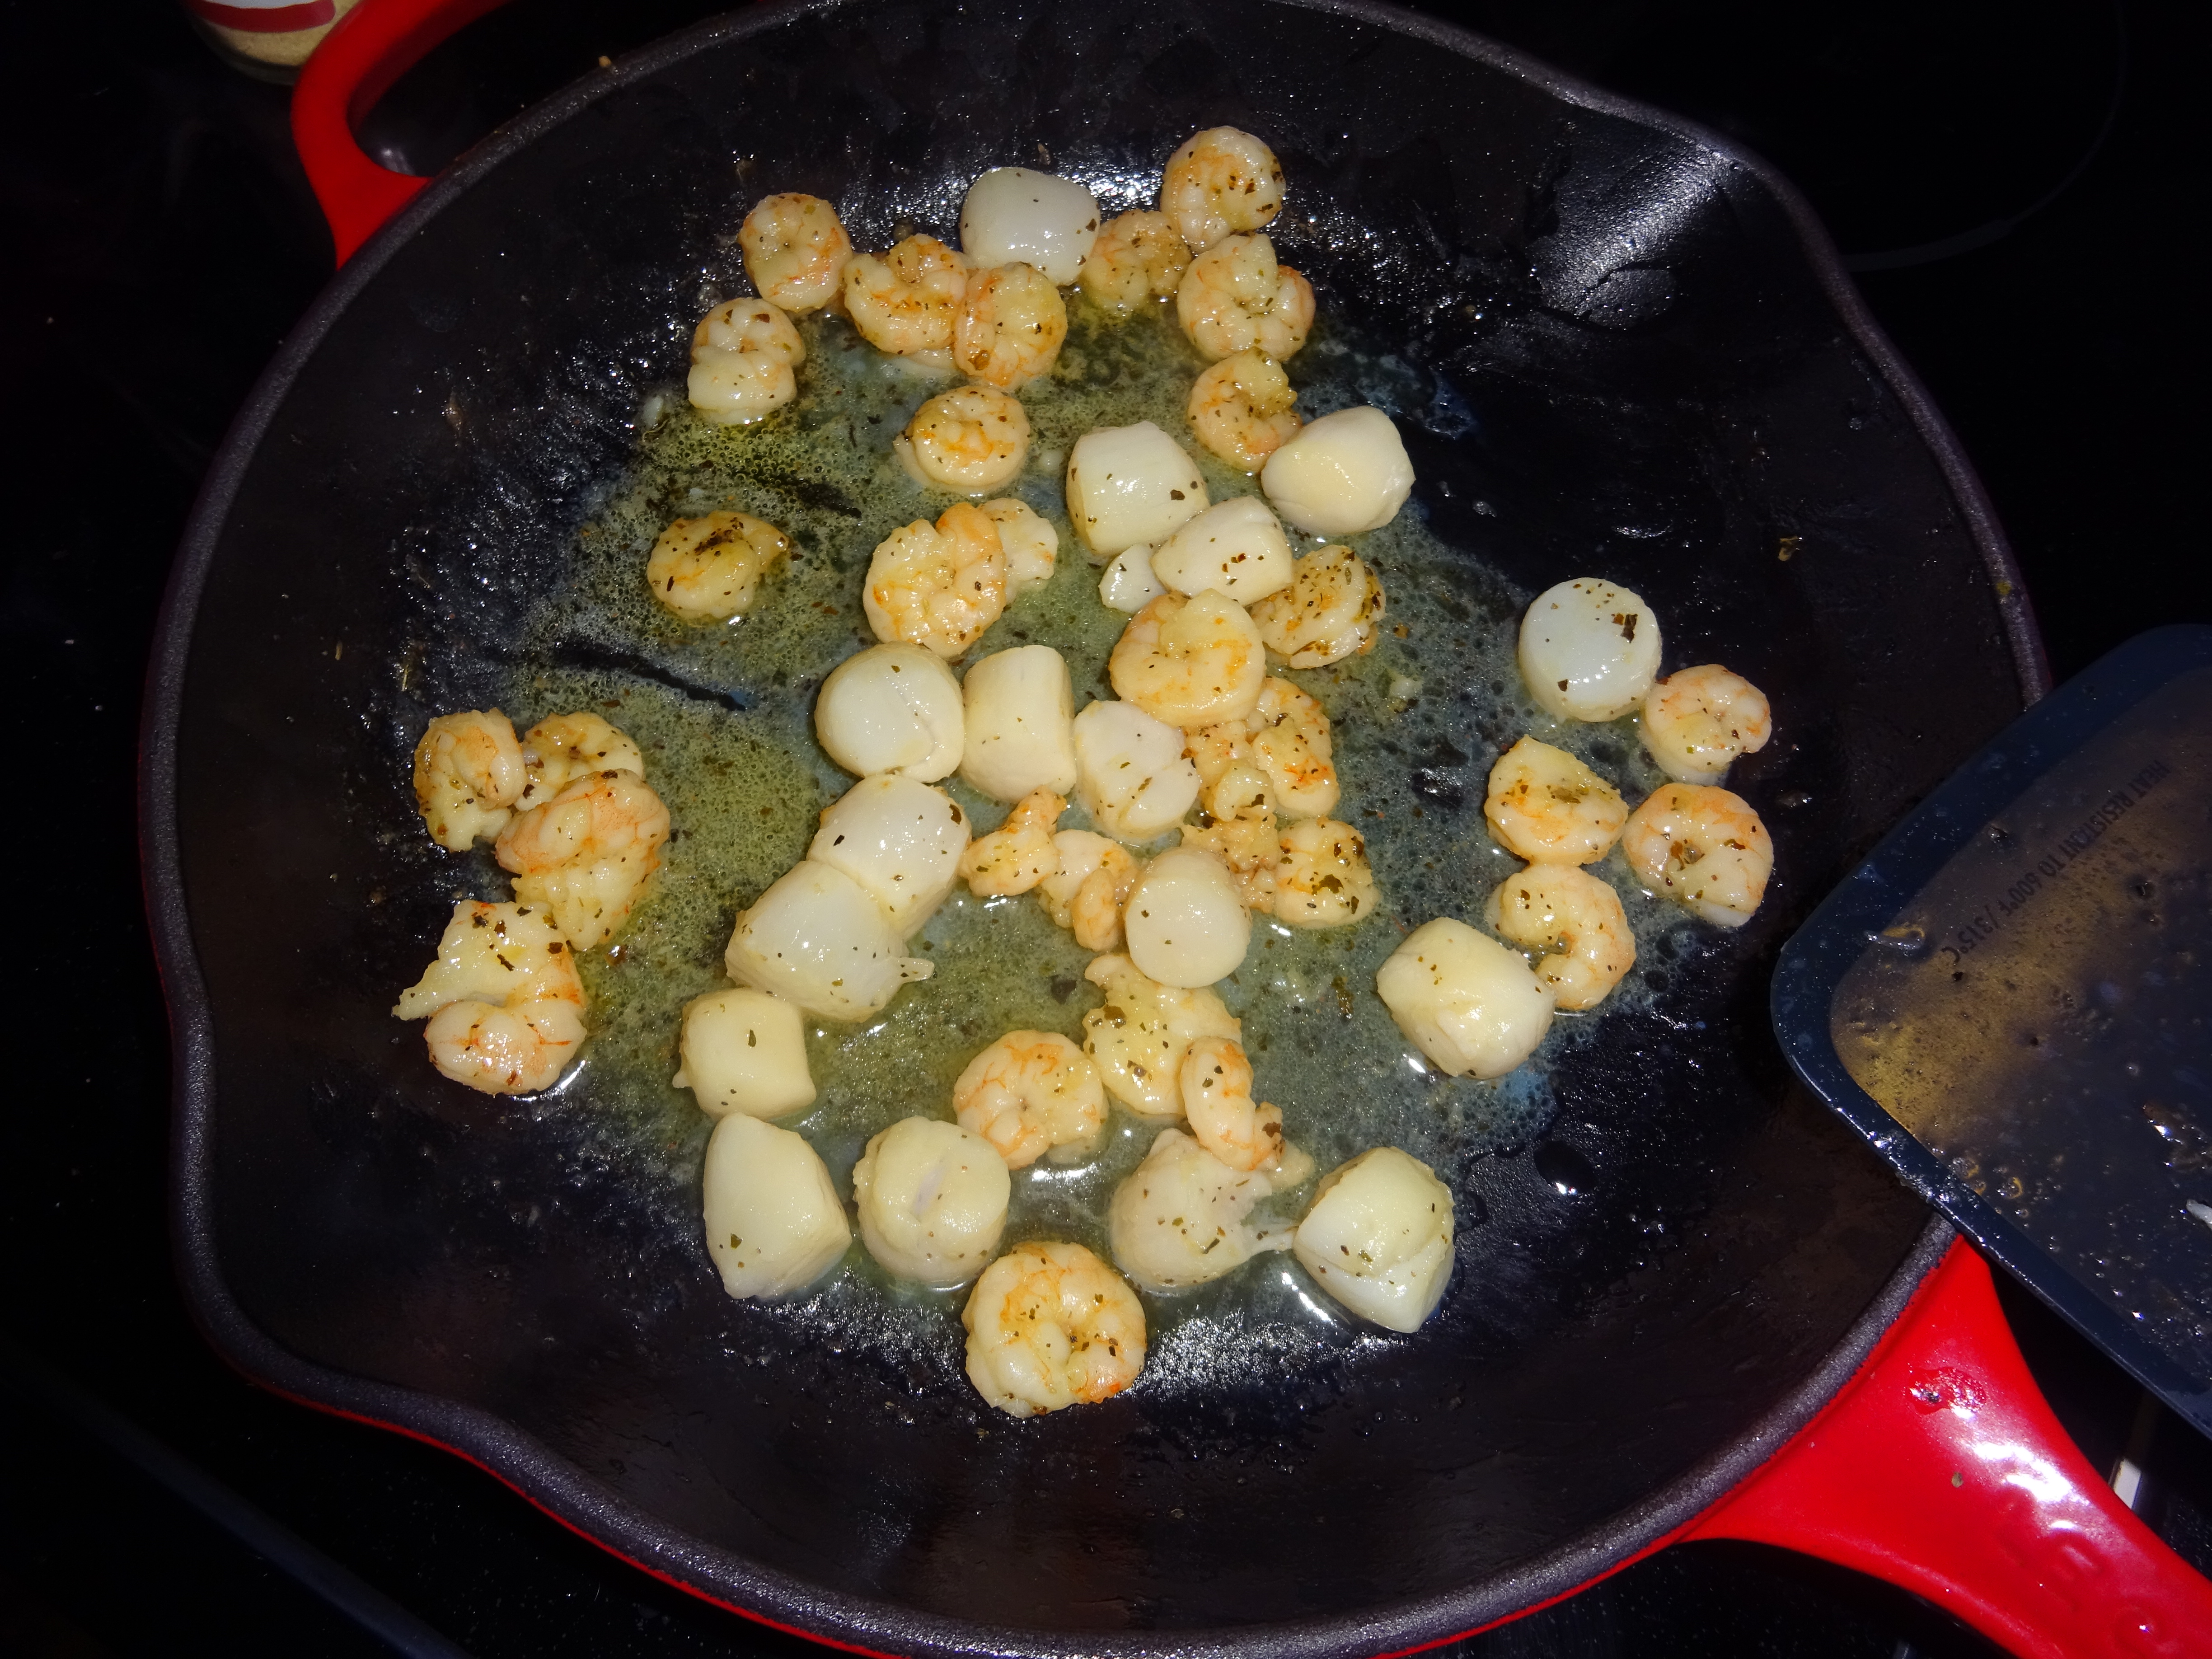
– In the final moments, add the scallops in the pan with the shrimp, coating with the oil used.
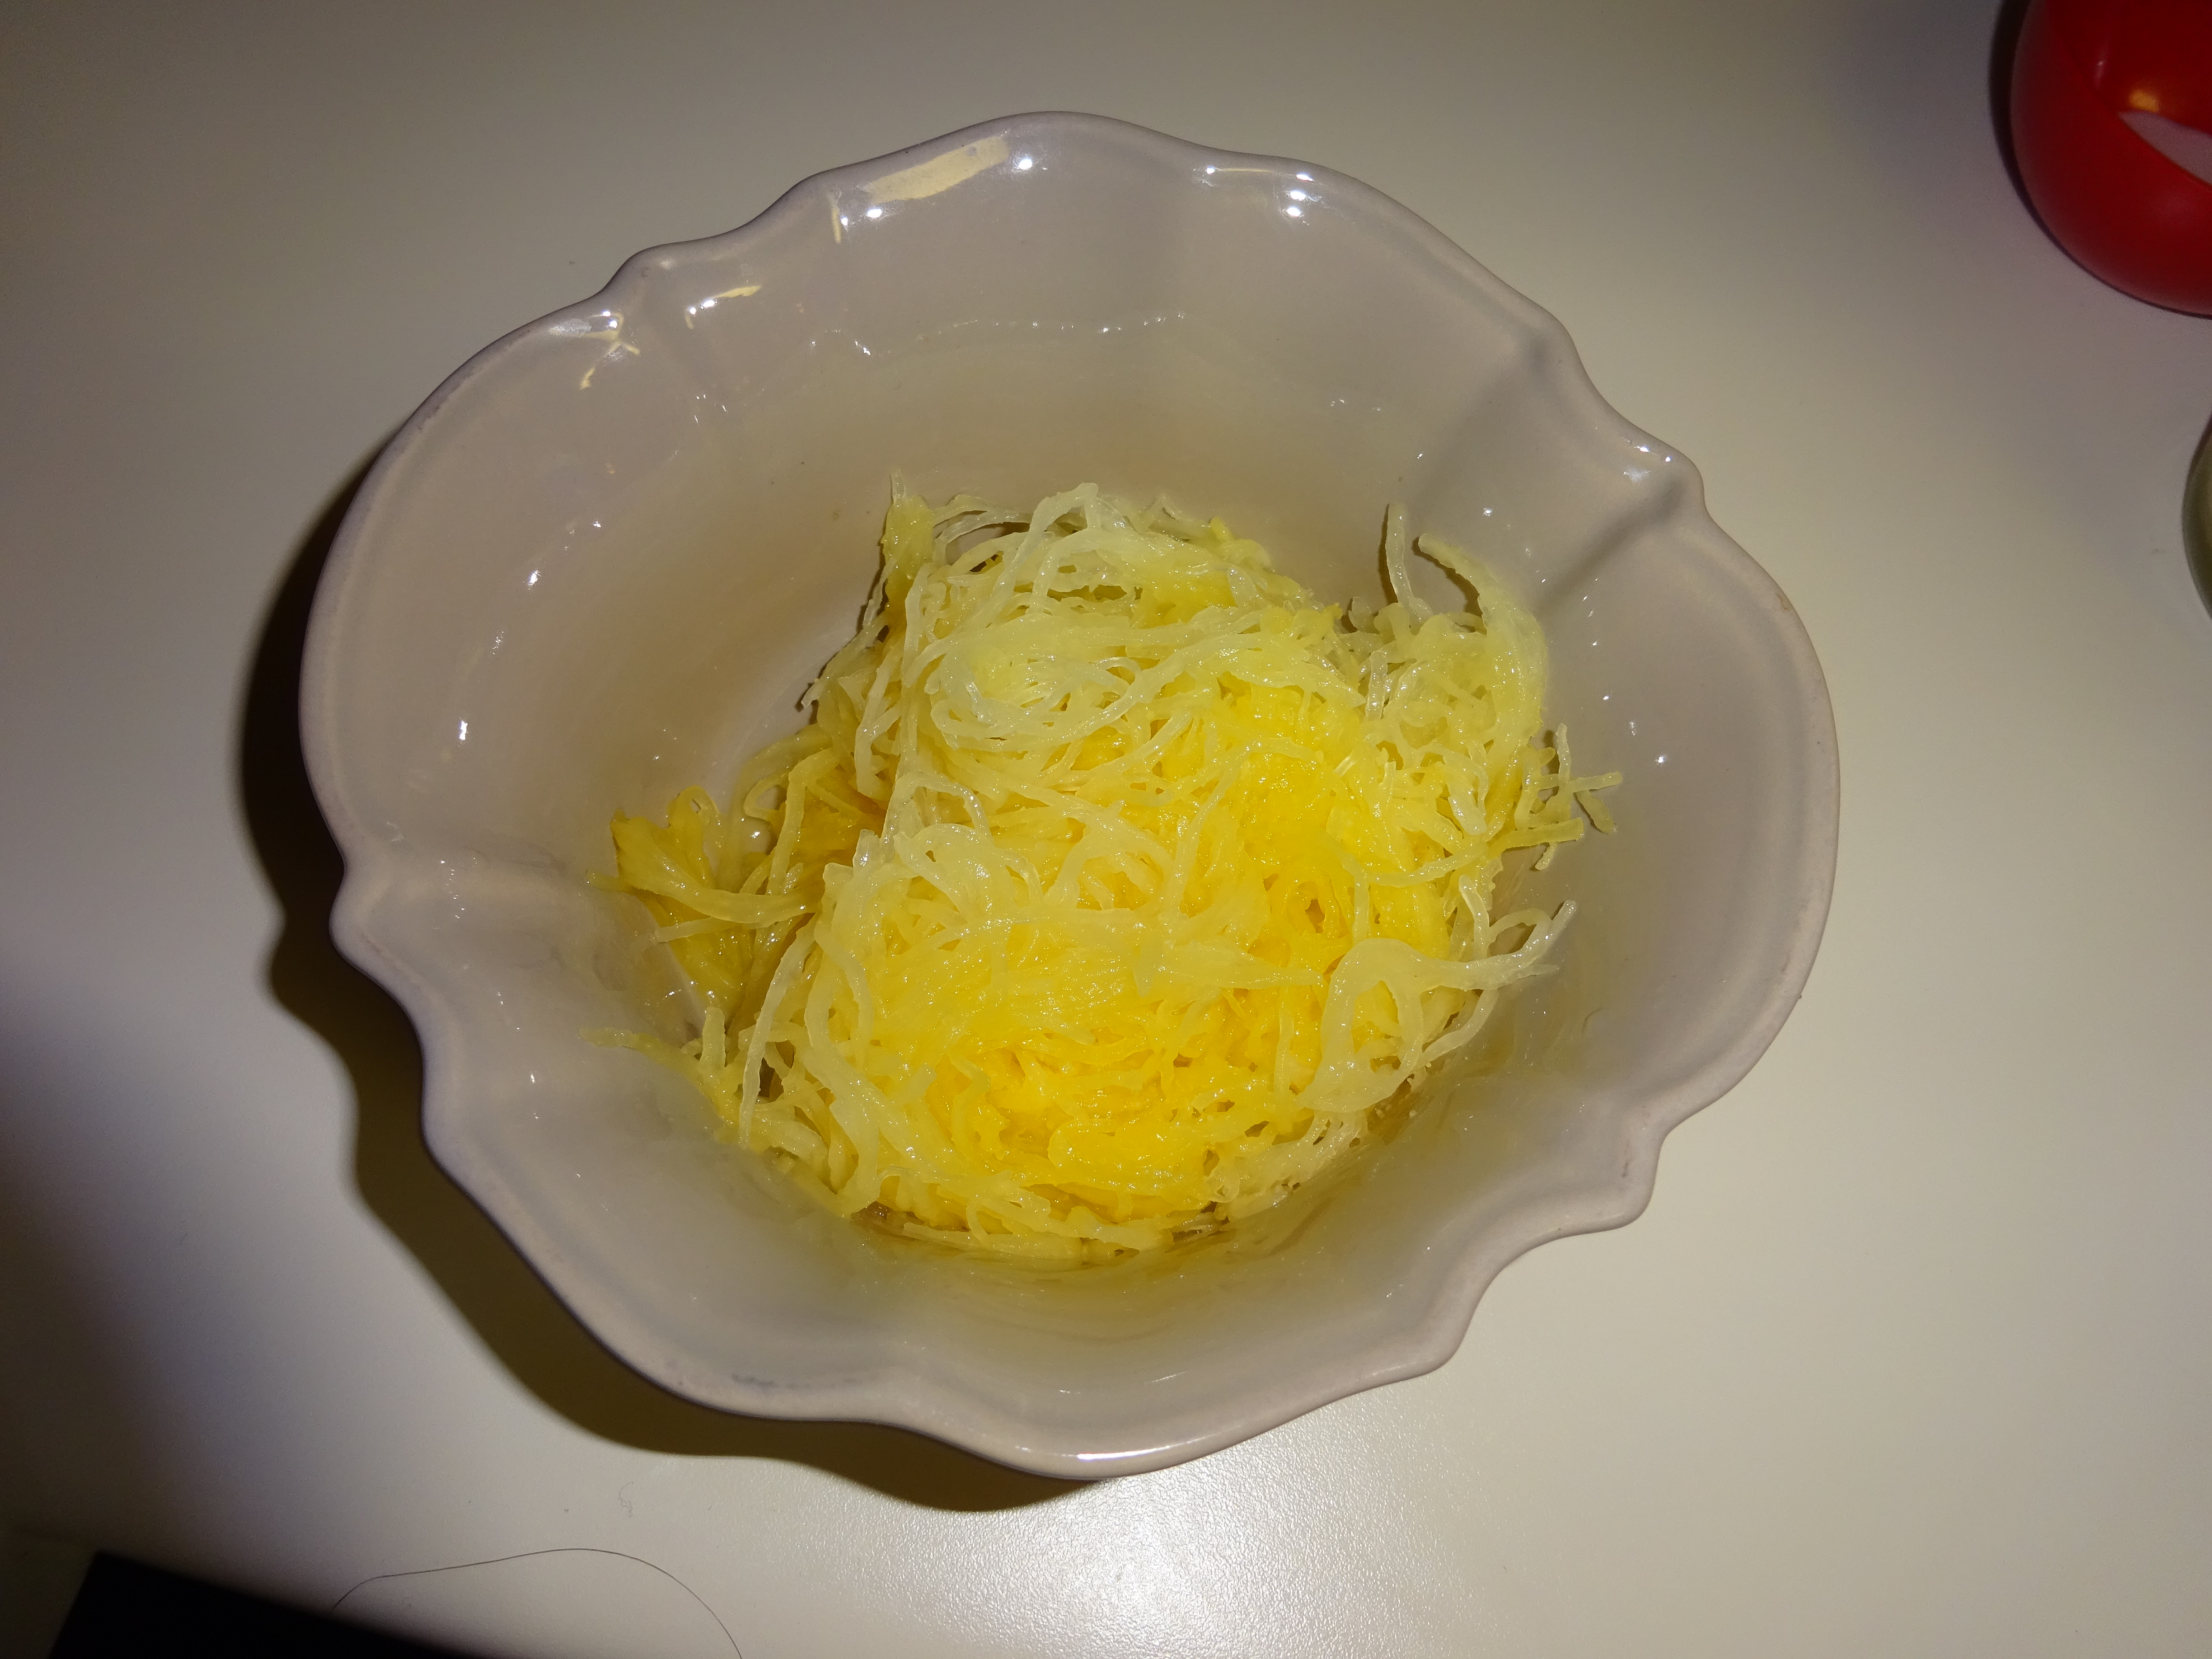
– Take your pre-cooked spaghetti squash because you’re a master meal-prepper and heat it for about 2 min in the microwave. This is as much as I used for myself, it was a pretty big serving.
– Assemble the dish either in the bowl, or on a plate. Garnish with dried parsley and if you desire, cheese.

There you have it! Rich, creamy, and everything you ever wanted.
Have any questions? Tips? Let me know in the comments below! I hope you enjoy this and much as I did.
xoxo,
Paige