Baked Salmon with Hollandaise Sauce and Steamed Vegetables

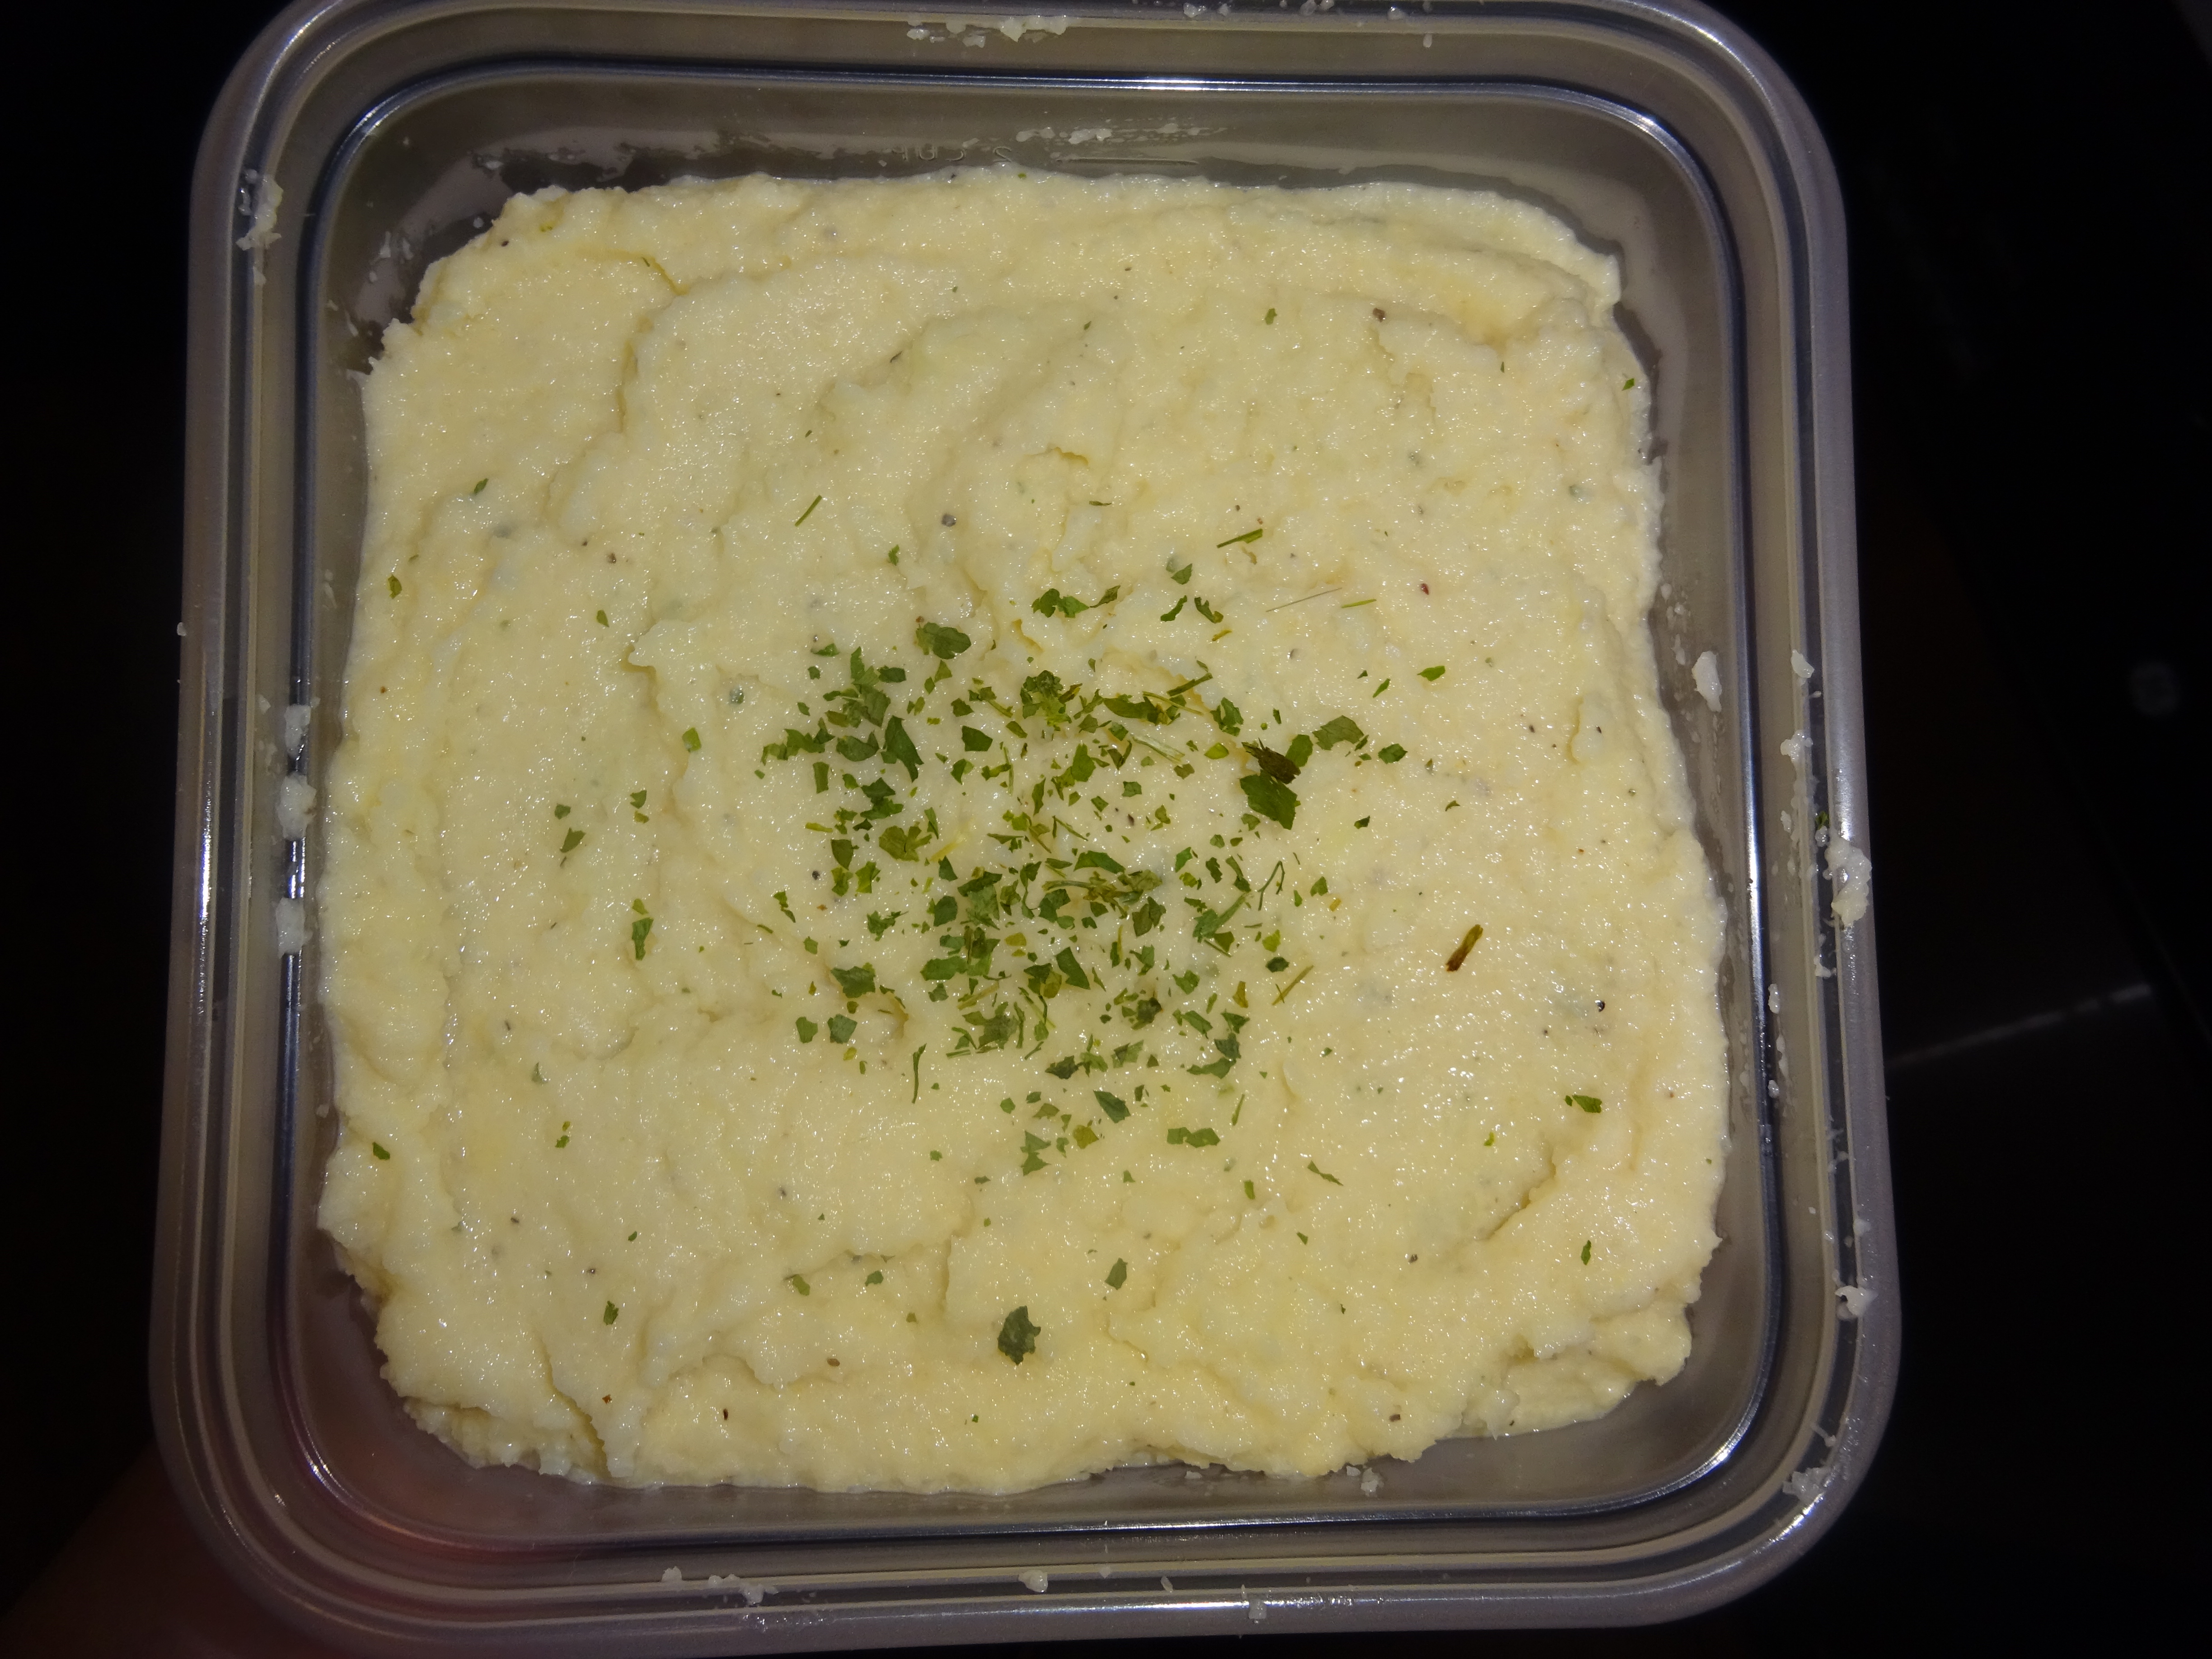
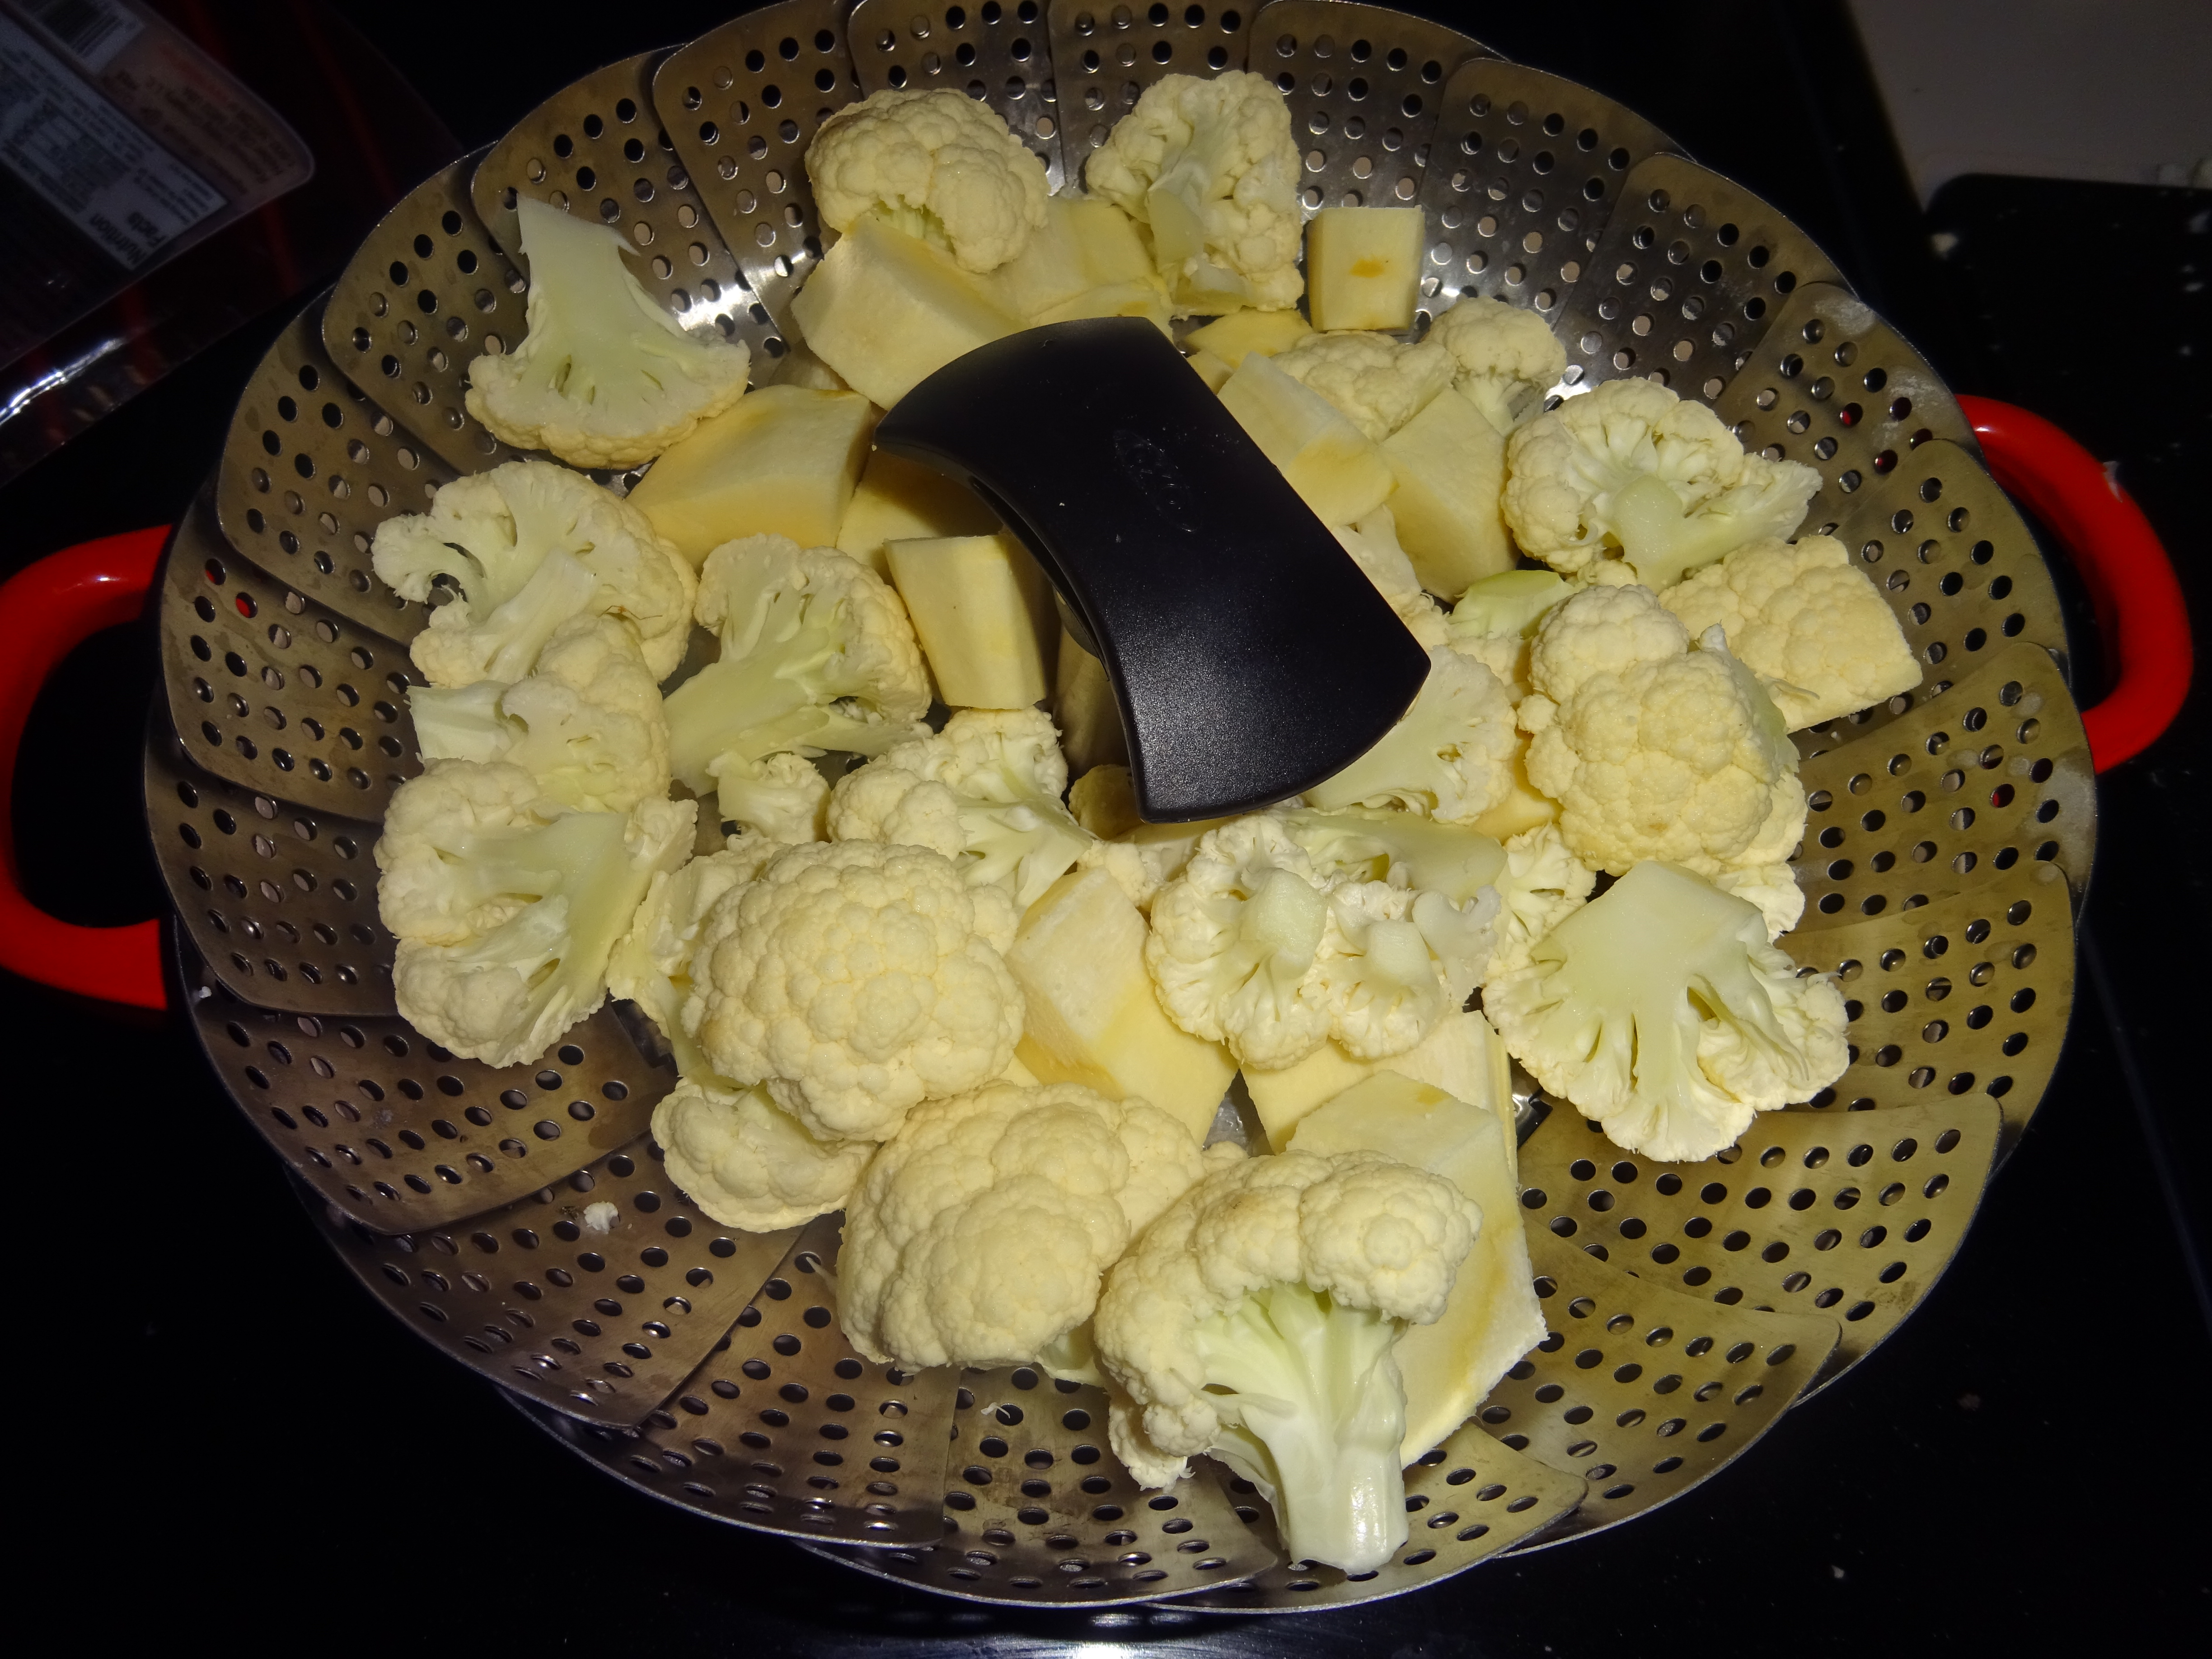
You know when you have an overwhelming craving for something? That for me was hollandaise sauce this week. What could I drench in hollandaise that wasn’t eggs on a biscuit? Considering hollandaise can do no wrong with whatever it is paired with, I decided to put it with some wild salmon. While not visually appealing in my pictures (it was pretty late and I was tired), it tasted like heaven. I paired my salmon with steamed vegetables: mushrooms, carrots, and romanesco which is my new favorite vegetable.

Hollandaise sauce can be a bit tricky. I used this method. I modified the recipe a bit: I added much more lemon (because I love lemon) and cayenne pepper. This recipe makes a lot of hollandaise, so if you don’t want that much, don’t use a whole stick of butter. This method is the best, take it from someone who has tried it the more traditional way.
*Will need an immersion blender or blender of some sort. I would recommend the immersion, but I’m sure you could do this is a regular blender on low.

DSC00255
Baked Salmon with Hollandaise Sauce and Steamed Vegetables
Ingredients
For the Hollandaise
– Egg yolk
– 1 stick of butter, melted (or less or less sauce). You could also use ghee for this, I’m sure it would work just fine
– 2 tsp of lemon juice, more or less depending on how much you like lemon. I added juice from half a lemon
– 1 tsp water
– pinch of salt
*feel free to add pepper or cayenne as well. I did a few shakes from my cayenne pepper shaker.

For the Salmon
– Filet of wild caught salmon. I used the frozen wild salmon from Whole Foods. Be sure it is properly defrosted before cooking
– Avocado oil, or oil of choice
– Garlic powder
– Onion powder
– Dried dill, but feel free to use fresh
– Salt and pepper
– Lemon

For the Veggies
– Your favorite veggies, cut, washed, and ready to be cooked
– Seasonings (if you want); I used garlic, salt, and pepper

Method
Prep everything!
– Wash, cut, and prepare your vegetables
– Make sure your salmon is thawed and ready to go
– Preheat your oven to 350
– Get your vegetables steaming. I have a steamer I use on the oven, but I know that my Dad has one that he can microwave. Depending on what kind of veggies you are using will depend on cooking time. As always, taste as you go. I like my vegetables really tender, but I know some people don’t, so use your discretion. Season vegetables as they steam.
– Place the salmon filet or filets on a baking sheet that has been covered in parchment paper
– Rub the salmon with the avocado oil
– Season the salmon filet(s) with some shakes and sprinkles of dill, garlic, onion, salt, and pepper. Place a lemon slice on each filet.
DSC00254
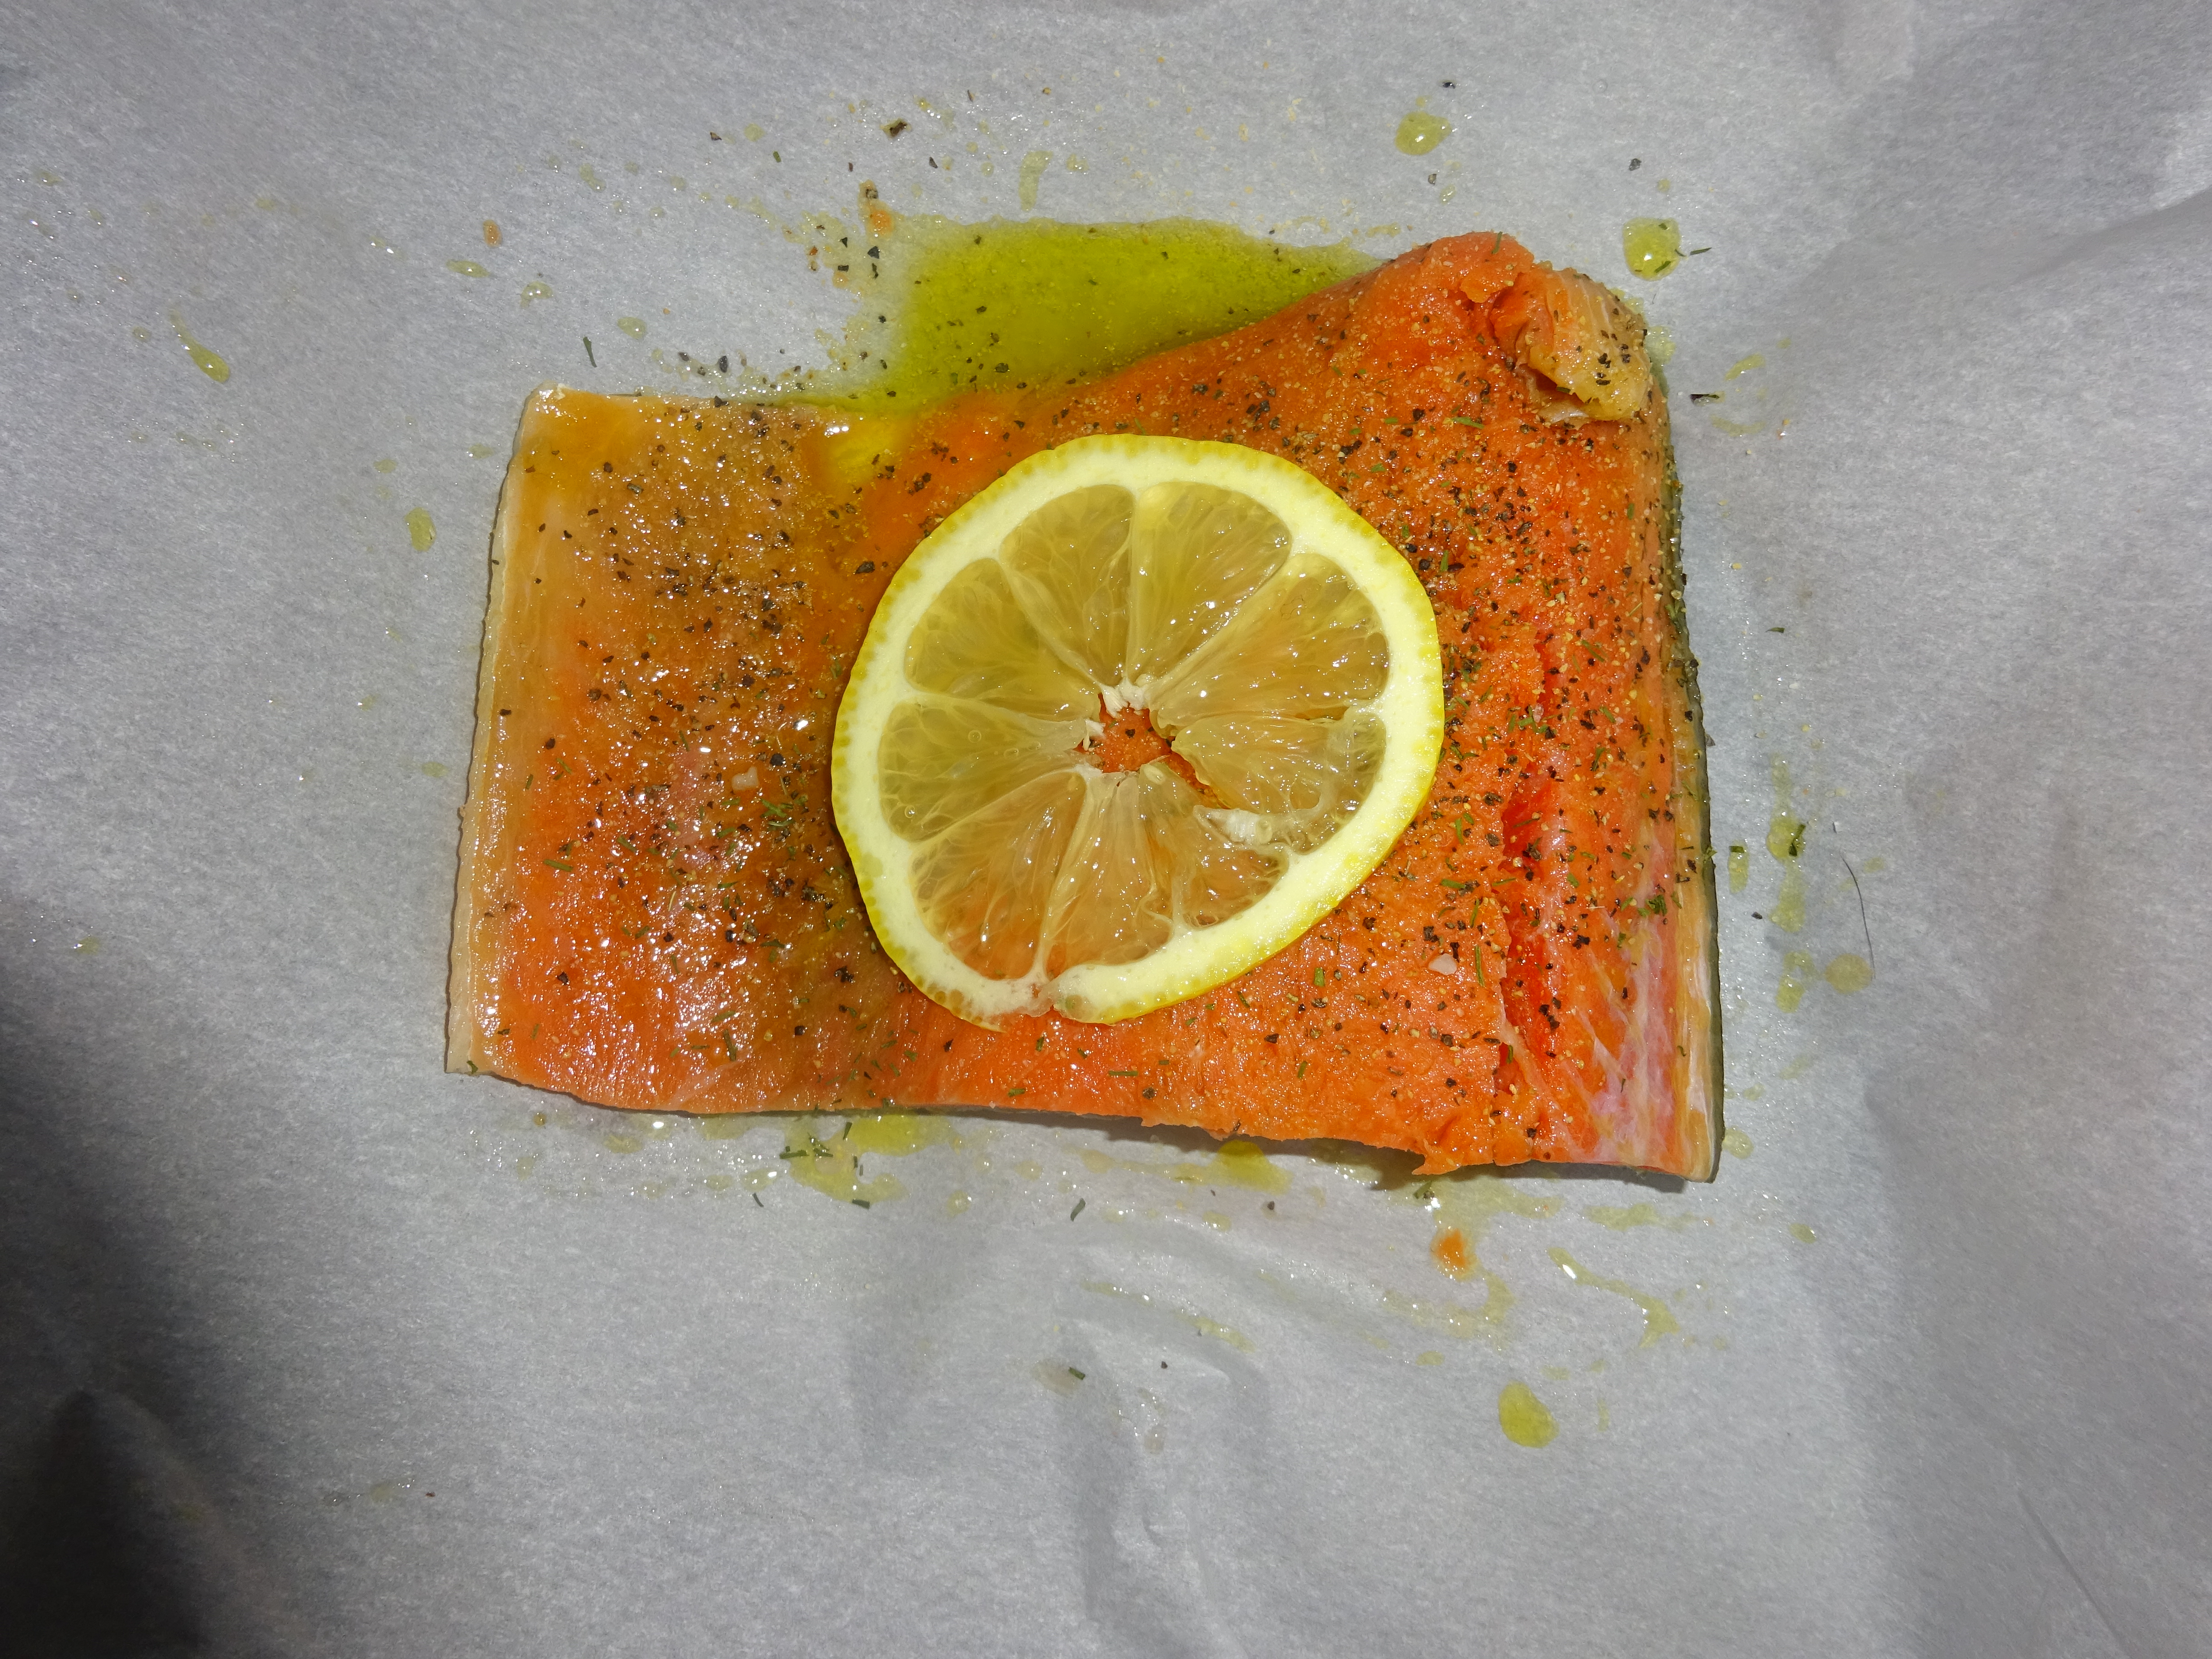
– Bake the salmon for 10 min. If you have more than one filet, you might want to bake a little longer.
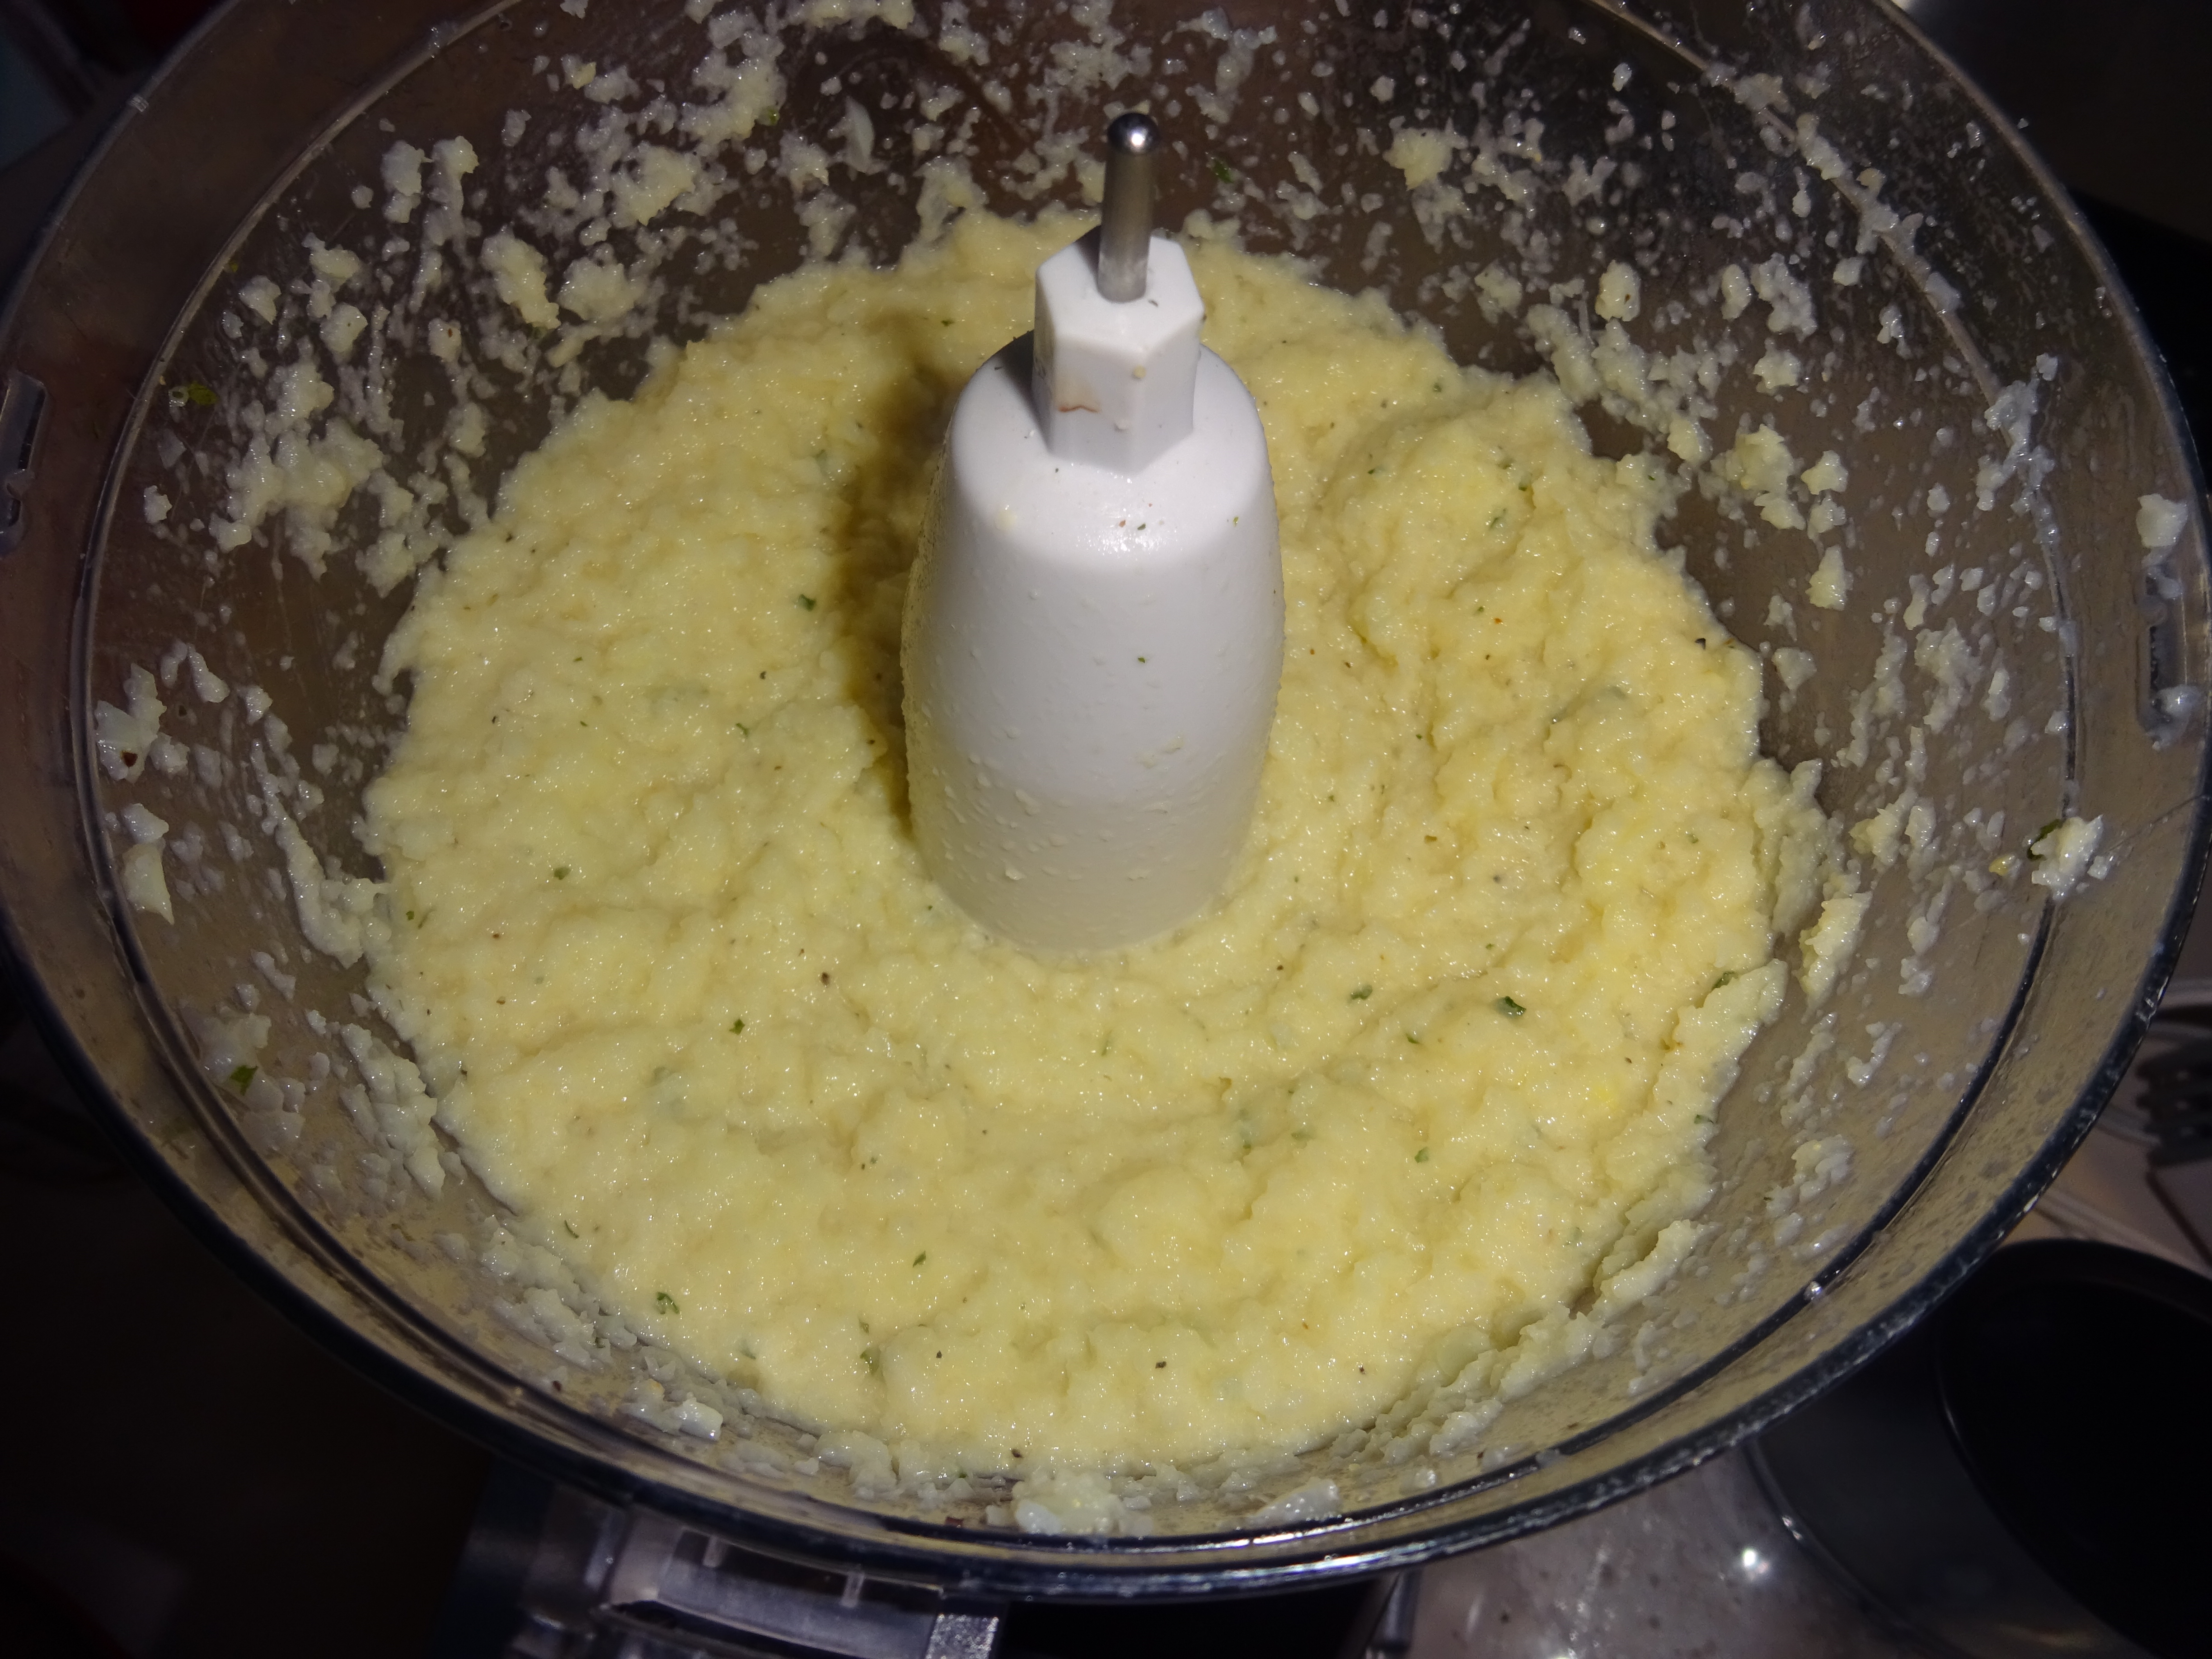
– As the salmon is baking, make the hollandaise sauce via this video. You want to serve Hollandaise as soon as it’s ready, so save the sauce for last.
– Once everything is ready, plate it and enjoy! I had a lot of sauce left over, so I went ahead and drenched my veggies in it.

Let me know how you like this!
xoxo,
Paige

Cauliflower-Parsnip Mash

The first time I ever tried a cauliflower-parsnip mash I really hated it. It wasn’t exactly a texture thing, it was a flavor thing. After trying a few more times, I realized that I really, REALLY do not like the taste of parsnips. I can’t describe why, but there’s just something about them that makes me gag.

With that being stated, I’ve tried just making mashed cauliflower and there was just something that was missing. I realize now that the starchiness of the parsnip is necessary for a creamier texture. But how was I going to make this without the strong parsnip flavor? Well, add less (duh) and add more ghee/butter. I’ll never be upset about having to add more fat to a recipe.

*You’re going to need a food processor for this, or you could just use a masher. However, I think the food processor is a lot easier. Also – feel free to boil rather than steaming the vegetables.
*Taste this as you go. Maybe you want to add more butter, maybe you need it to be thinner, maybe you think there needs to be more salt. You’ll never know if you don’t taste as you go.

Cauliflower-Parsnip Mash
DSC00200

Ingredients
– Head of cauliflower
– 1 parsnip (I had a really big one and just used half, you’ll see in the pictures)
– Splash of milk of choice (I used almond)
– 2-4 tablespoons of butter or ghee
– Salt and pepper to taste
*Feel free to play with the flavor. For this, I added some garlic and parsley, but I really want to try it with some homemade ranch seasoning. I really love ranch, okay?

Method
– Cut up and wash your vegetable. Place them in the steamer.
– Steam the vegetables for about 15-20 min. You want them to be pretty tender, so you should easily be able to poke the vegetables with a fork or knife.
DSC00194
– Place the vegetables in the food processor and give them a good pulse. Then add your butter/ghee, salt, pepper, or any other spices you want and almond milk. If you want this to be really creamy, add more milk. If you want more of a potato texture, only add a splash.
DSC00199
– Either serve or store in the fridge for a few days in an airtight container.

That’s it! Hope you enjoy!
xoxo,
Paige

Smoothie Packs

I have a confession – I don’t actually like eating fruit. I think this comes from not eating much as a kid, but also that I don’t really care for things that are very sweet. Even now if I have to sweeten anything, I only like a certain kind of sweetness. I’m a very picky sweets eater.

Since most fruits are pretty sweet, I avoid them. I’m more of a vegetable girl – I’d rather eat a plate full of broccoli than one filled with strawberries. With that being said, it is important to have some fruit in your diet so you can get the nutrients you need. This is where the almighty smoothie comes in.

I started making smoothie packs when I realized that:
A) Adding a lot of fruit to a blender produces way more than one serving of smoothie
B) I was wasting a lot of good food
C) I am not good at making decisions on what flavor of smoothie I want, so I would add a little of everything (which wasn’t very good)

These nifty little packs just go in your freezer and are ready for you to use whenever you have a smoothie craving. Just add your liquids of choice – for me it’s plain unsweetened whole milk kefir, homemade nut milk, and green tea – and any nutrient boosters – I add chia seeds for a little boost and texture – and blend. It’s thoughtless, simple, and incredibly easy.

*Depending on how many of these you make is going to determine how much time it takes you to pack these.
*You’re going to need Ziploc bags. I used quart storage bags, but sandwich would work just as well.

Smoothie Packs
DSC00167
Ingredients
– Any frozen or fresh fruit of your choice. I typically stick to frozen berries, but it’s up to you. Get creative! Mango, melon, pineapple, banana – they would all be good choices!
– Leafy greens, such as spinach and/or kale. You’ll see in the pictures I also use some zucchini. Actually a very good smoothie addition if you’ve never tried it.

Method
DSC00163
^^^This was my assembly line before cutting the zucchini.
– Prepare your fruits and vegetables. If you have fresh fruits and vegetables, wash and cut them accordingly. For bigger fruits and veggies, I’d try and cut them into pretty small pieces. This is what my zucchini looked like after cutting.
– Lay out all your ingredients like in the above picture.
– Assemble your bags. It’s fun to mix it up a little. One bag with strawberry and blueberry, the next with raspberry and blackberry. Just be sure to always add a leafy green or vegetable. Or both, because you love nutrition.
– Zip up the bag, label it, and place it in the freezer.
– Repeat all steps until you’re out of ingredients.

That’s it! It’s super simple! This is also a great way to meal prep. I ended up making about 24 of these smoothie packs from buying 2 bags of each frozen fruit, the large tubs of spinach and kale, and the small zucchinis. This will last me for awhile and is something I don’t have to do often – which is great. This is what my freezer looks like after placing all the packs in there.
DSC00171

Hope this helps some of y’all out! I know being a busy college student this has helped me out tremendously!

Keep it healthy!
xoxo,
Paige